Ecoprinting Experiments
/I learned to create ecoprints a few years ago and have successfully sold ecoprinted silk scarves at the Artery, the artists’ coop to which I belong in Davis CA. When I saw that there were virtual classes in ecoprinting offered through Maryland Sheep and Wool Festival I thought I’d find out how others are doing this.
I watched on my iPad and had plenty of room to spread out on the work table in the garage. This instructor sent wool and silk samples for the ecoprinting classes so that’s what I started with. I had more silk scarves here because I had intended to do more printing last year. So these classes were the incentive to get me started again. This post is really just a way for me to organize my photos and to analyze and document the results..
There are so many variables in botanical printing it can seem overwhelming to try and track everything.:
Which plants? Time of year—new leaves or mature leaves? Flowers or leaves? Front or back side of leaf on the fabric? Mordant fabric or dip leaves in mordant? Which mordant? Use a “blanket” fabric or not?
In this sample I have used grape leaves, weld leaves and flowers, and redbud leaves (the round ones in the middle).
I used two scarves with the leaves sandwiched between. If there is a difference between using the front and back of the leaves, that should show up here as one would be the reverse of the other. I saw this for some leaves, but not others. Sometimes the leaves actually print and other times they act as a resist and show a silhouette. In this example I don’t much of a difference in the way the leaves printed.
I have found that pecan and grape leaves are some of the best leaves here for this technique. Those three in the middle are Chinese pistache and “leak” tannin, becoming much more blurry and dark. I did no prep to the silk fabric, but I dipped the leaves in an iron solution. I use two scarves to sandwich the plant material so I end up with two finished projects in mirror image.
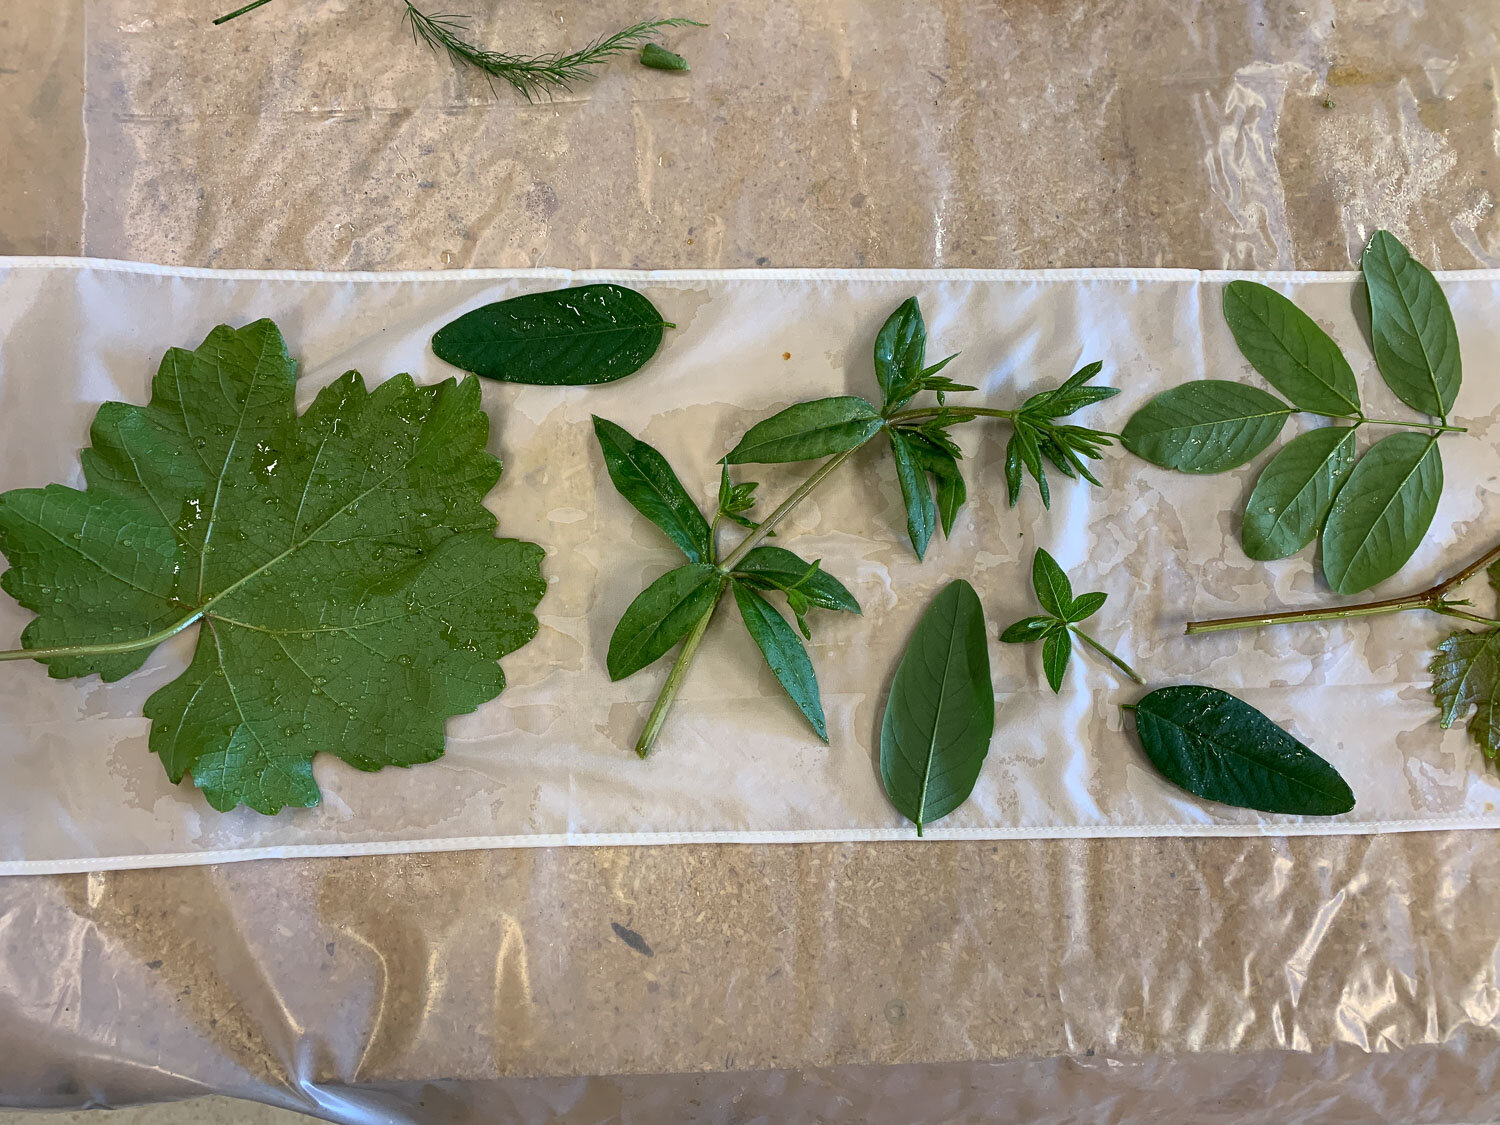
There are close-ups below of parts of this scarf. Leaves are grape, madder and pecan on he left and grape and asparagus on the right with a sprig of redwood and maybe another pecan.
For this piece I rolled the bundle with a blue “blanket” that was supplied for use in the class and after simmering I unrolled the scarf at the bottom of the photo above. Notice that some leaves acted as a resist while others printed from the pigment in the leaves.
This is the final scarf after washing. It is for sale here.
Ths one has grape, maple, and locust leaves, and I am amused by the little bit of madder root in the right photo, just under 3 individual madder leaves. You have to look for it but you can see that the root did leave an impression in the final piece.
Its also interesting to try and decide if the face-up or face-down position of the leaves made much difference. It looks as though it did with the locust leaves in this one, but maybe not most of the others.
Here is that last one after washing. You can see the root impression—that squiggle just above the folded part on the left side.
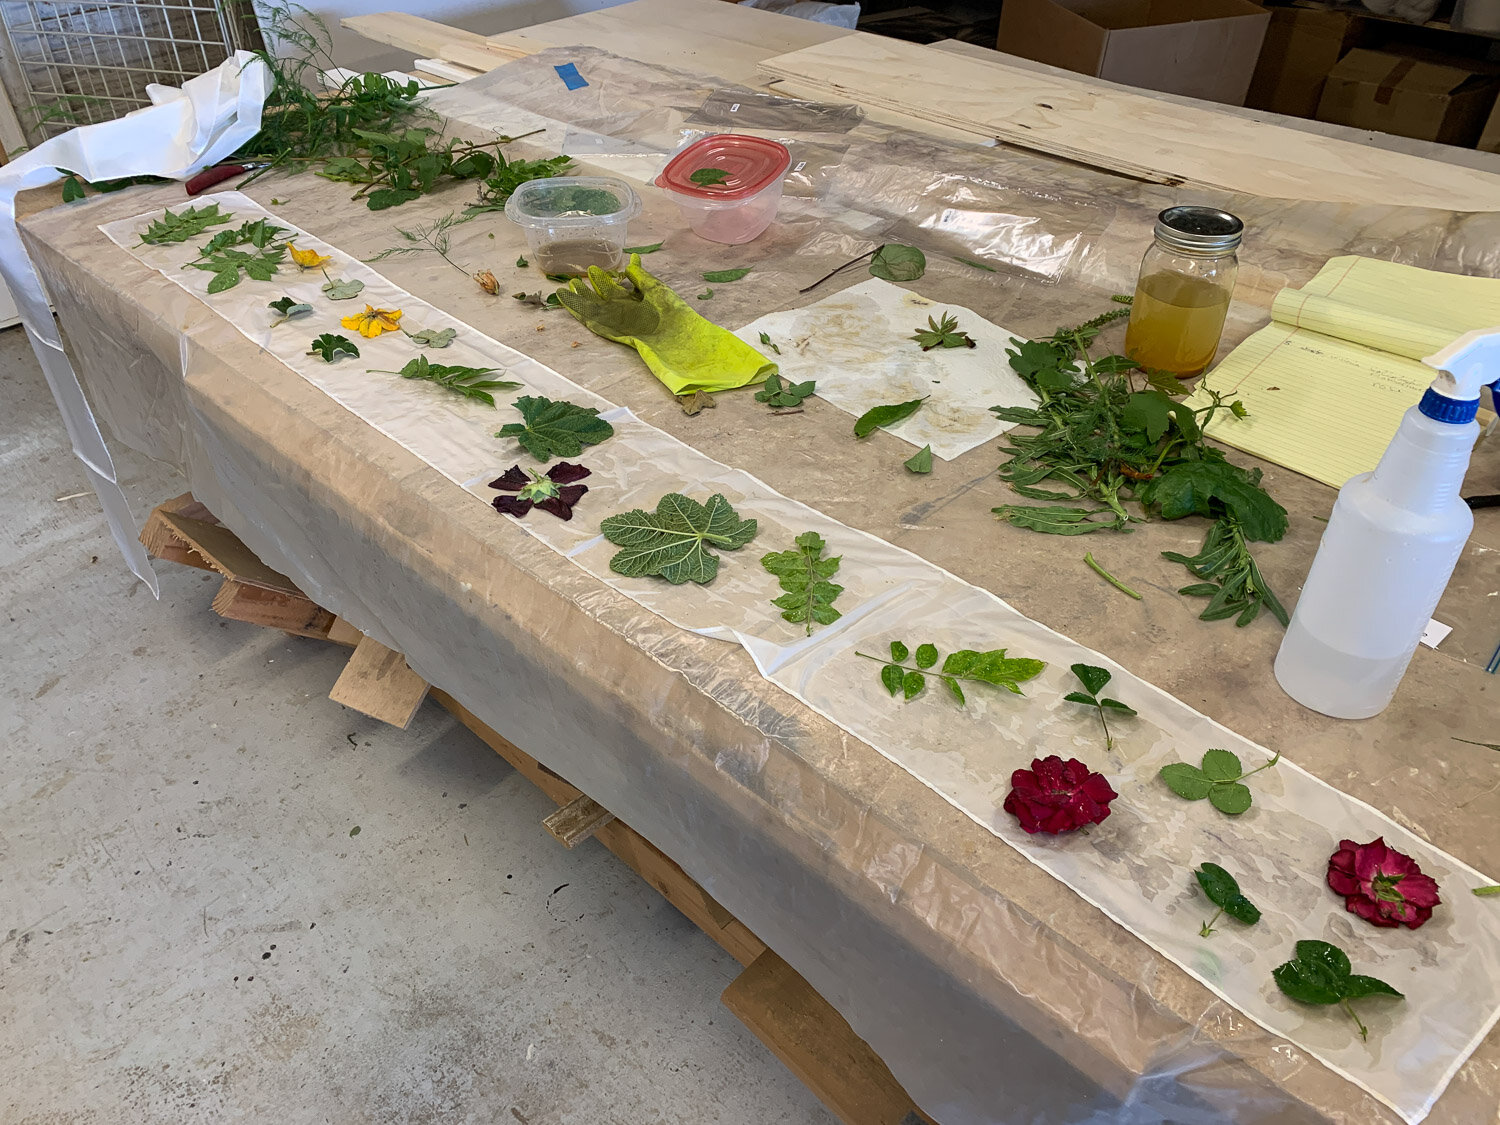
Here is one last set of photos. I used three flowers—flannelbush (yellow), hollyhock, and roses. I included locust, rose, and hollyhock leaves.
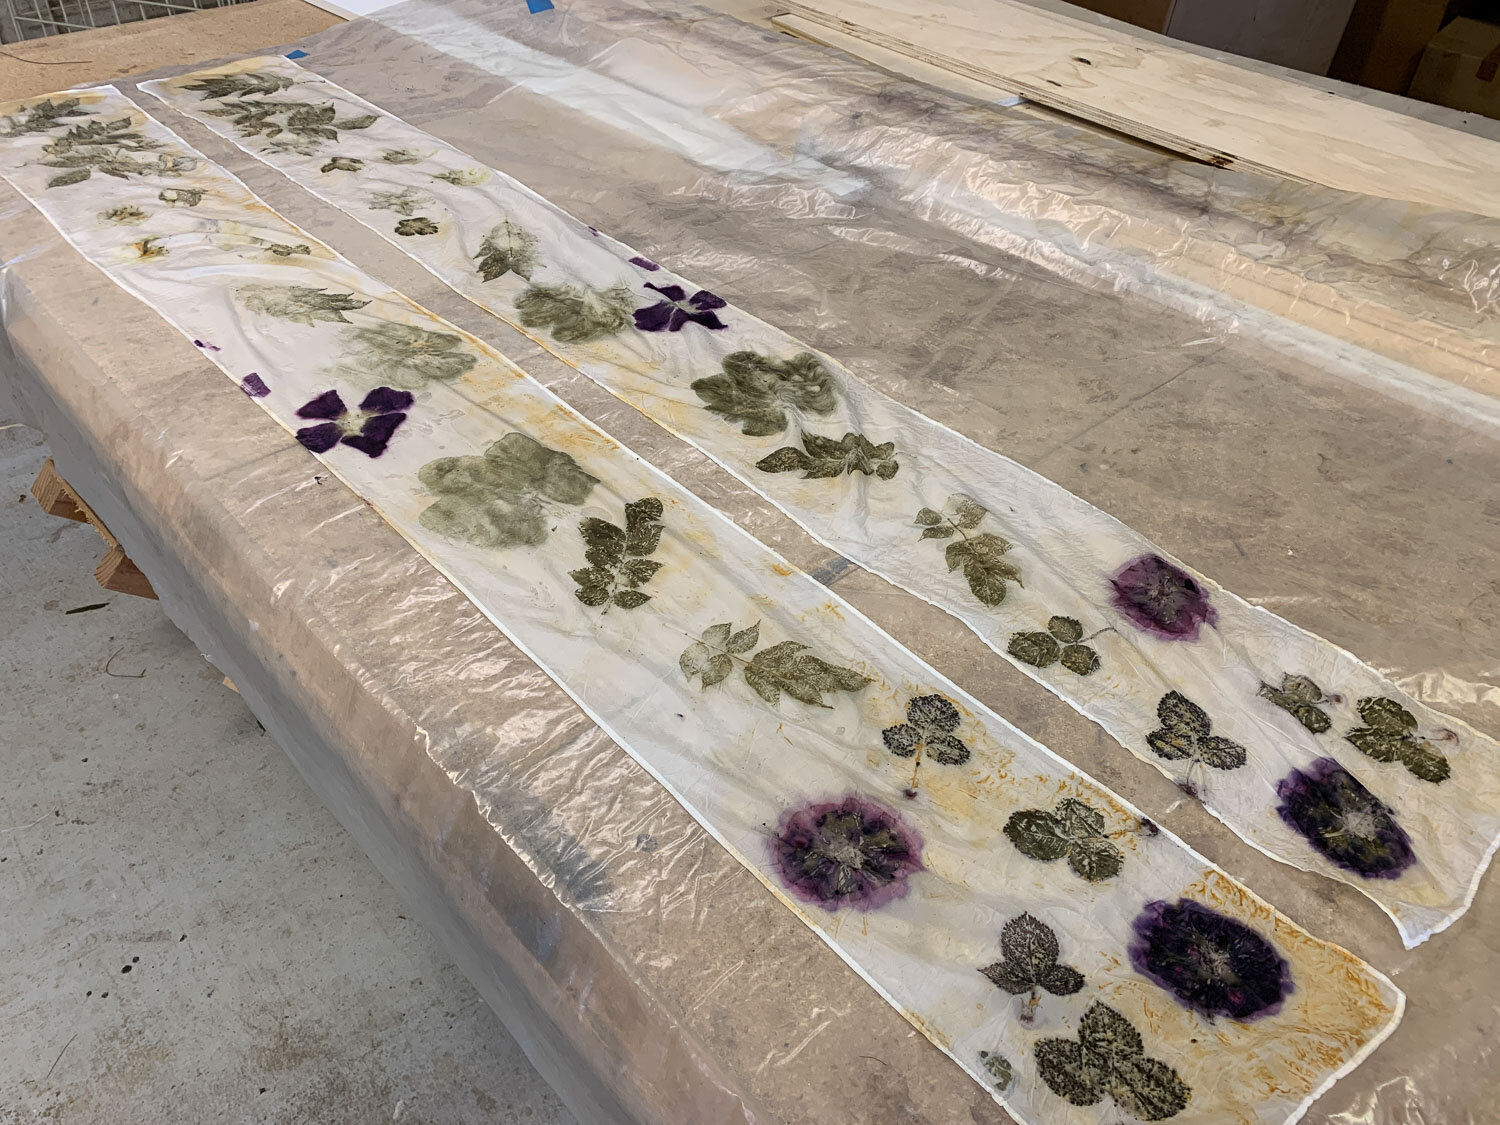
This is how the scarves looked after unrolling the bundle.
This is the final piece after washing. This one is for sale here along with several others.


