
Eco Printing
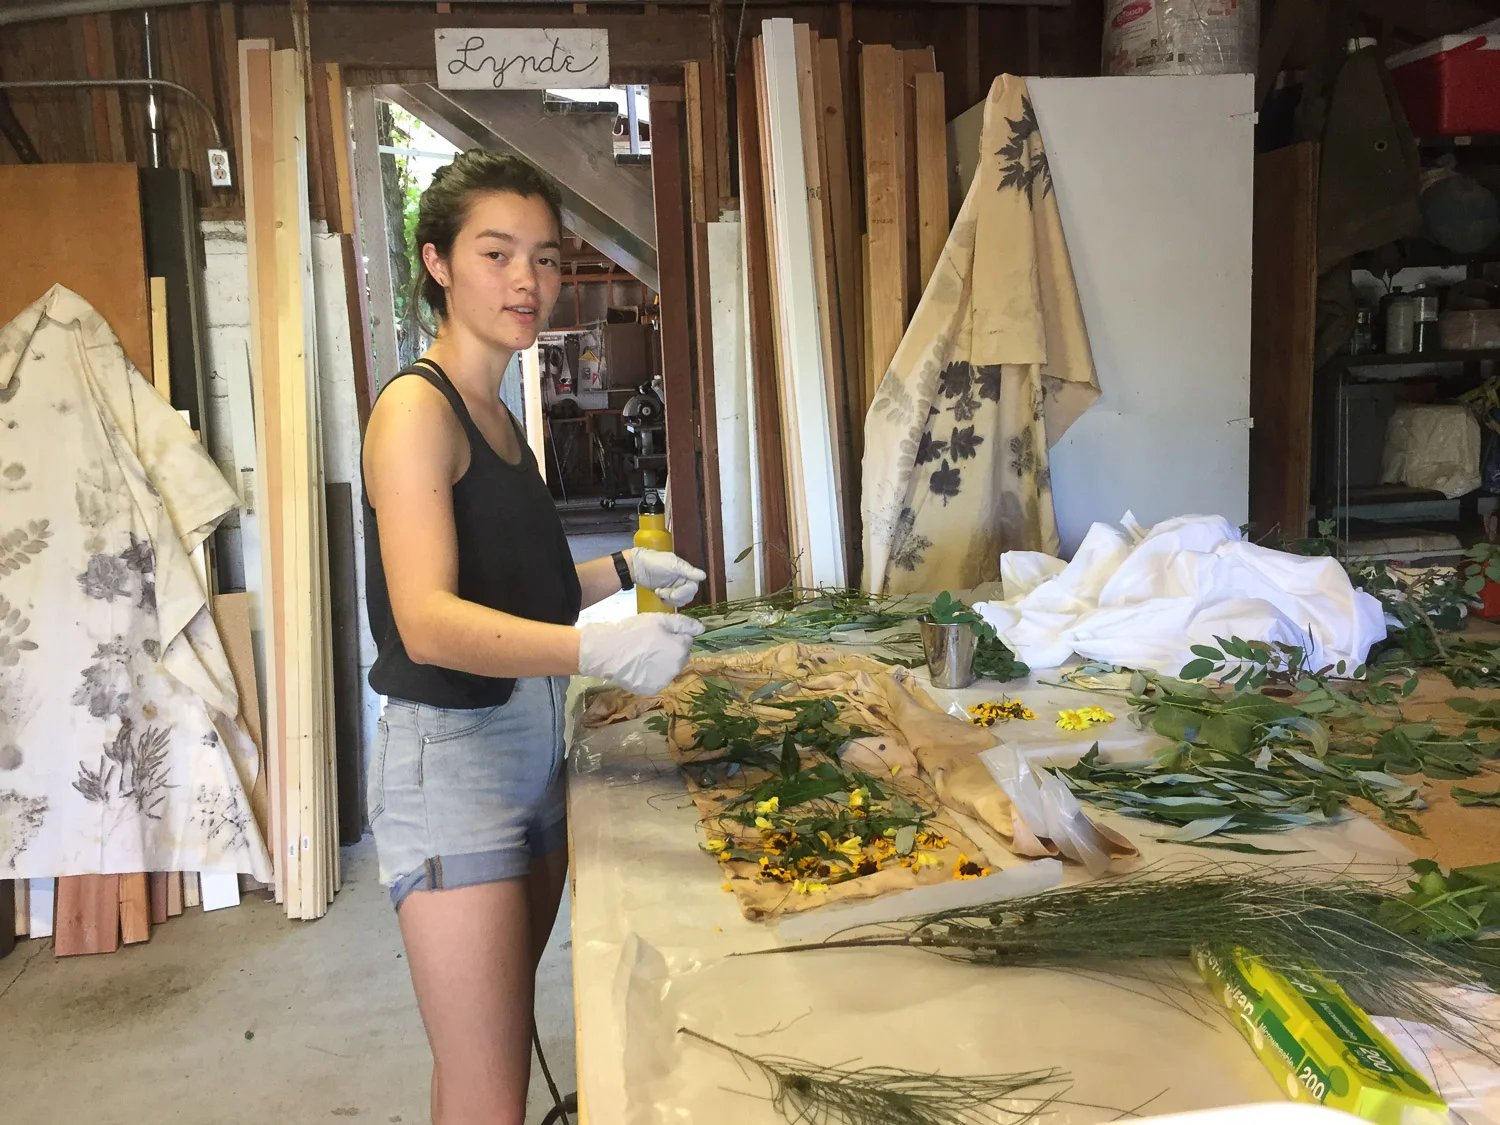
/There was a most amazing young woman here for eight days in the last two weeks. She is interested in textile study and came to get experience while helping me (more about that in another post). Last Wednesday we decided to tackle eco printing. It took me awhile to dig out the notes and remember what I had done before. Emma ordered some pants and I ordered a t-shirt and then I found some silk scarves from a previous eco print day. My main goal was to practice before I printed on some wool fabric that was woven at our local Huston Textiles and uses my yarn in the weft. The previous day I scoured the cotton items in soda ash, simmered the silk with dish soap, and mordanted the cotton and wool in alum.

We mixed up an iron solution and a tannin solution.

We gathered plants.

Here is my first piece, a silk scarf that I soaked in the iron solution and then spread out with plants. I used leaves from oak, sheoak, maple, and locust and a couple of dahlia flowers.
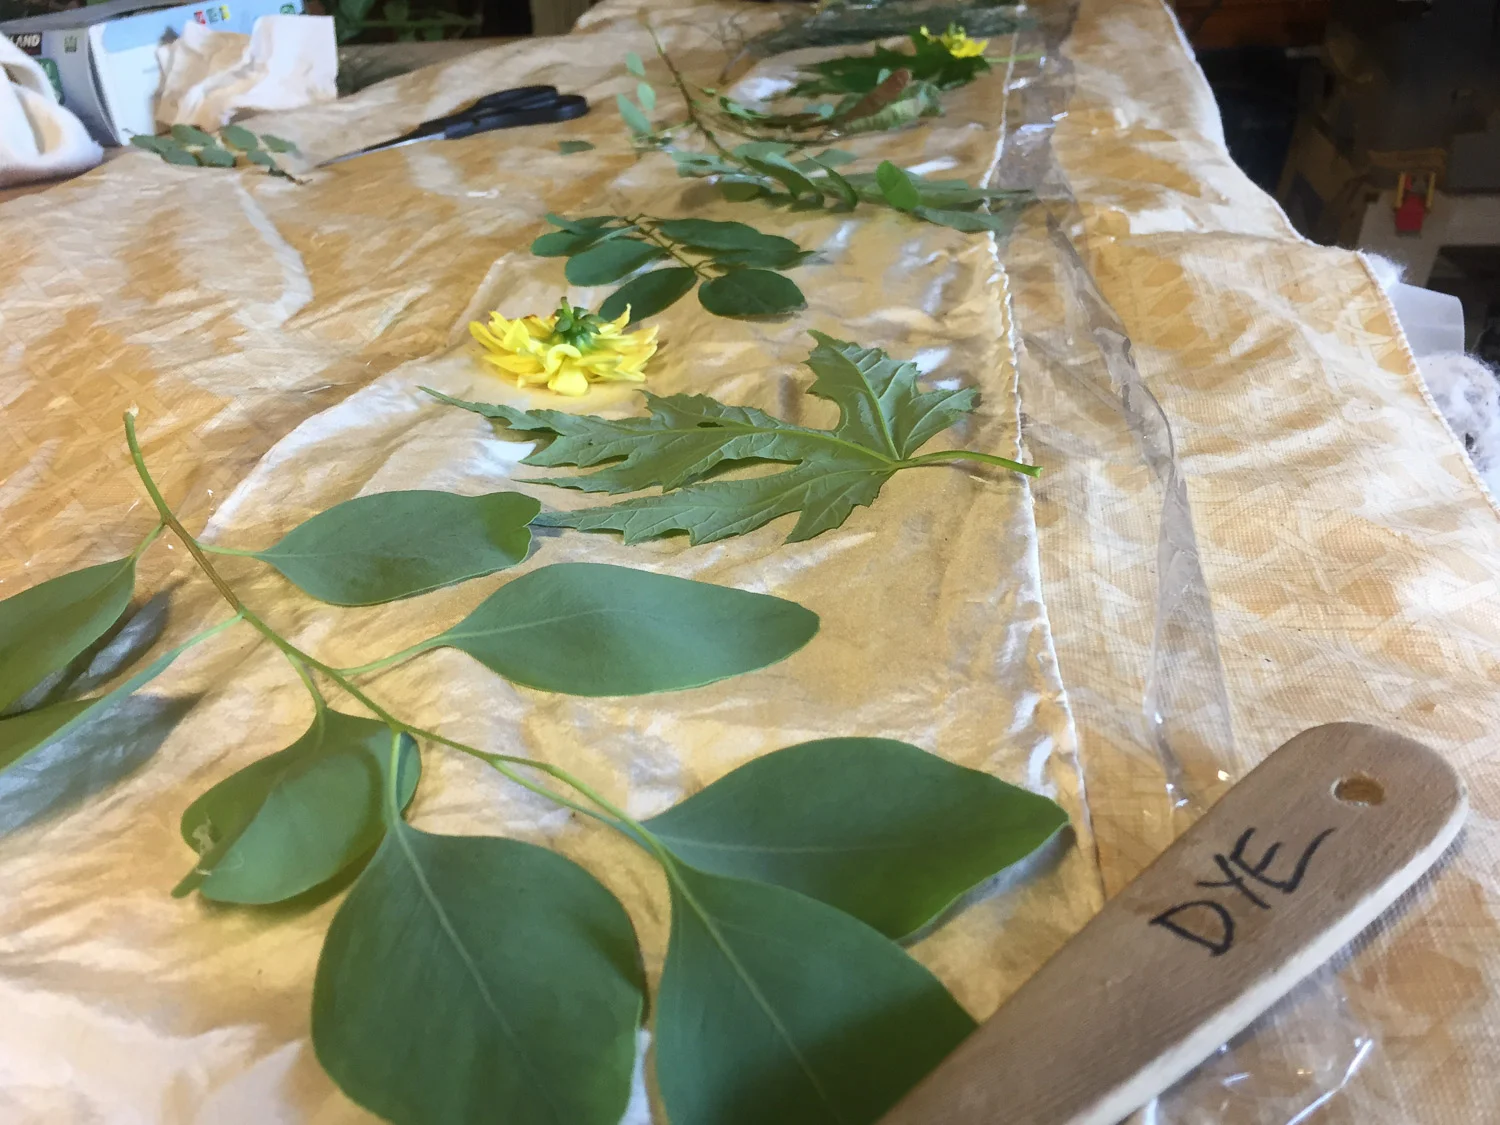
Here is the other end with eucalyptus leaves.
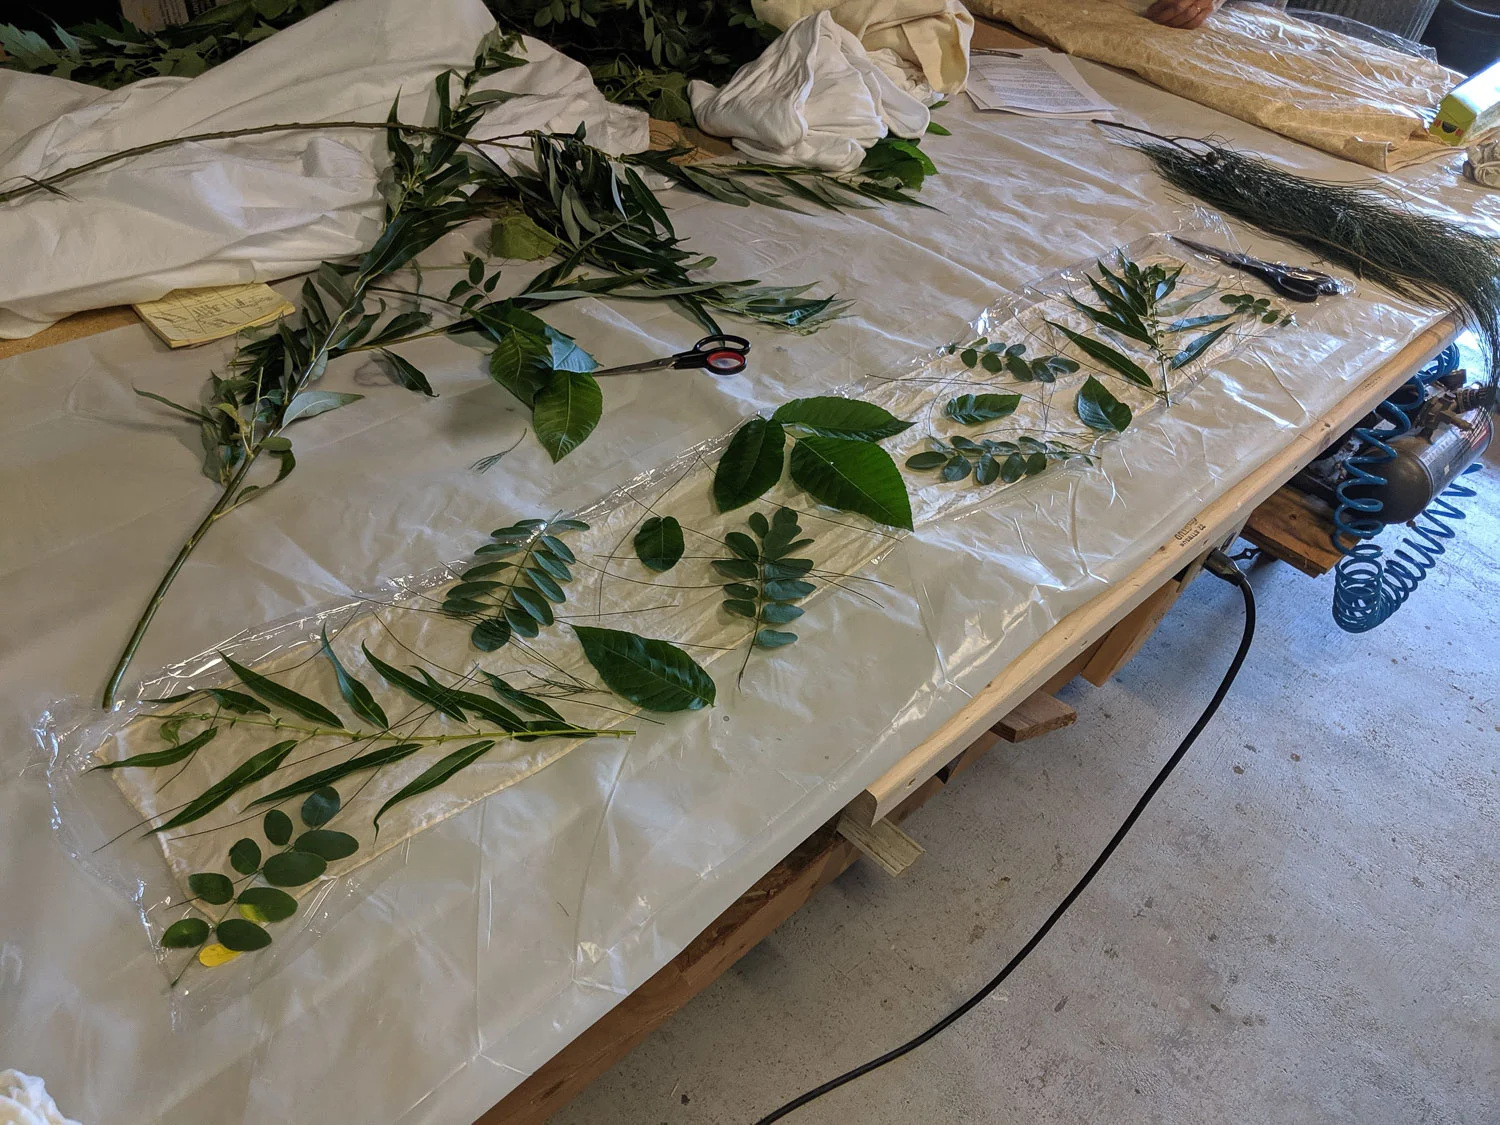
This is Emma’s first one (and her photo) using locust, weeping willow, sheoak, and walnut leaves.

I was remembering the sequence that I learned. Plastic, fabric, leaves, “blanket” fabric, plastic. The fabric and the blanket fabric are soaked in either the tannin or iron solution depending on the effect you want. Then you roll it all up (in this case around a PVC pipe) and steam it for 90 minutes. It doesn’t seem very “eco” with that plastic in there. I think the plastic is to keep the pigments from leaking through to other layers. It seems that if you use heavy plastic if can be used over and over so that’s not so bad.

We created our first three or four rolls and started them steaming. Then we worked on the rest. We didn’t open any of these up until they were cool the next day, but I am going to include the before and after photos together in this post because it is interesting to see the fabric with the leaves and then how the piece turned out.

Here is that first one of mine. The “blanket” is cotton cloth. It stayed white here while the silk scarf took on a purplish gray color. The leaves acted as a resist. I haven’t removed all the leaves in this photo.

Emma took this photo of her first scarf. I love how the fabric turns dark. I hope the color of the leaves remains after washing.

This is Emma’s second scarf (and her photos). This was a great effect. The oak leaves show up with a shadow of the eucalyptus behind them.

Next I tried a small piece of wool fabric dipped in the iron solution. I used eucalyptus, grape leaves, including the tendrils, and maple leaves.

I covered it with a tannin-soaked blanket made of an old sheet .

I love how this came out. I only hope the color lasts through washing. I will wait a week or so before washing because that is what the person from whom I learned this said to do. Note the thicker line across the top that goes through that top grape leaf. Look back at the “ before” photo. That line is from the sewn ridge on the old sheet—lesson learned.

A t-shirt attempt. I forgot to take a photo of the leaf arrangement that is under the front of this shirt.

This is the back.

The shirt was soaked in iron and the blanket fabric was in the tannin.

Emma decided to dip the leaves in the iron solution for another variation.
We thought that we ordered light weight cotton pants but these were more like sweat pants. Emma was game to try them.

Here are the finished pants. It was a bit hard to control some of the leaf placement. Love those yellow coreopsis.

This was to be the back of another t-shirt. This time the blanket was dry, the shirt was dipped in tannin, and the plants were soaked in iron..

Front of the same shirt.

Here is what it looks like when taking off the blanket.

The finished shirt.

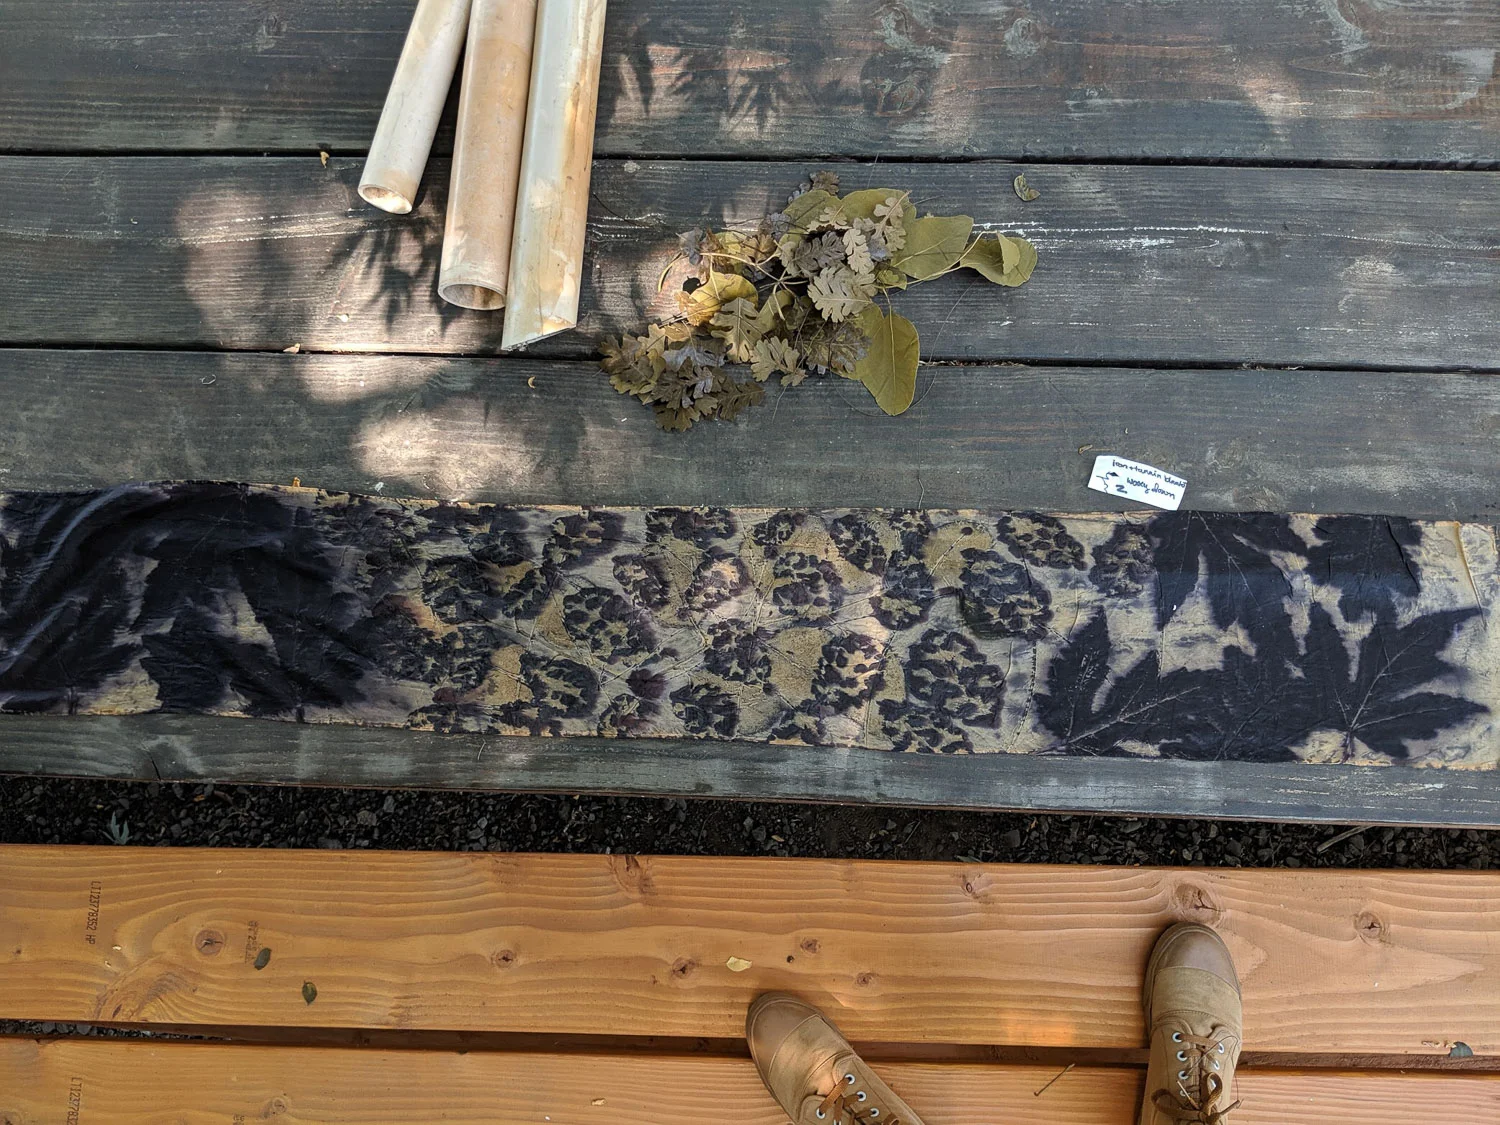
My last piece was a larger piece of wool. I laid the leaves on the wool, applied a blanket fabric and folded it all up. The design would be symmetrical. This is after I unrolled it after steaming.

Tis is the piece (with bright sunlight shining on in the lower left corner. I love this except for the crease. I want to see if I can find some kind of pan that will accommodate larger widths of cloth.
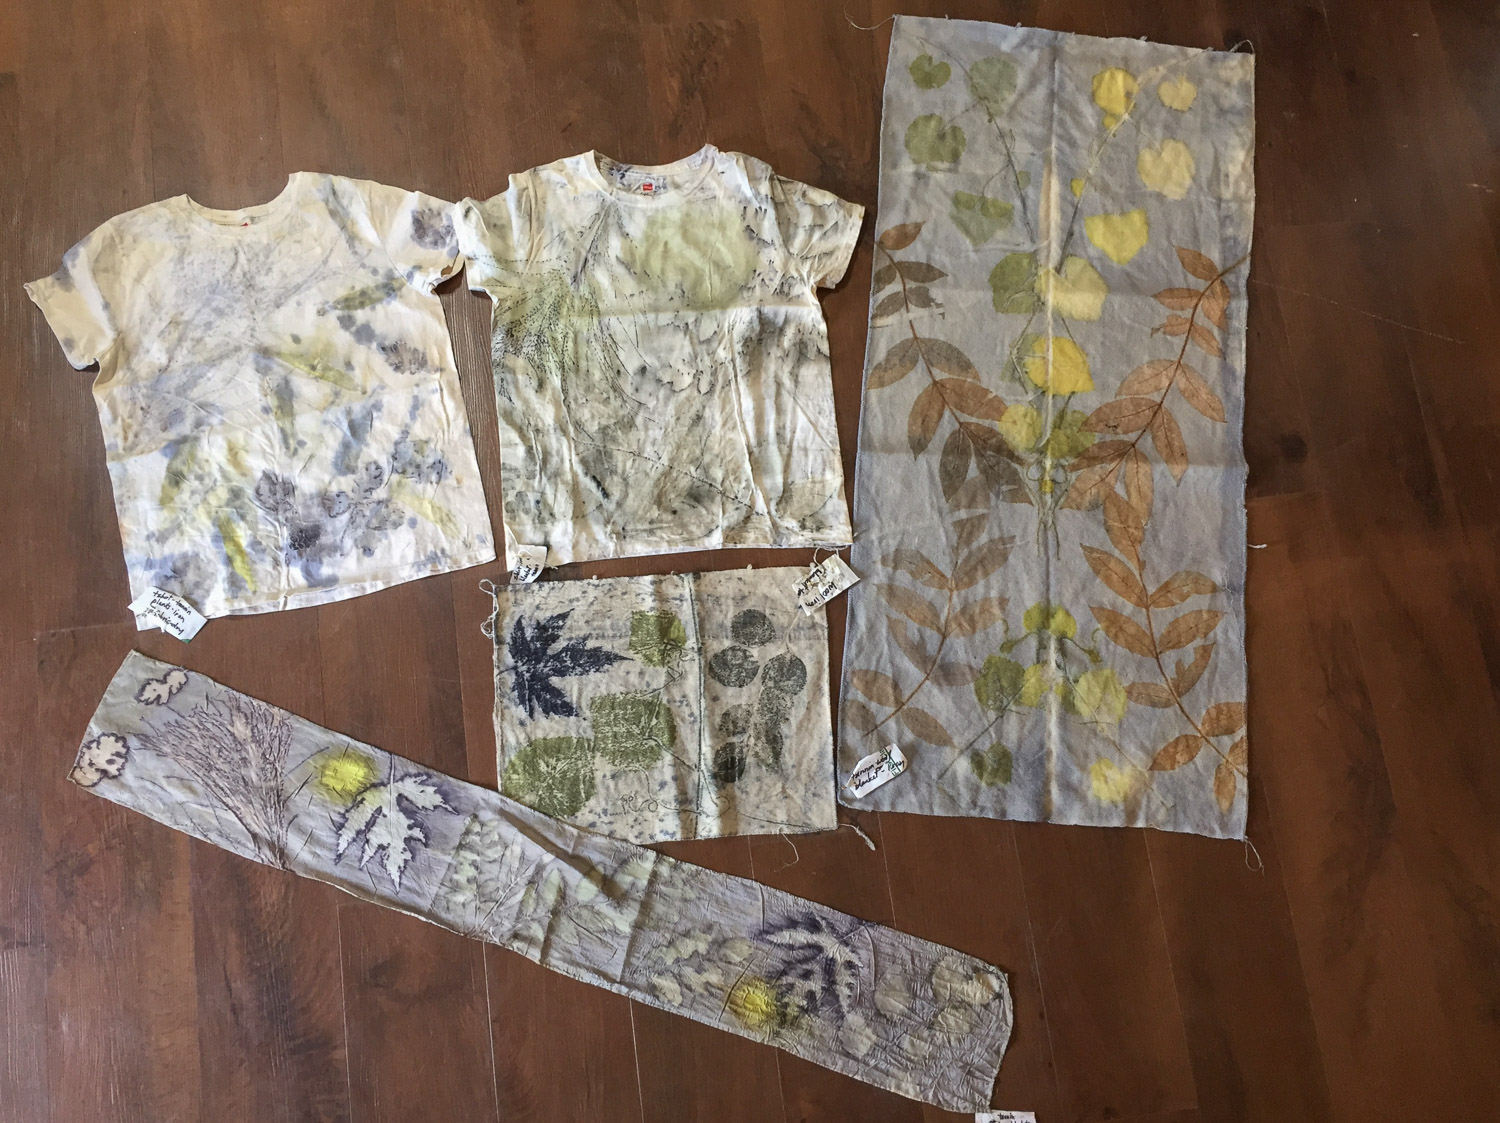
My finished pieces. I must say that I went into this with skepticism but this has convinced me to do some more.
