DIWF Make-over
/You've hear of DIY, Do-It-Yourself. DIWH is Do-It-With-Friends. Without friends offering to help and setting a date this Make-over wouldn't have happened. I was going to wait until it was everything was finished before I wrote a blog post, but that may be awhile. At the January Spinners Day Out we were discussing de-cluttering. I said that I really needed to deal with the mess in my office and then I wanted to paint it. Carole offered to paint. Dona said she'd help. Really? I'd better take advantage of those offers.
We set a date.  I bought sample cans of paint. How to choose? I was tempted by all the sheepy choices, but I wasn't going for gray. I thought I'd start with Pure Wool and a couple of the yellows.
I am embarrassed to show the photo below, but I didn't take a "before" photo of the office and this will have to do. Believe me, my office wasn't this bad. I had started the de-cluttering by very methodically sorting and boxing things and even finding a few things to give away or (gasp!) throw away. But by the time I had only a day or two left before our chosen work day I had to give up the organized de-clutter and just move it all with no thought to order. Get it out of the room!
 This is our unused "guest room" which really has never become a guest room because there isn't a bed right now and it has been full of overflow from everything else--extra looms, boxes, kids' stuff, etc. Now it is a real disaster area.
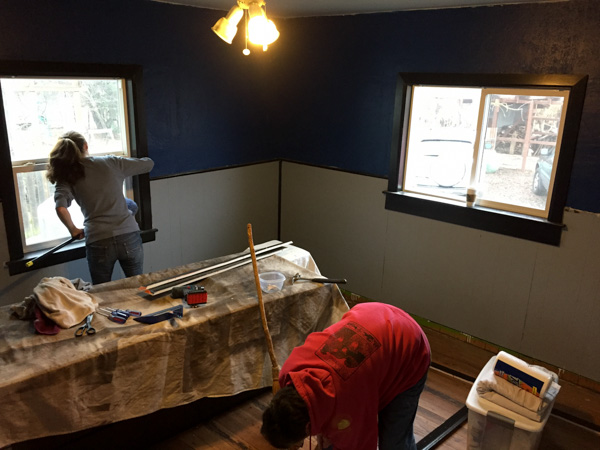 Back to the now un-cluttered room. The prep is always the worst part (besides moving all the Stuff.) Dona and Carole didn't come just for the painting part. They helped with all the prep work.
When my son was younger we painted the walls in different colors--red, blue, and green, and the closet was bright orange. When he got older his girlfriend (now wife) thought that he should have more a more grown-up room and they painted gray, blue, and black. My plan was to paint over those colors with white and yellow.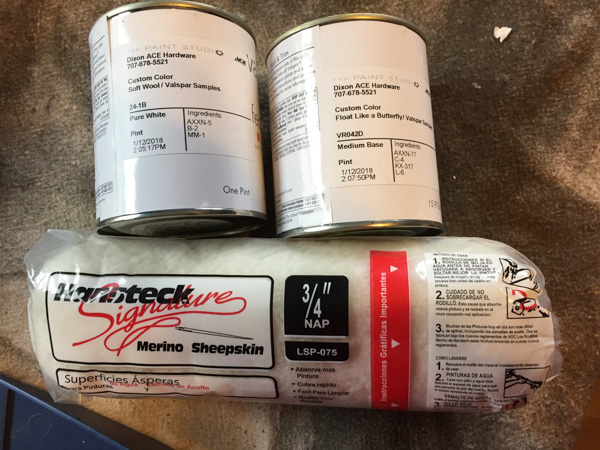 Ready to try out the paint. Carole is a remodeling pro and has the right tools for the job. She brought the Merino wool roller (and I found that you do get what you pay for).
 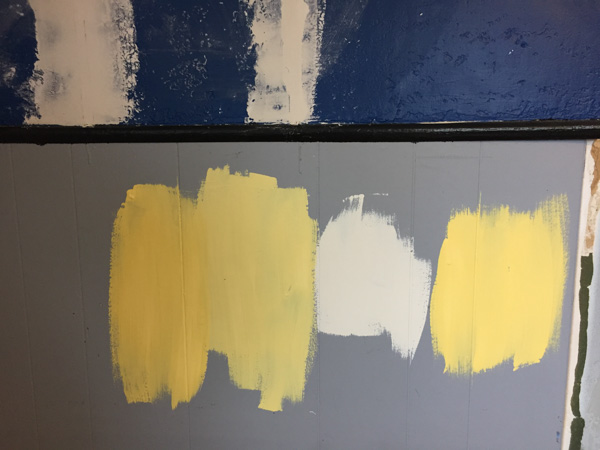 We started with samples. Soft Wool was the obvious choice for the white. I thought that I was going to like You Are My Sunshine, but decided to go with the lighter Float Like a Butterfly.
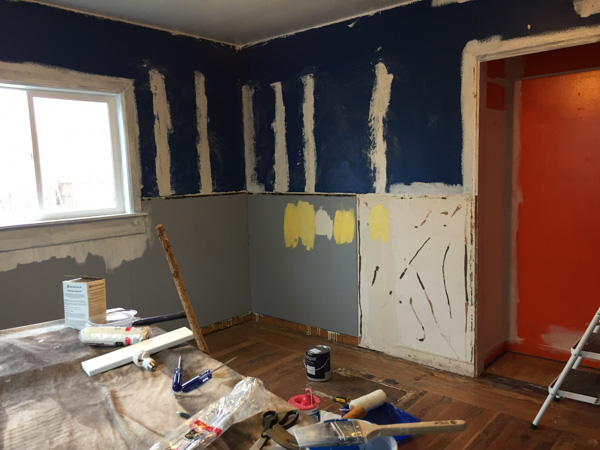 I had taken metal shelf brackets off the wall and in doing so started peeling off old wall paper that was covered by layers of paint. It made quite a mess but Carol knew how to fix it. This was step one. Notice the bright orange closet. Also, my husband said that he'd add electrical outlets since this room had outlets on only one wall. Therefore, we took a section of the lower paneling off two walls.
 This is how we left the room after the first day. I did a second coat of primer that evening, but we had to let the mud (joint compound) dry before painting that part of the wall.
 I don't know why Sunny thought this was a good spot. Maybe because the printer is under the tarp and he loves to stalk the printer when it is printing.
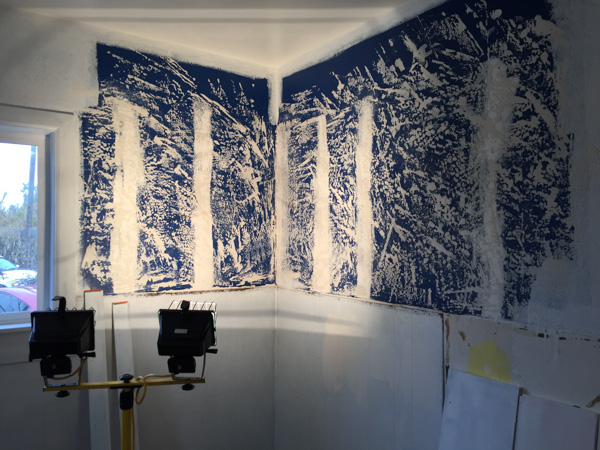 The next day Carole textured the wall to try and disguise the joints and set up lights so that it would dry more quickly.
 In the meantime we started with the yellow. It doesn't show well in this photo...
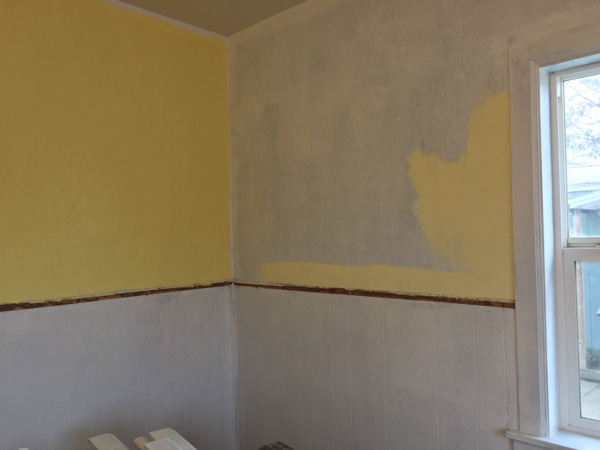 ...but Float Like a Butterfly (on the left wall) was a bit more intense than I had anticipated. It seemed like it might be overwhelming when painted on all the walls but I was going to just go for it, even with reservations. I didn't want to go back to the store. Carole convinced me that we had other options.
  We mixed the white (Soft Wool) with the Butterfly in a 1:1 ratio. That mixture is on the wall to the right in the upper photo. Just right.
 So we took the gallon of Soft Wool and blended it with the gallon of Float Like a Butterfly to come up with Woolly Butterfly. Since we mixed two gallons I have a lot of this left over--I think I'll need to paint another room with it.
 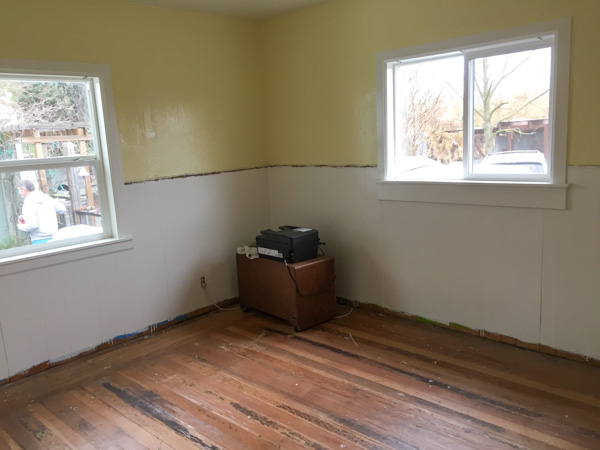 I love how it looks. Note that there will be a trim board between the yellow and the white. That is another one of those things that is never as easy as it should be. That's a long story, but I need trim that is wider than the standard to cover up the mess left from peeling old wallpaper and layers of paint. Next week maybe.
So now there was the floor. I realized that if I was ever going to fix the floor now would be the time when all the furniture was out of the room. The existing floor is not hardwood. It is a subfloor with nothing underneath and is in rough enough shape that I get splinters in my feet. We had bought a vinyl flooring for the rest of the house and hadn't installed it yet. So I decided that this would be our test room for that flooring. It took me awhile to figure out how to connect these boards properly. It helps when you read the instructions and watch the video and then DO WHAT THEY SAY.
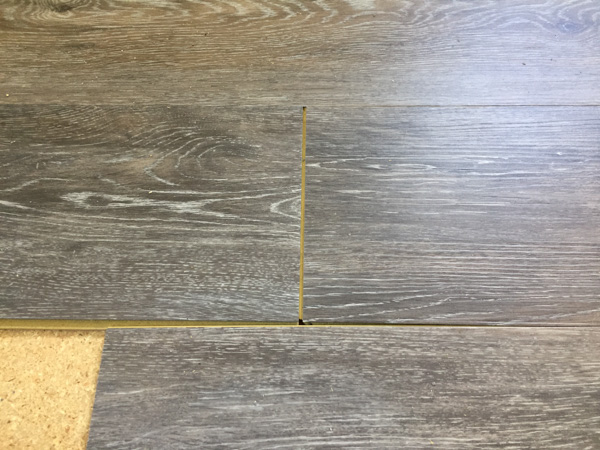 Once I figured out the method I won't say that it went quickly, but I knew how to install it properly so that the joins would be tight and it would lay flat...
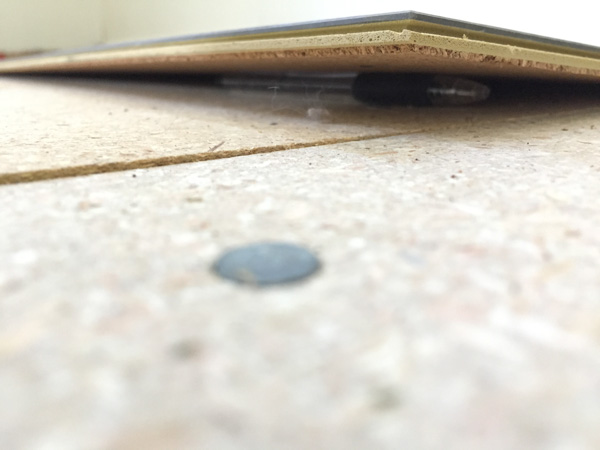 ...like the importance of removing foreign objects from the floor before installation.
 The biggest hurdle was that the paneling on the walls was not firm. You use spacers to leave a 1/4" gap between the flooring and the wall but need a solid wall when you're tapping the lengths of flooring together. I looked around the barn and the garage for something that would work and finally found an old rasp and some pieces of metal. The rasp was solid enough to be firm and the other metal pieces made up the 1/4" necessary.
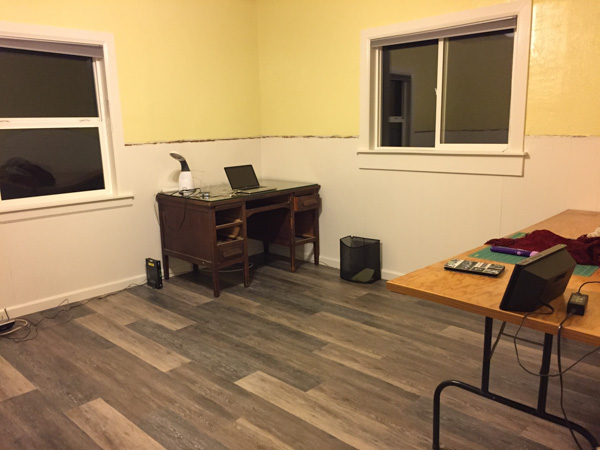 Here is the room after putting the flooring in. I put my desk and a table back in so I could get back to work, but I haven't dealt with all that stuff in the other room yet. I hadn't even put the desk drawers back yet. I have high hopes for how this will look when I have it all back together and have de-cluttered the rest of the house.
Thanks to my friends for making this happen.
\
