Yesterday

In a round-about way I figured out how out how to find my photos that are resized for the blog. I will probably learn a better way later.

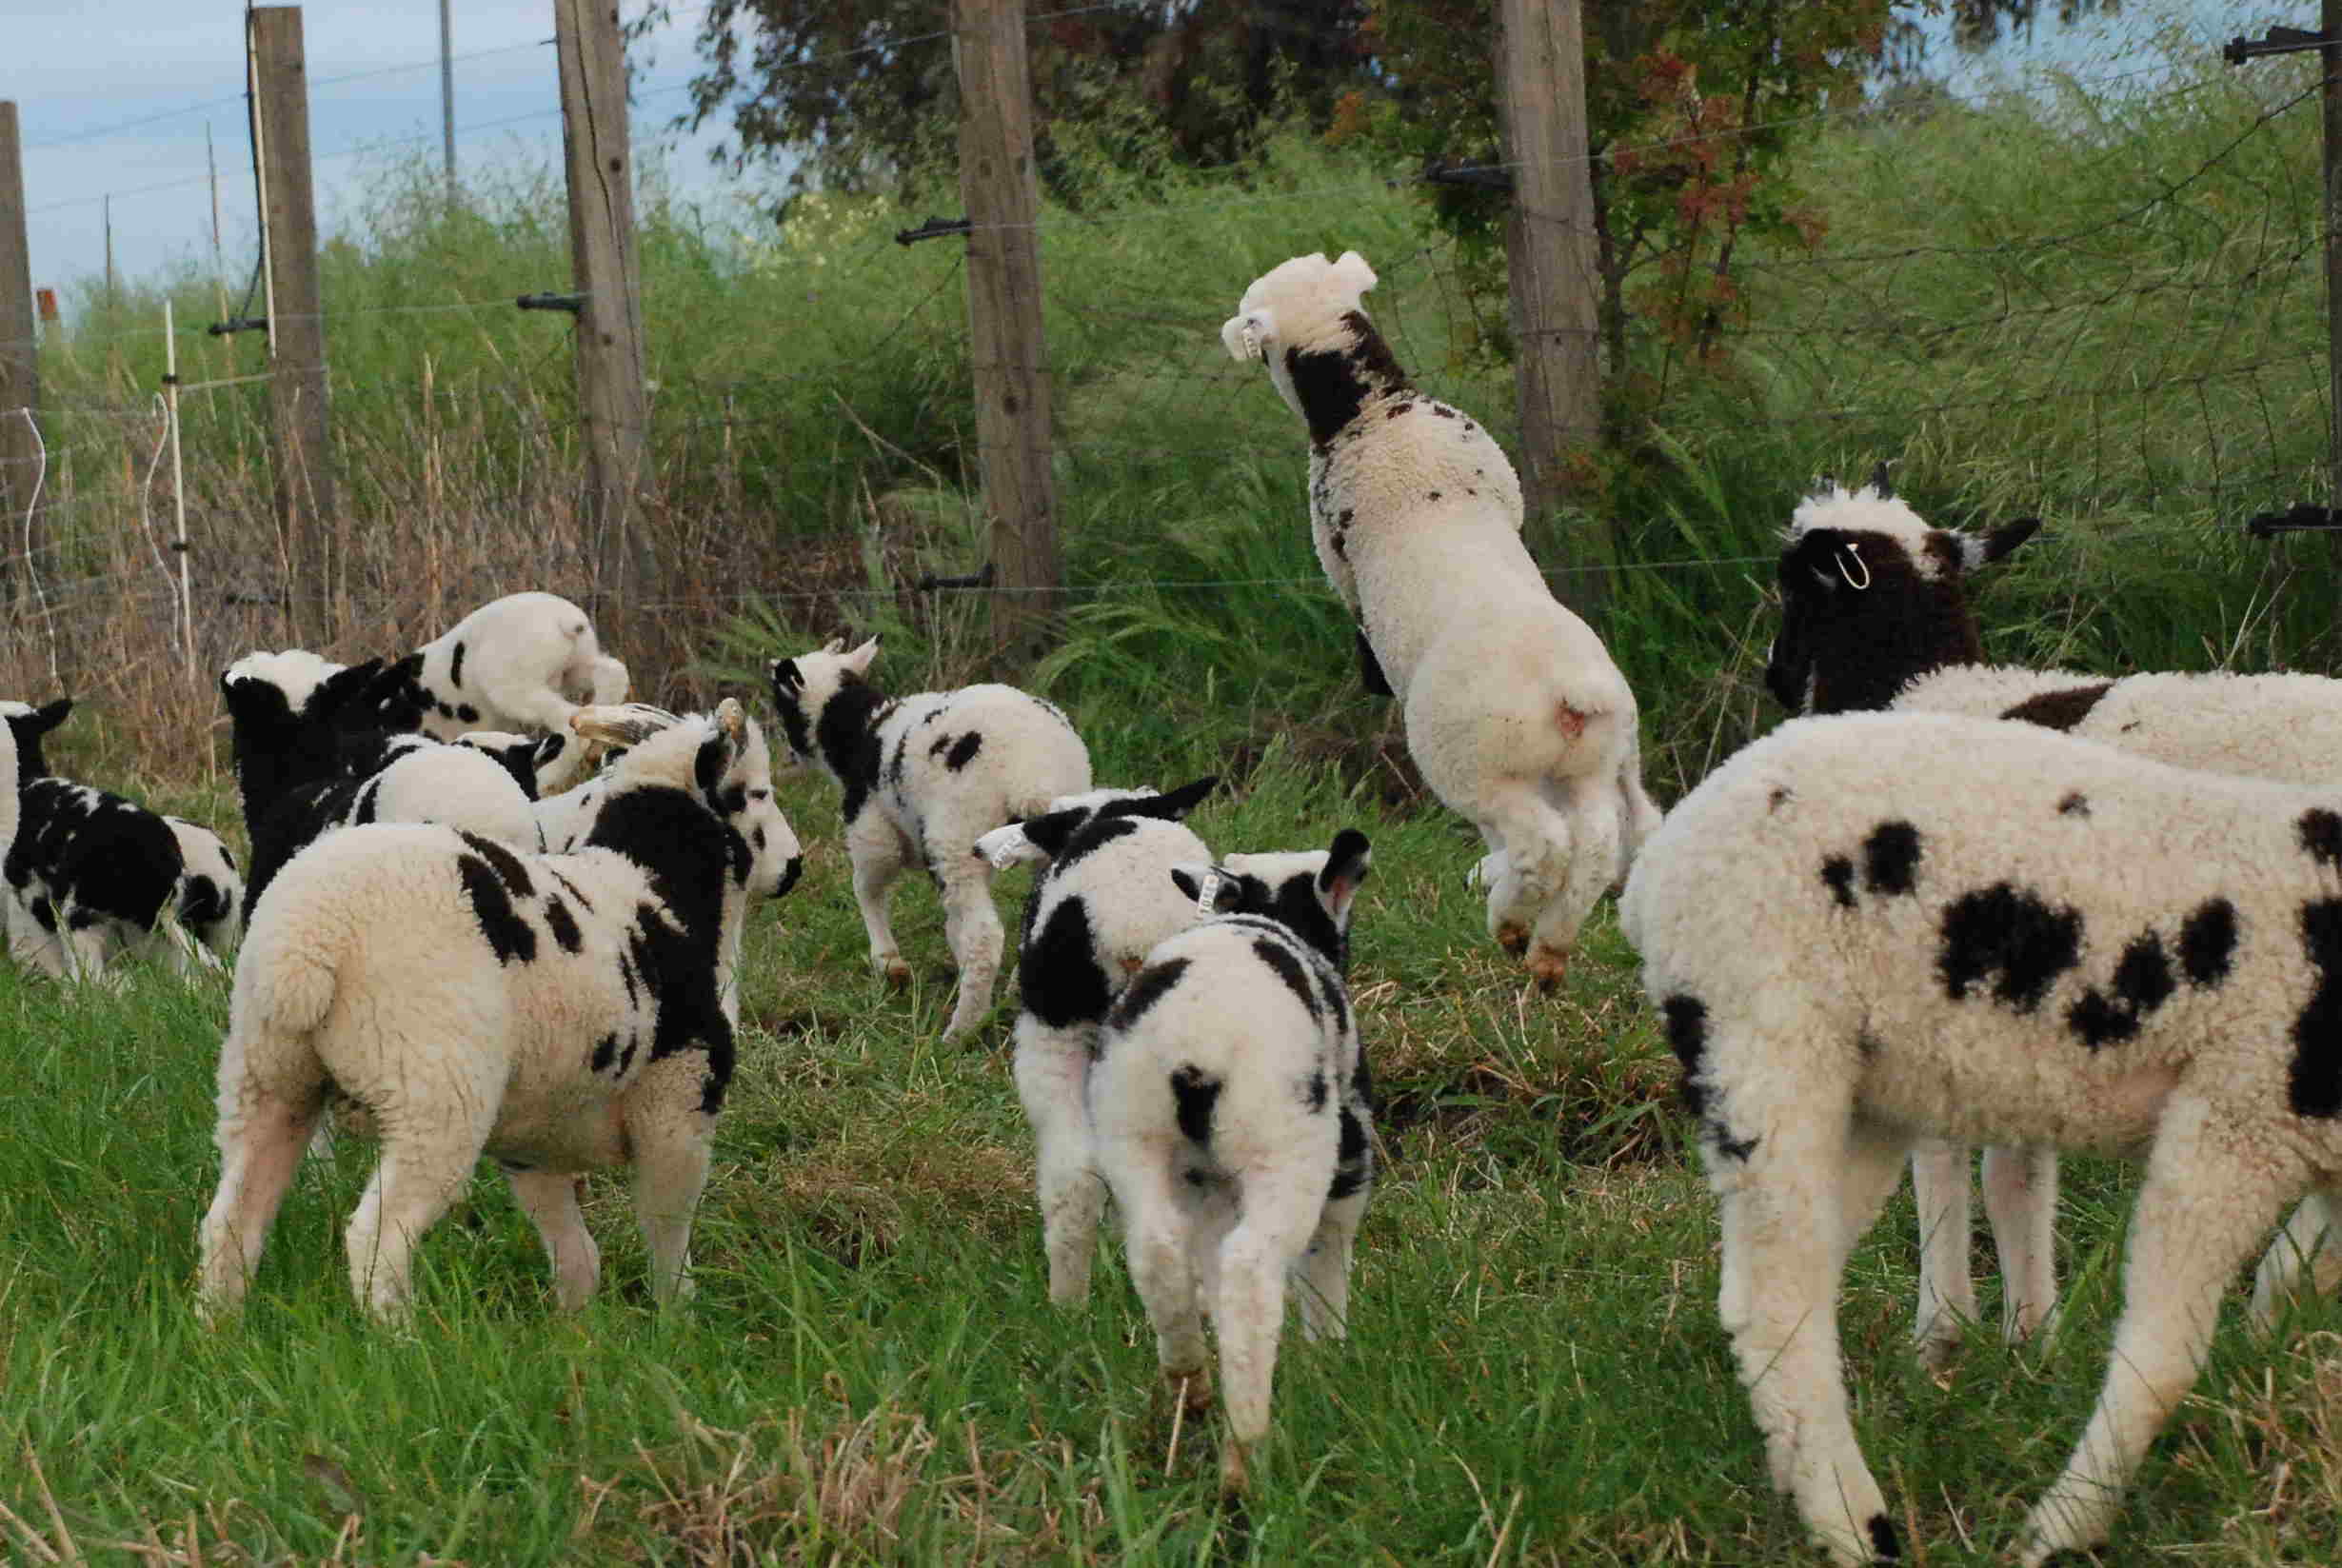
My friend, Jackie, had asked me to check Rusty's social calendar  for Wednesday because she needed help moving her sheep into the shelter in preparation for shearing a few of them today. What a difference a dog makes. Poor Rusty didn't get to do much because once he showed up the sheep WANTED to go in the shelter with the llama.

Back at the shop, here is what UPS delivered today. This is silk/merino sliver in several colors. Soft, ready to spin.

And this is soft Merino fiber. Now I need to get this posted on my website.

Learning curve

I have a new computer! Yippee! I've been thinking about this for a year. I debated desktop vs. laptop. Laptop won. I debated PC vs Mac. At first I decided that I had to stay with the PC but Mac eventually won out. I'm having a good time with it, but I don't have any of my "work" on it yet. No Quickbooks. No Office. I have been playing with photos, but still don't know how to resize them to put them here. If I figure it out before this post is done there will be a photo. If not, I'll wait until I visit my DIL who is going to help me or I go to the class at the Apple store.

Experiments with Fire

Faithful readers of this blog will have read my whining about medusahead in the pasture. Medusahead is a noxious annual grass, unpalatable due to high silica content. Due to it's later date of maturation, it is noticeable on the hills as the light green color when the other annual grasses have dried out. After it has gone to seed it leaves a dense litter through which nothing else will germinate. Medusahead covers part of one of my paddocks and is increasing in area. During my visit to Jepson Prairie (see pretty pictures in last post) I read the signs about how they had used prescribed fire to control medusahead. "Fire is usually 100% effective at controlling medusahead if done before its seed heads shatter." A couple of months ago I bought a fire-breather tool (I can't remember the real name) that is attached to a propane tank. It is sold for use in weed control, particularly when weeds are small. It's intended use is to heat the  plants and burst the cells rather than actually setting them on fire. I thought I'd experiment in the field. Having just irrigated (in addition to unexpected May rain) the plants were wet and there was even standing water in many areas of the pasture. I wasn't worried about starting any wildfire.

On the way to the medusahead I saw a thistle. Normally I'd just dig this up, but having a propane tank  rather than a shovel, I blasted it with fire. You can see the singed leaves.

This is the thistle the next day. It may not have killed the whole plant, but you can see how it destroys the part that was heated. If the plant was very small that would be the end of it.

I didn't really have a plan but started burning various parts of the medusahead covered area. Because of the moisture content, I wasn't seeing much fire, but I was singing off the bristly parts of the seeds and burning a little of the litter. Then I noticed this.

Notice the forbs growing under the medusahead. I don't want to kill those plants. I want to encourage them. This made me wonder if it would be effective to just burn (or superheat) the tops of the medusahead. This brought up several questions.  Would super-heating it stop the seed from developing? Are the seeds already viable even though the plants life cycle isn't complete? If I heat the top of the plant enough to burn off the outer part of the seed head will it kill the seeds? If I do this will the plant produce more seed heads? I decided I needed a test-plot.

I used fiberglass fence posts to make 5 plots. The two upright fence posts mark two corners. They are hard to see, but trust me, they are there.

My plots are:

1. Flame (superheat) the tops of the medusahead long enough to burn off the outer halo of the seed heads.  Are the seeds already viable? If they aren't, will this stop their development. If they are viable, will this kill them. I don't know.

2. Flame the tops of the medusahead longer than in #1 so that I can see more damage done to the seed head. Same questions as #1.

3. Flame the stalk of the plant in between the base and the seed head. If the seeds aren't already viable will this stop the development?

4. Flame the base of the plant to damage it.

5. Burn the whole *#@&^% thing.

Remember that the plants are wet from rain, the plants are still green, and in some places there is plenty of ground moisture if not standing water. If this were "normal" conditions I'd probably be starting a fire. And it may be that FIRE is the best answer. Even if I succeeed in reducing the seed produced by the medusahead, in much of the area there is still that heavy thatch which probalby needs to be burned off. And maybe I need to completely remove the plant and it's seed by incinerating it.  But that's another issue.

There are too many photos to post here, but I'll give you an example of what I did.

Here is Plot 2 before burning.

This is a close-up of the tops of the plants after burning.

This is a view of the plot the next day.

This is Plot 3

This is Plot 3 after burning.

Plot 3 the next day.

I don't know what all this will tell me. I didn't set this up so that these are permanent plots and I think I want to burn everything to be sure. But I have raised some questions for which I want to find answers. I know a couple of people to ask. I'll report back if I learn something.

Jepson Prairie

I wasn't sure if I had missed most of the wildflower show at Jepson Prairie Reserve but I thought I'd go see this morning. Jepson Prairie is a natural area owned by the Solano Land Trust. The website says: The reserve protects one of the best few remaining vernal-pool habitats, which are found only in the western United States and few other places in the world, as well as precious remnants of native bunchgrass prairie that once covered one-fourth of California.

Today's weather is a bit crazy for May. The reserve is just about 10-15 miles southeast of our place and I was watching the black clouds as I got closer.  As I got out of the car I saw lightening and decided to wait it out for awhile (in the car). So I drove down the road through the reserve.

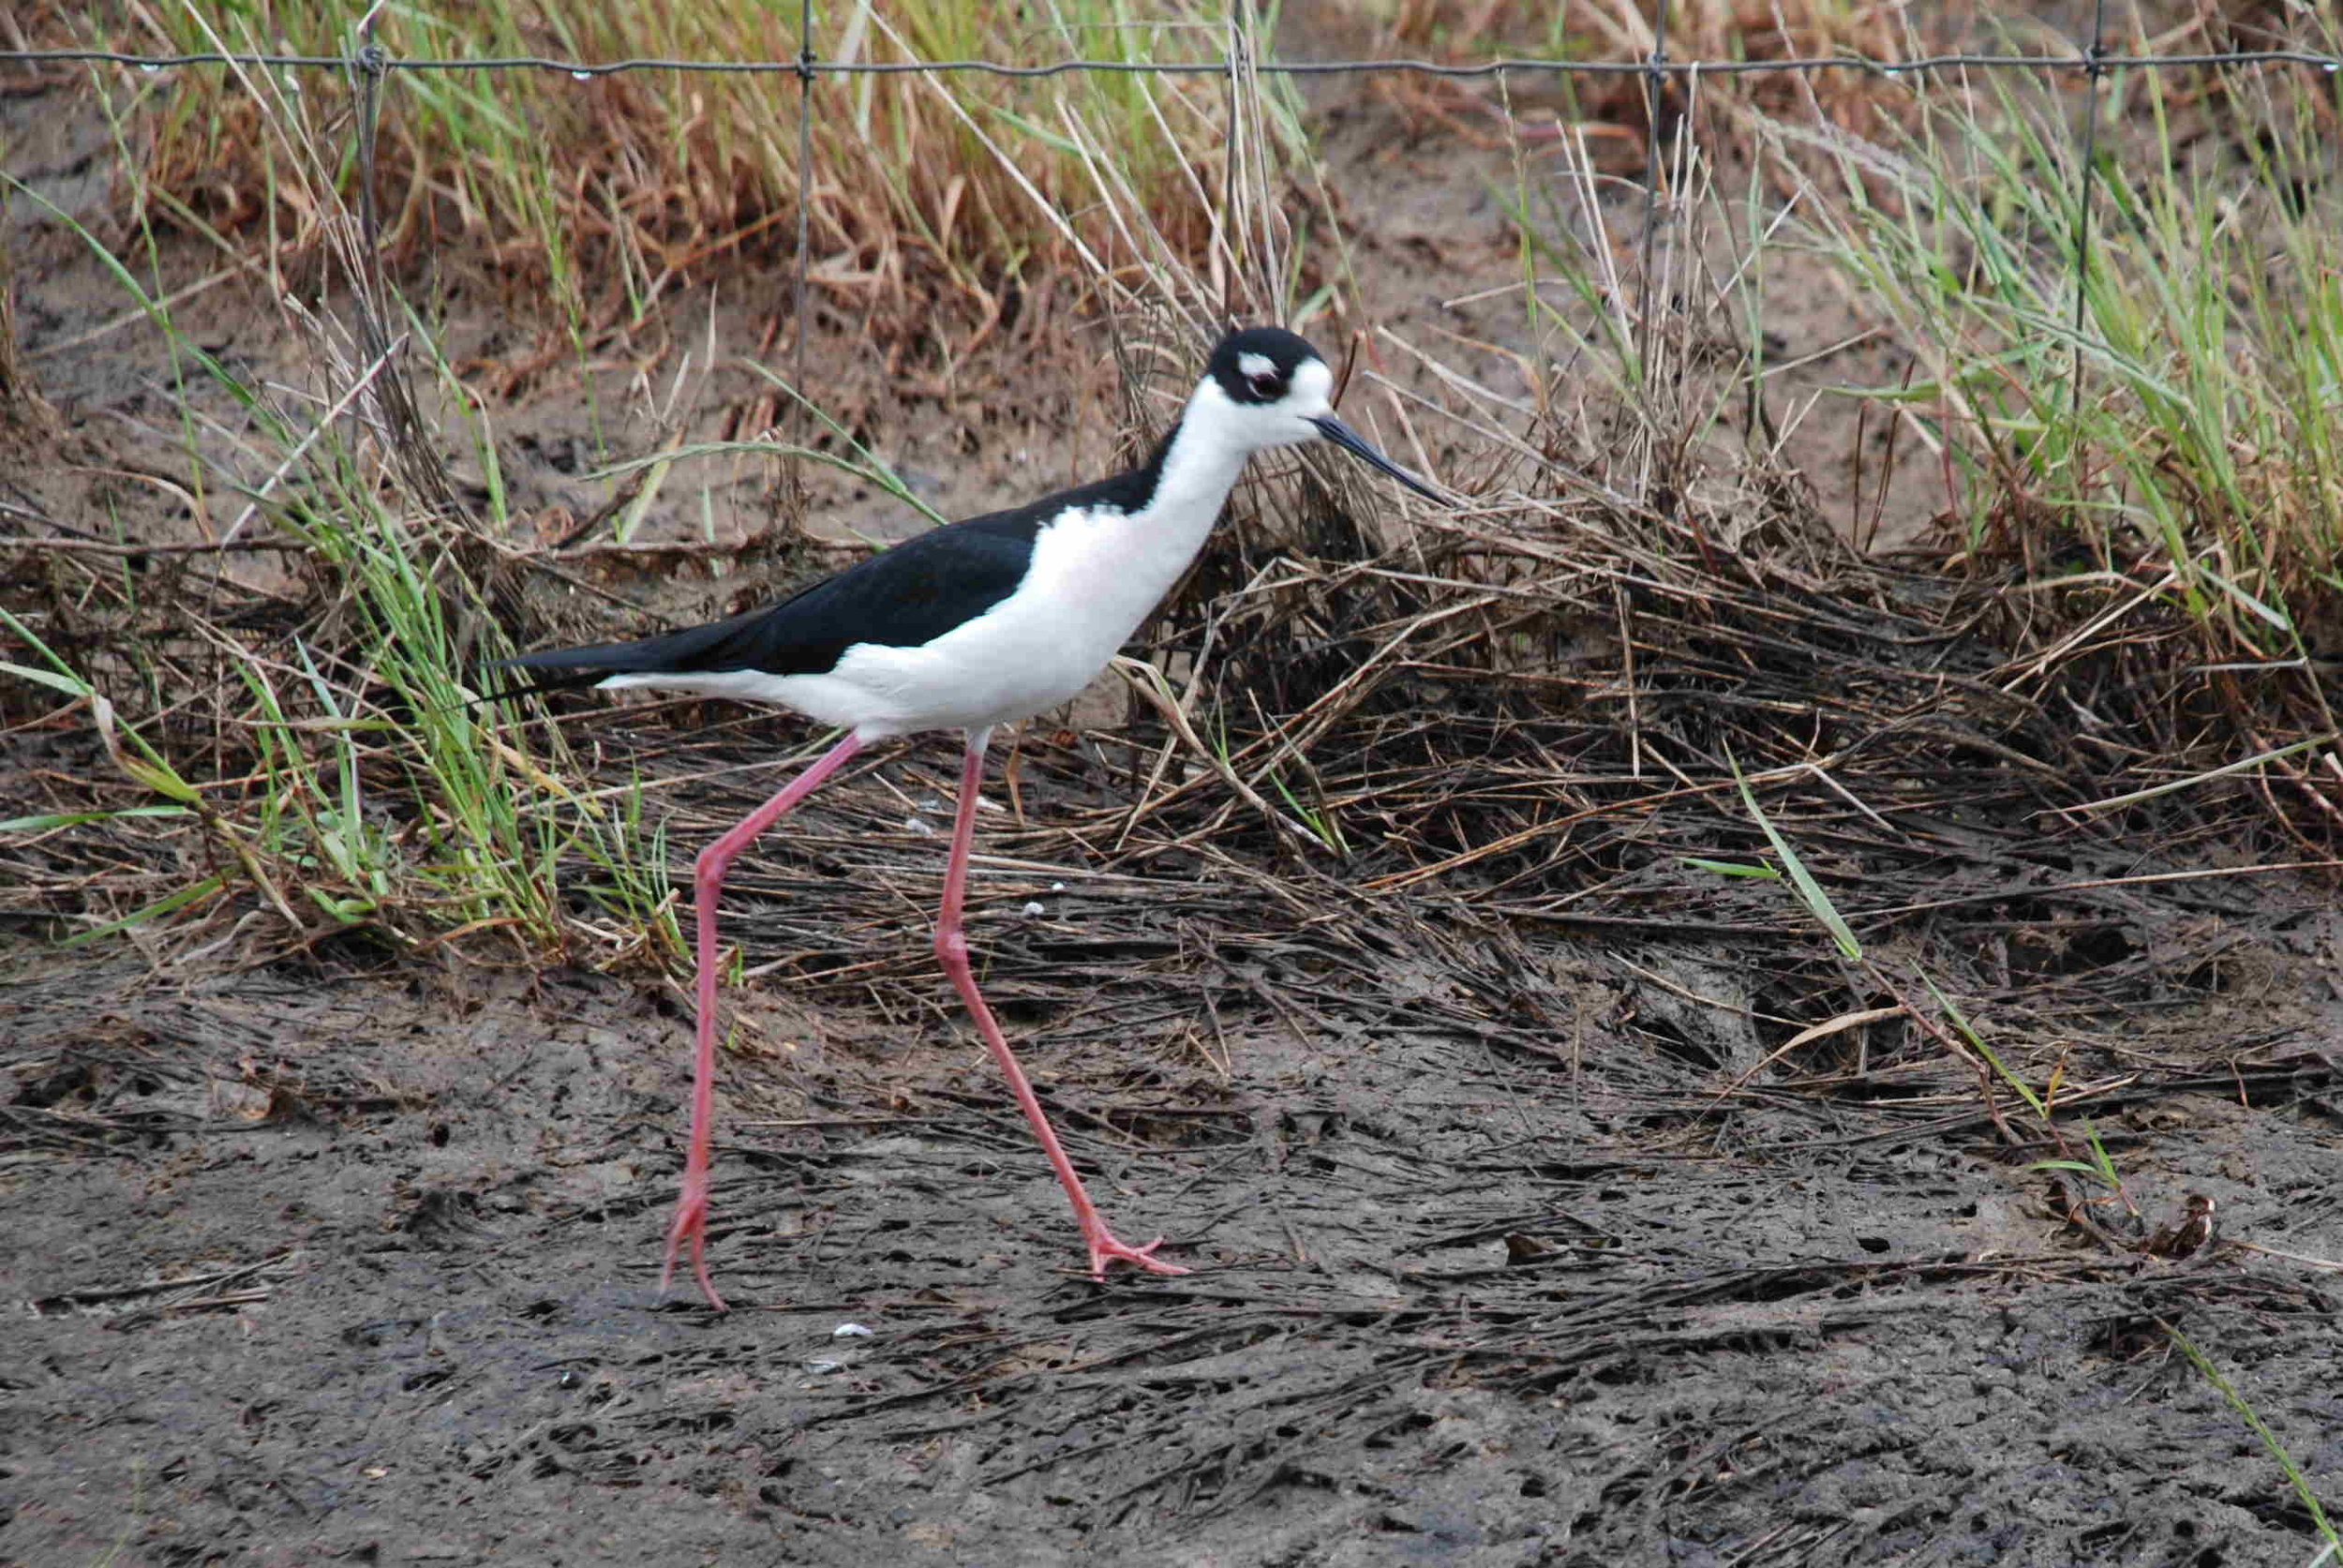
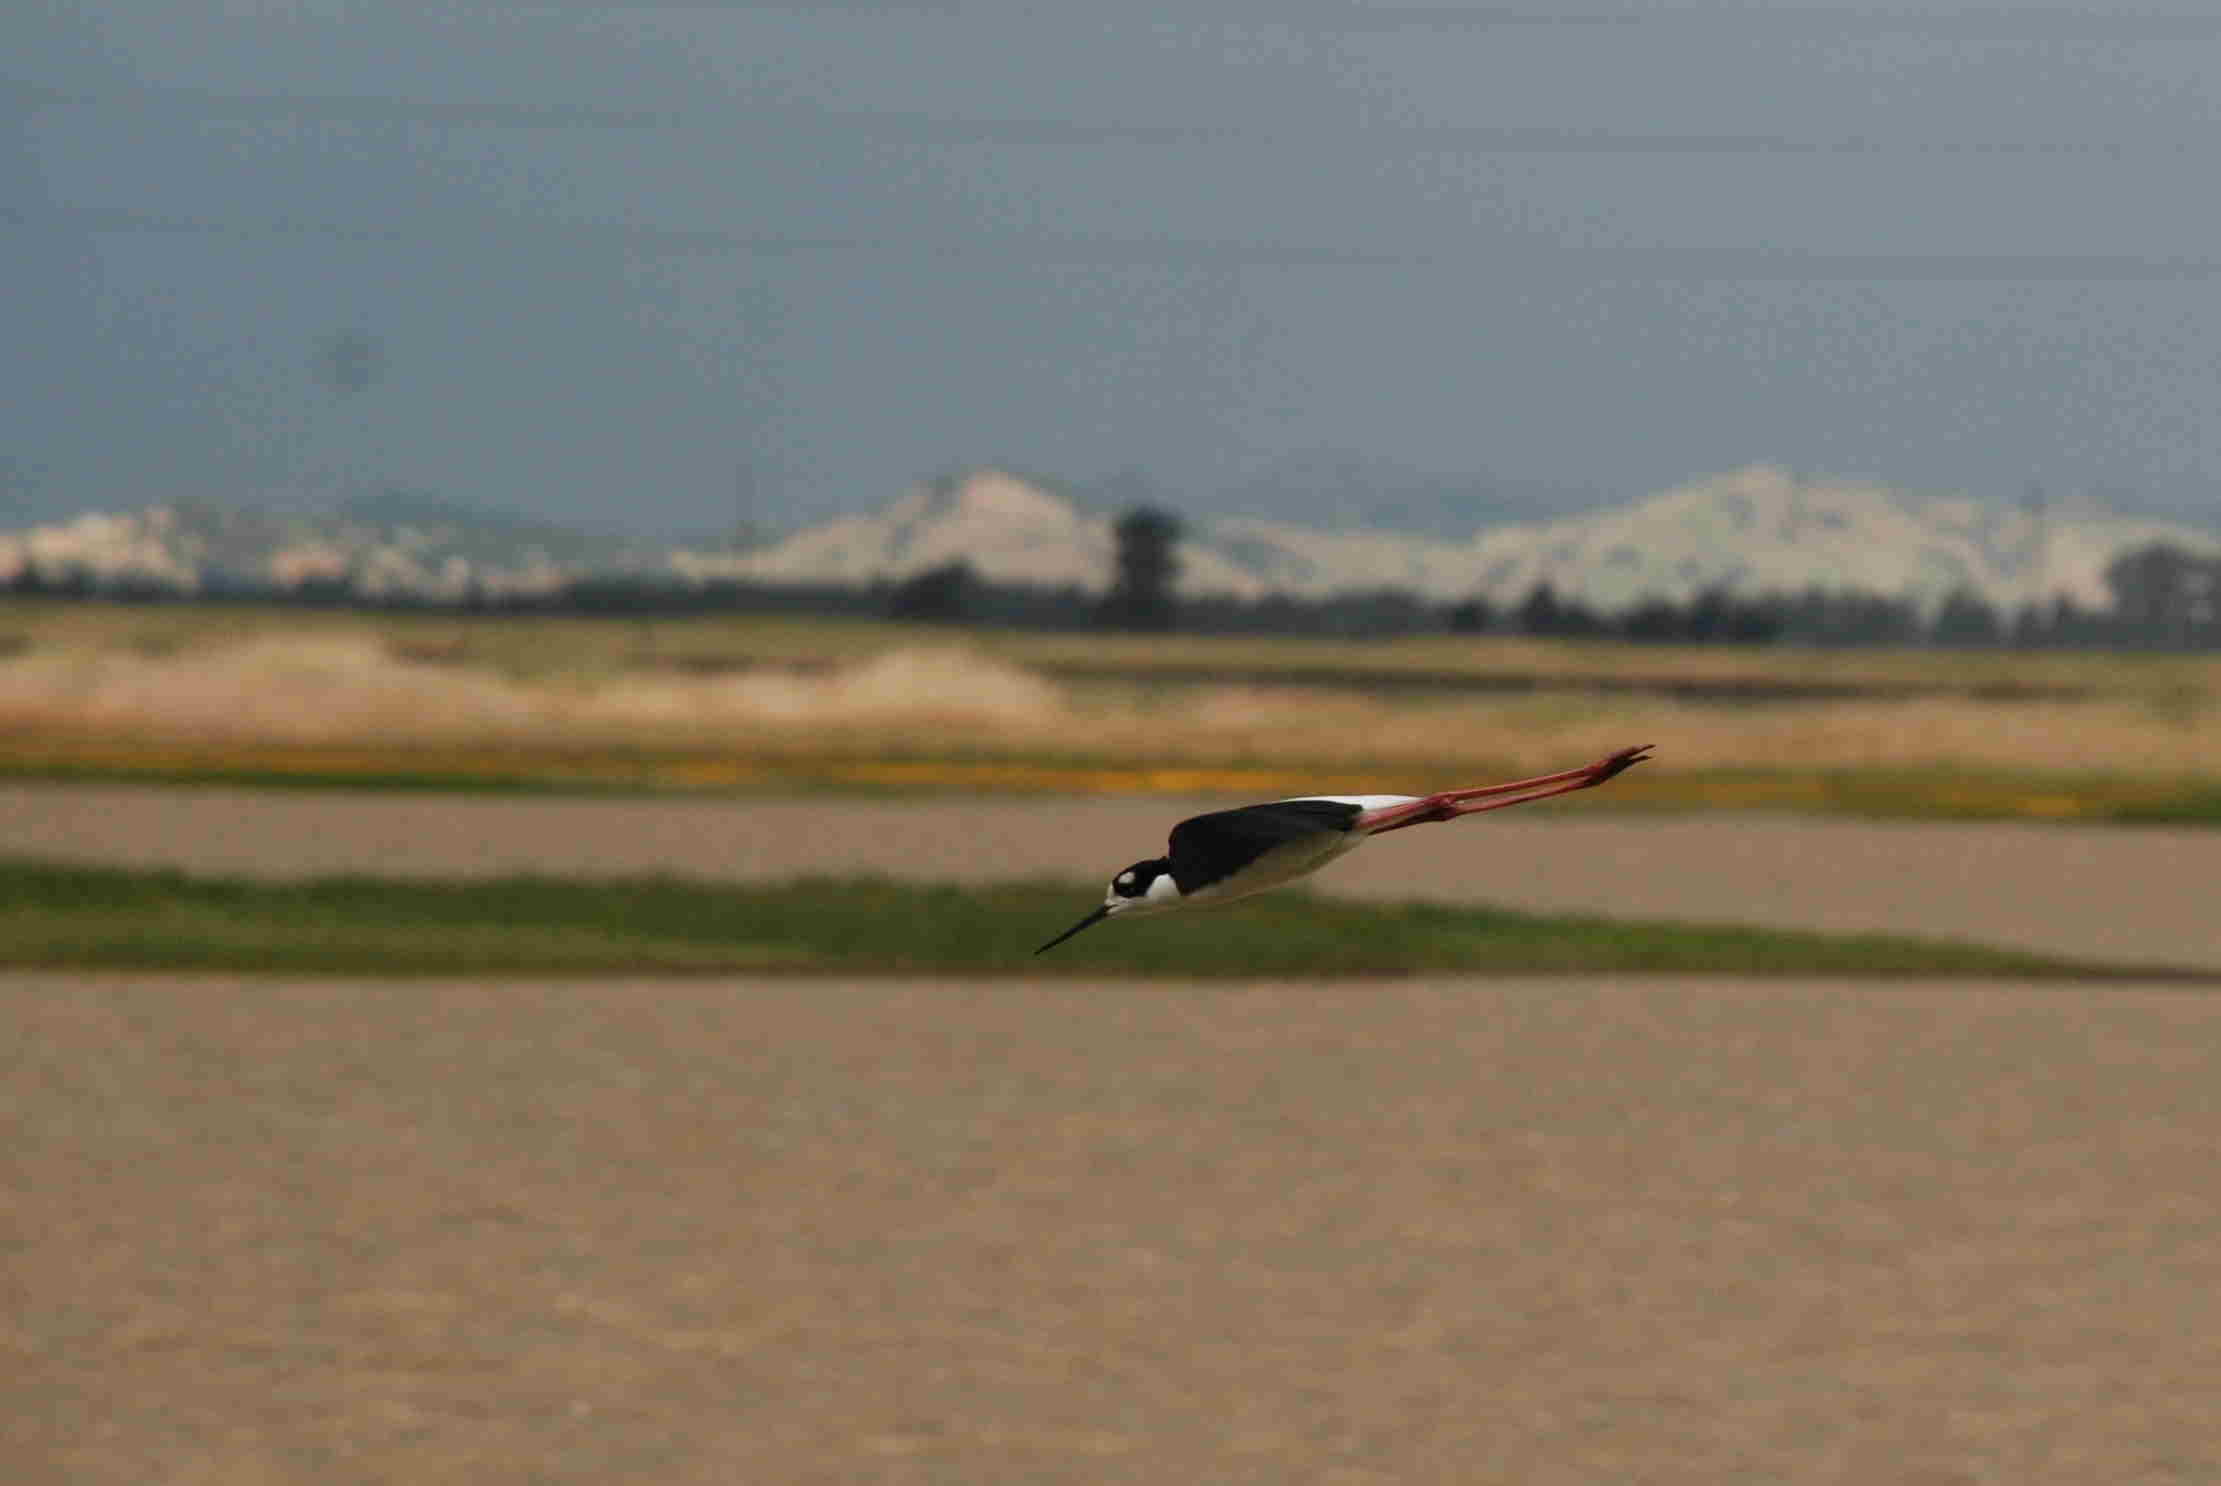
I can't find my bird book so I'm going to count on my best birding friend (I was going to say Claire, but now there are more birding friends out there) to chime in here.

No that's not snow in the background. It's the hills that are drying out.

As green as it is in my pasture and in the surrounding farm land, the Central Valley would be a desert without water. So the prairie is drying out and I missed a lot of the wildflowers for the year, but not all.

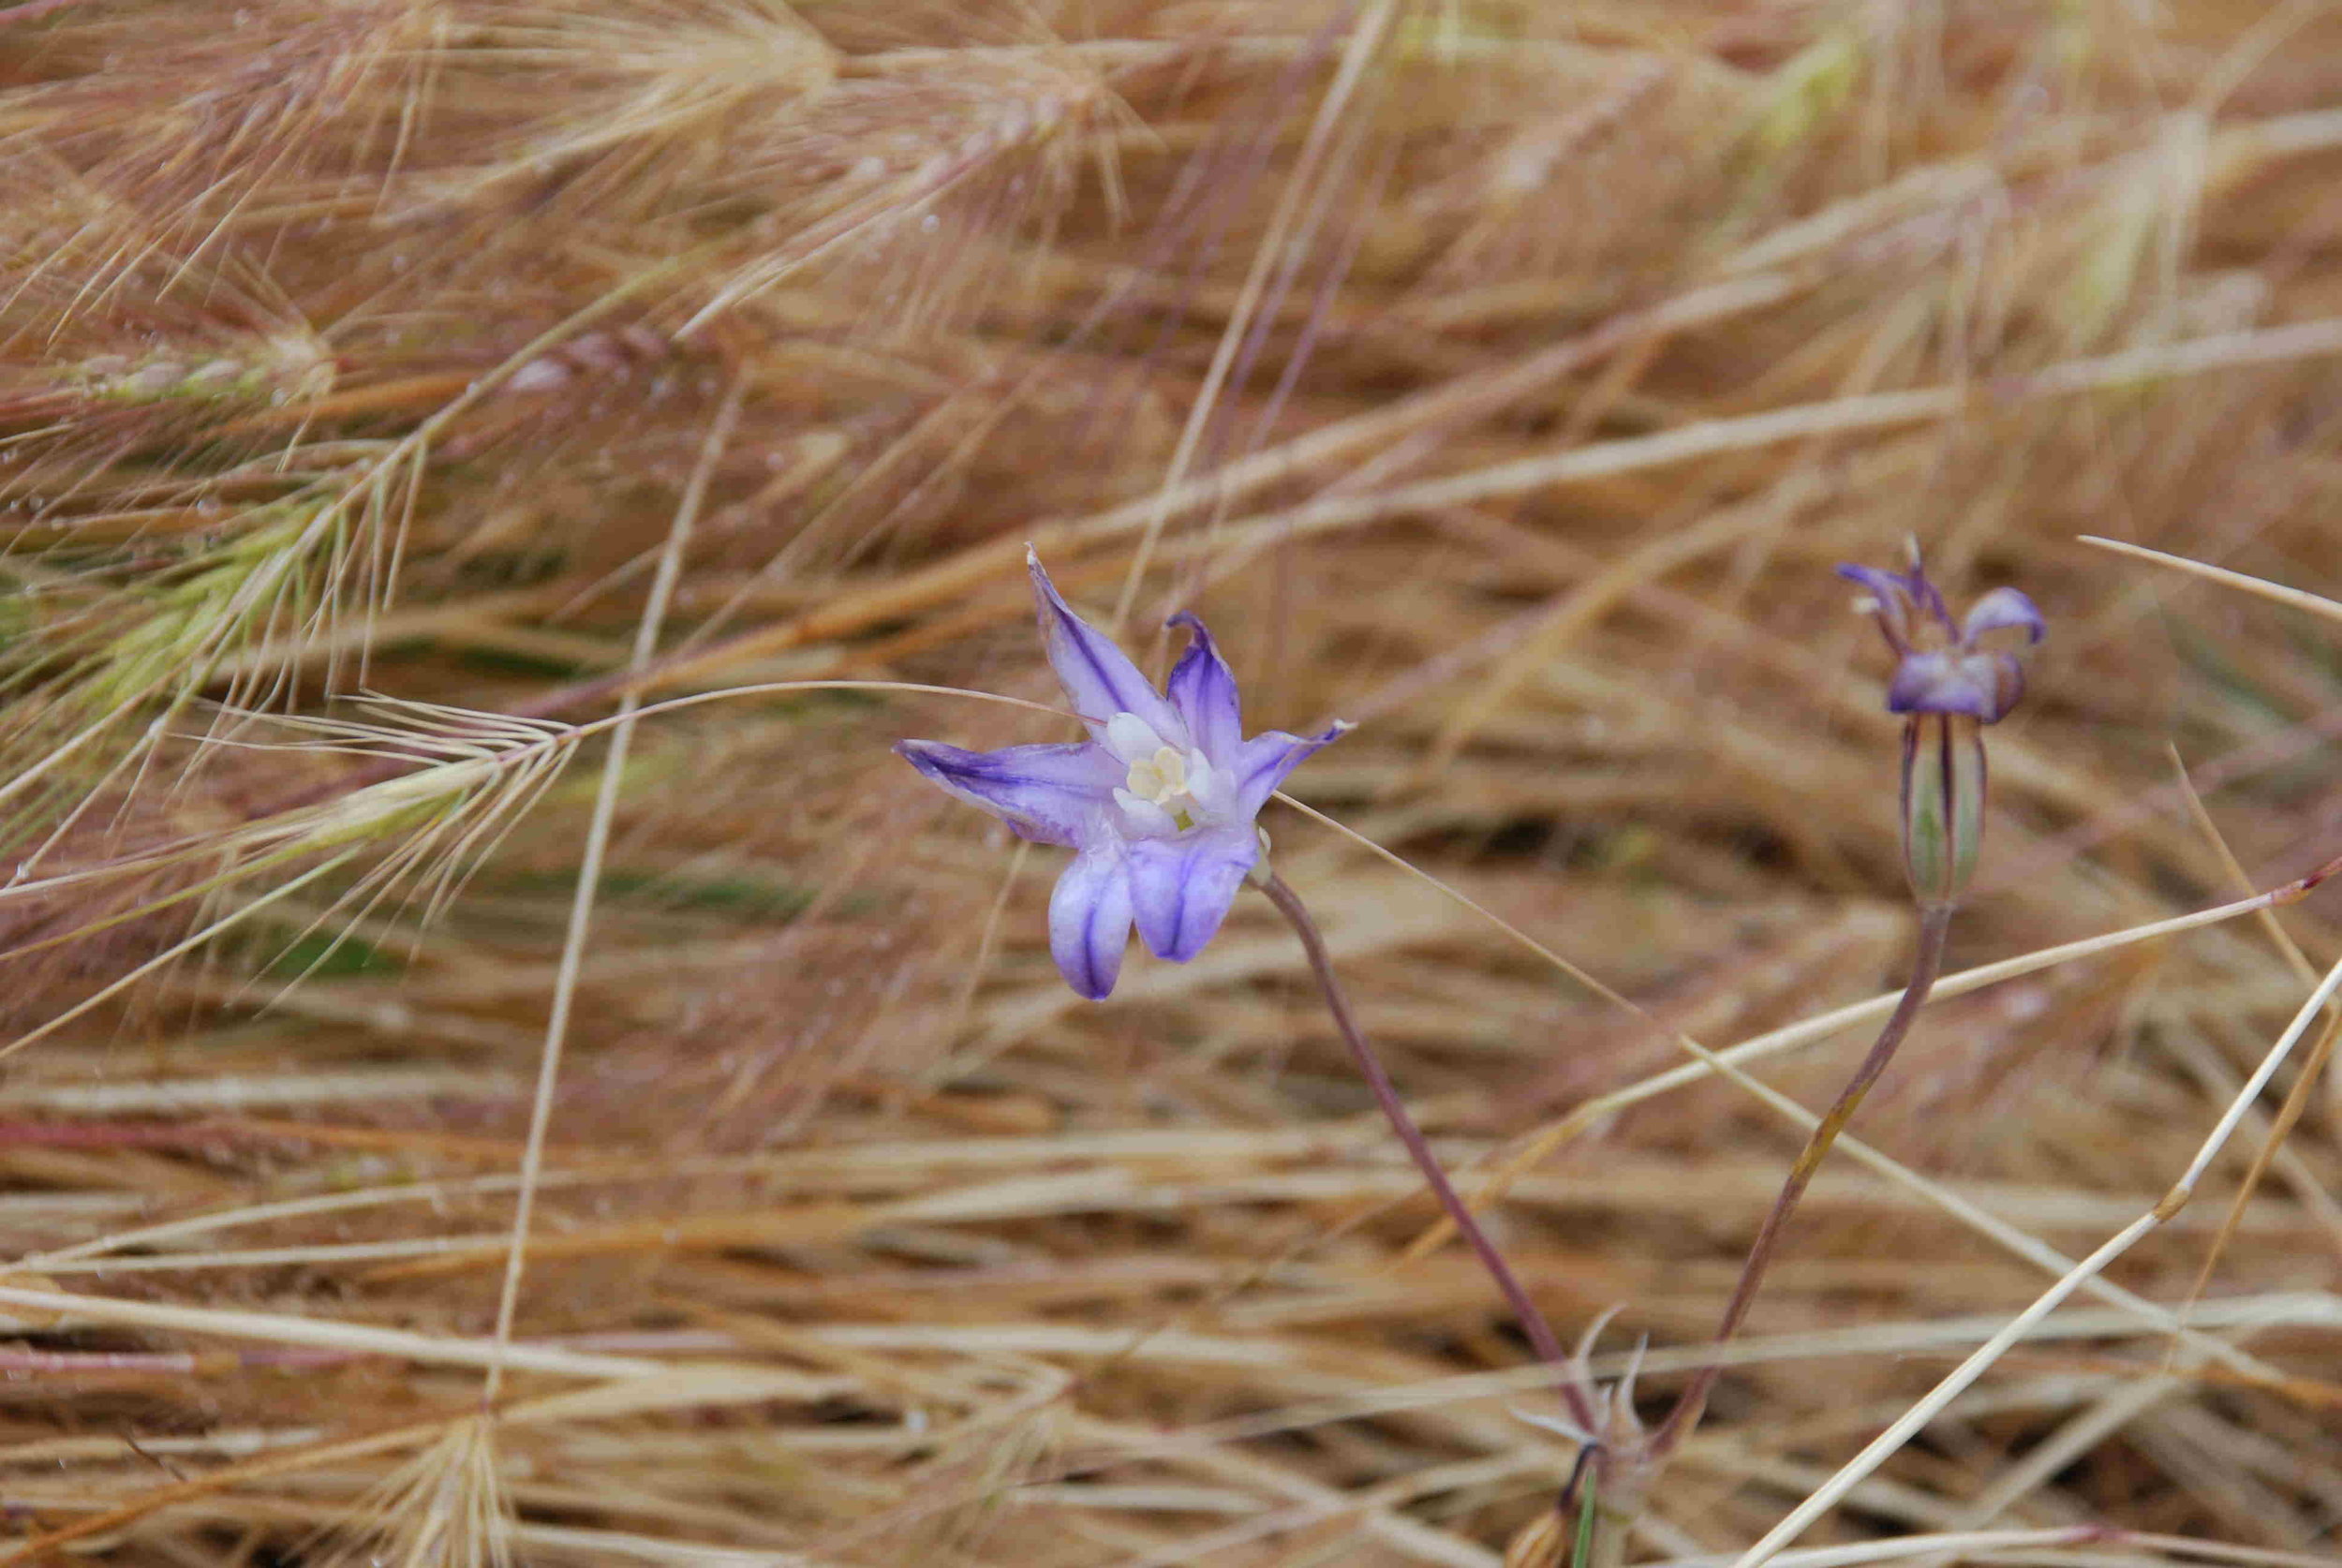
The flowers that are blooming now are the ones that can handle the drying conditions. Now I don't have the excuse of "I can't find my wildflower book." I used to know most of these flowers and now I can't remember them. But I still enjoy them.

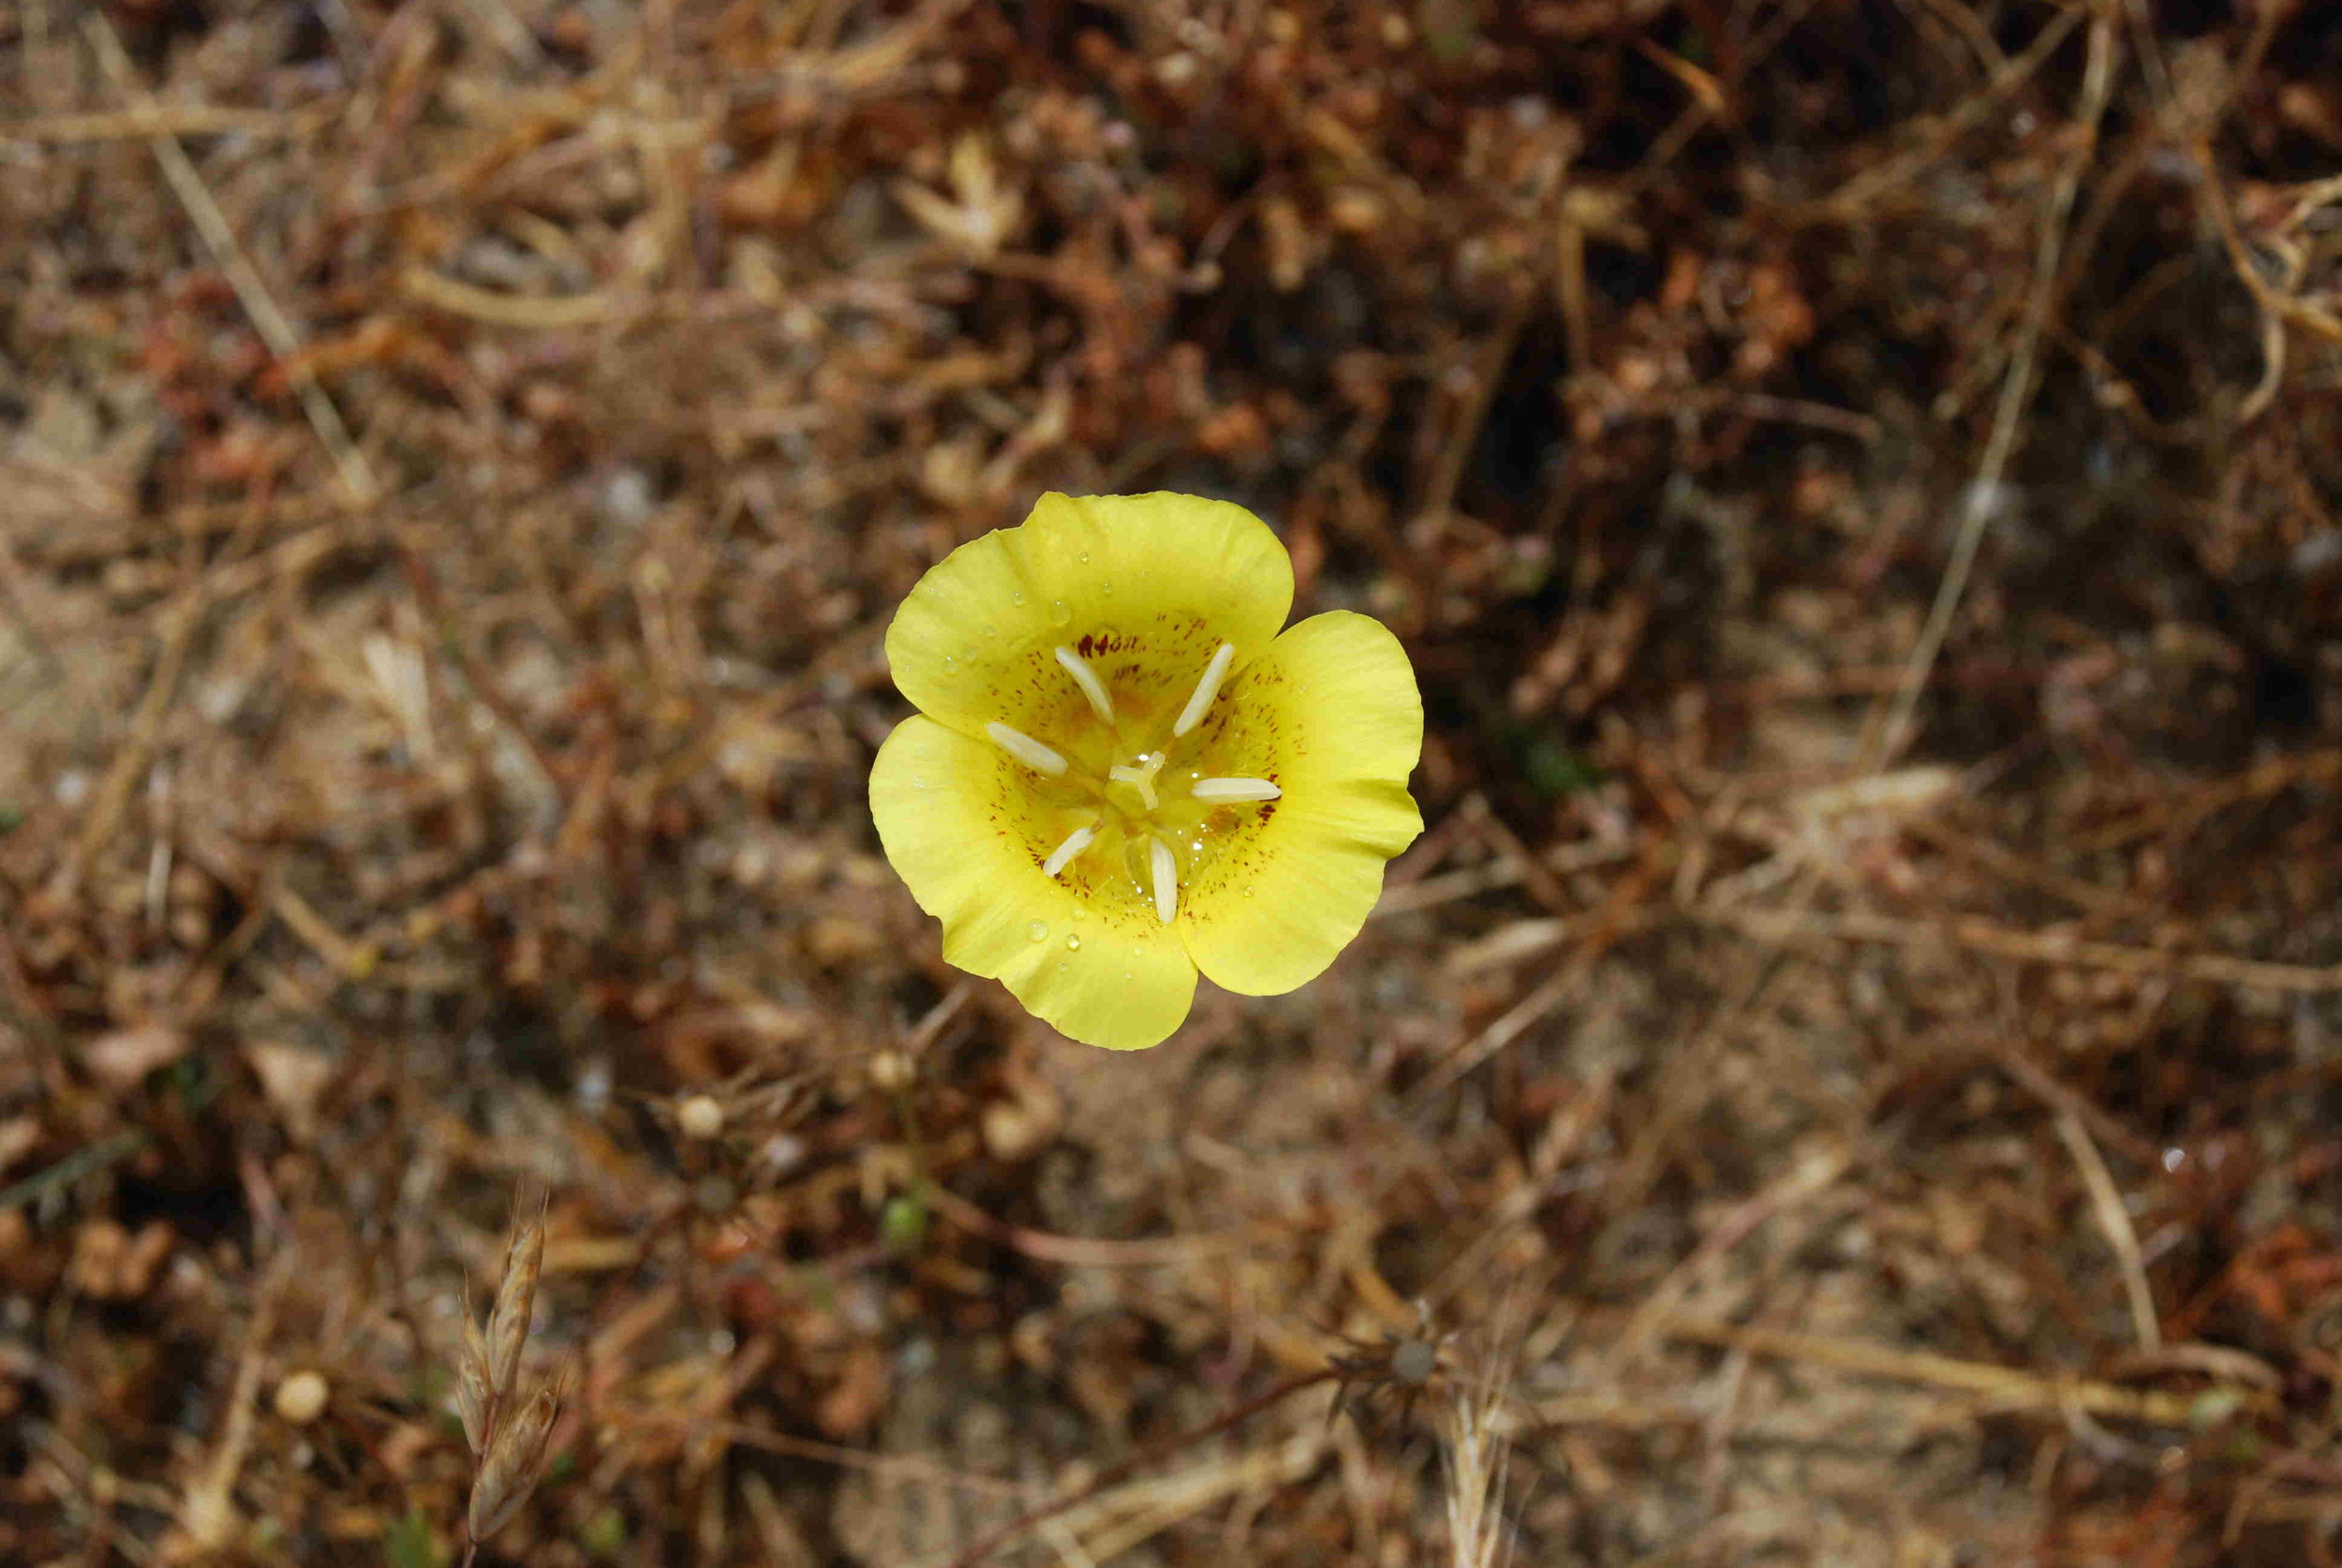
I think I remember this one -  Calochortus, Mariposa Lily.

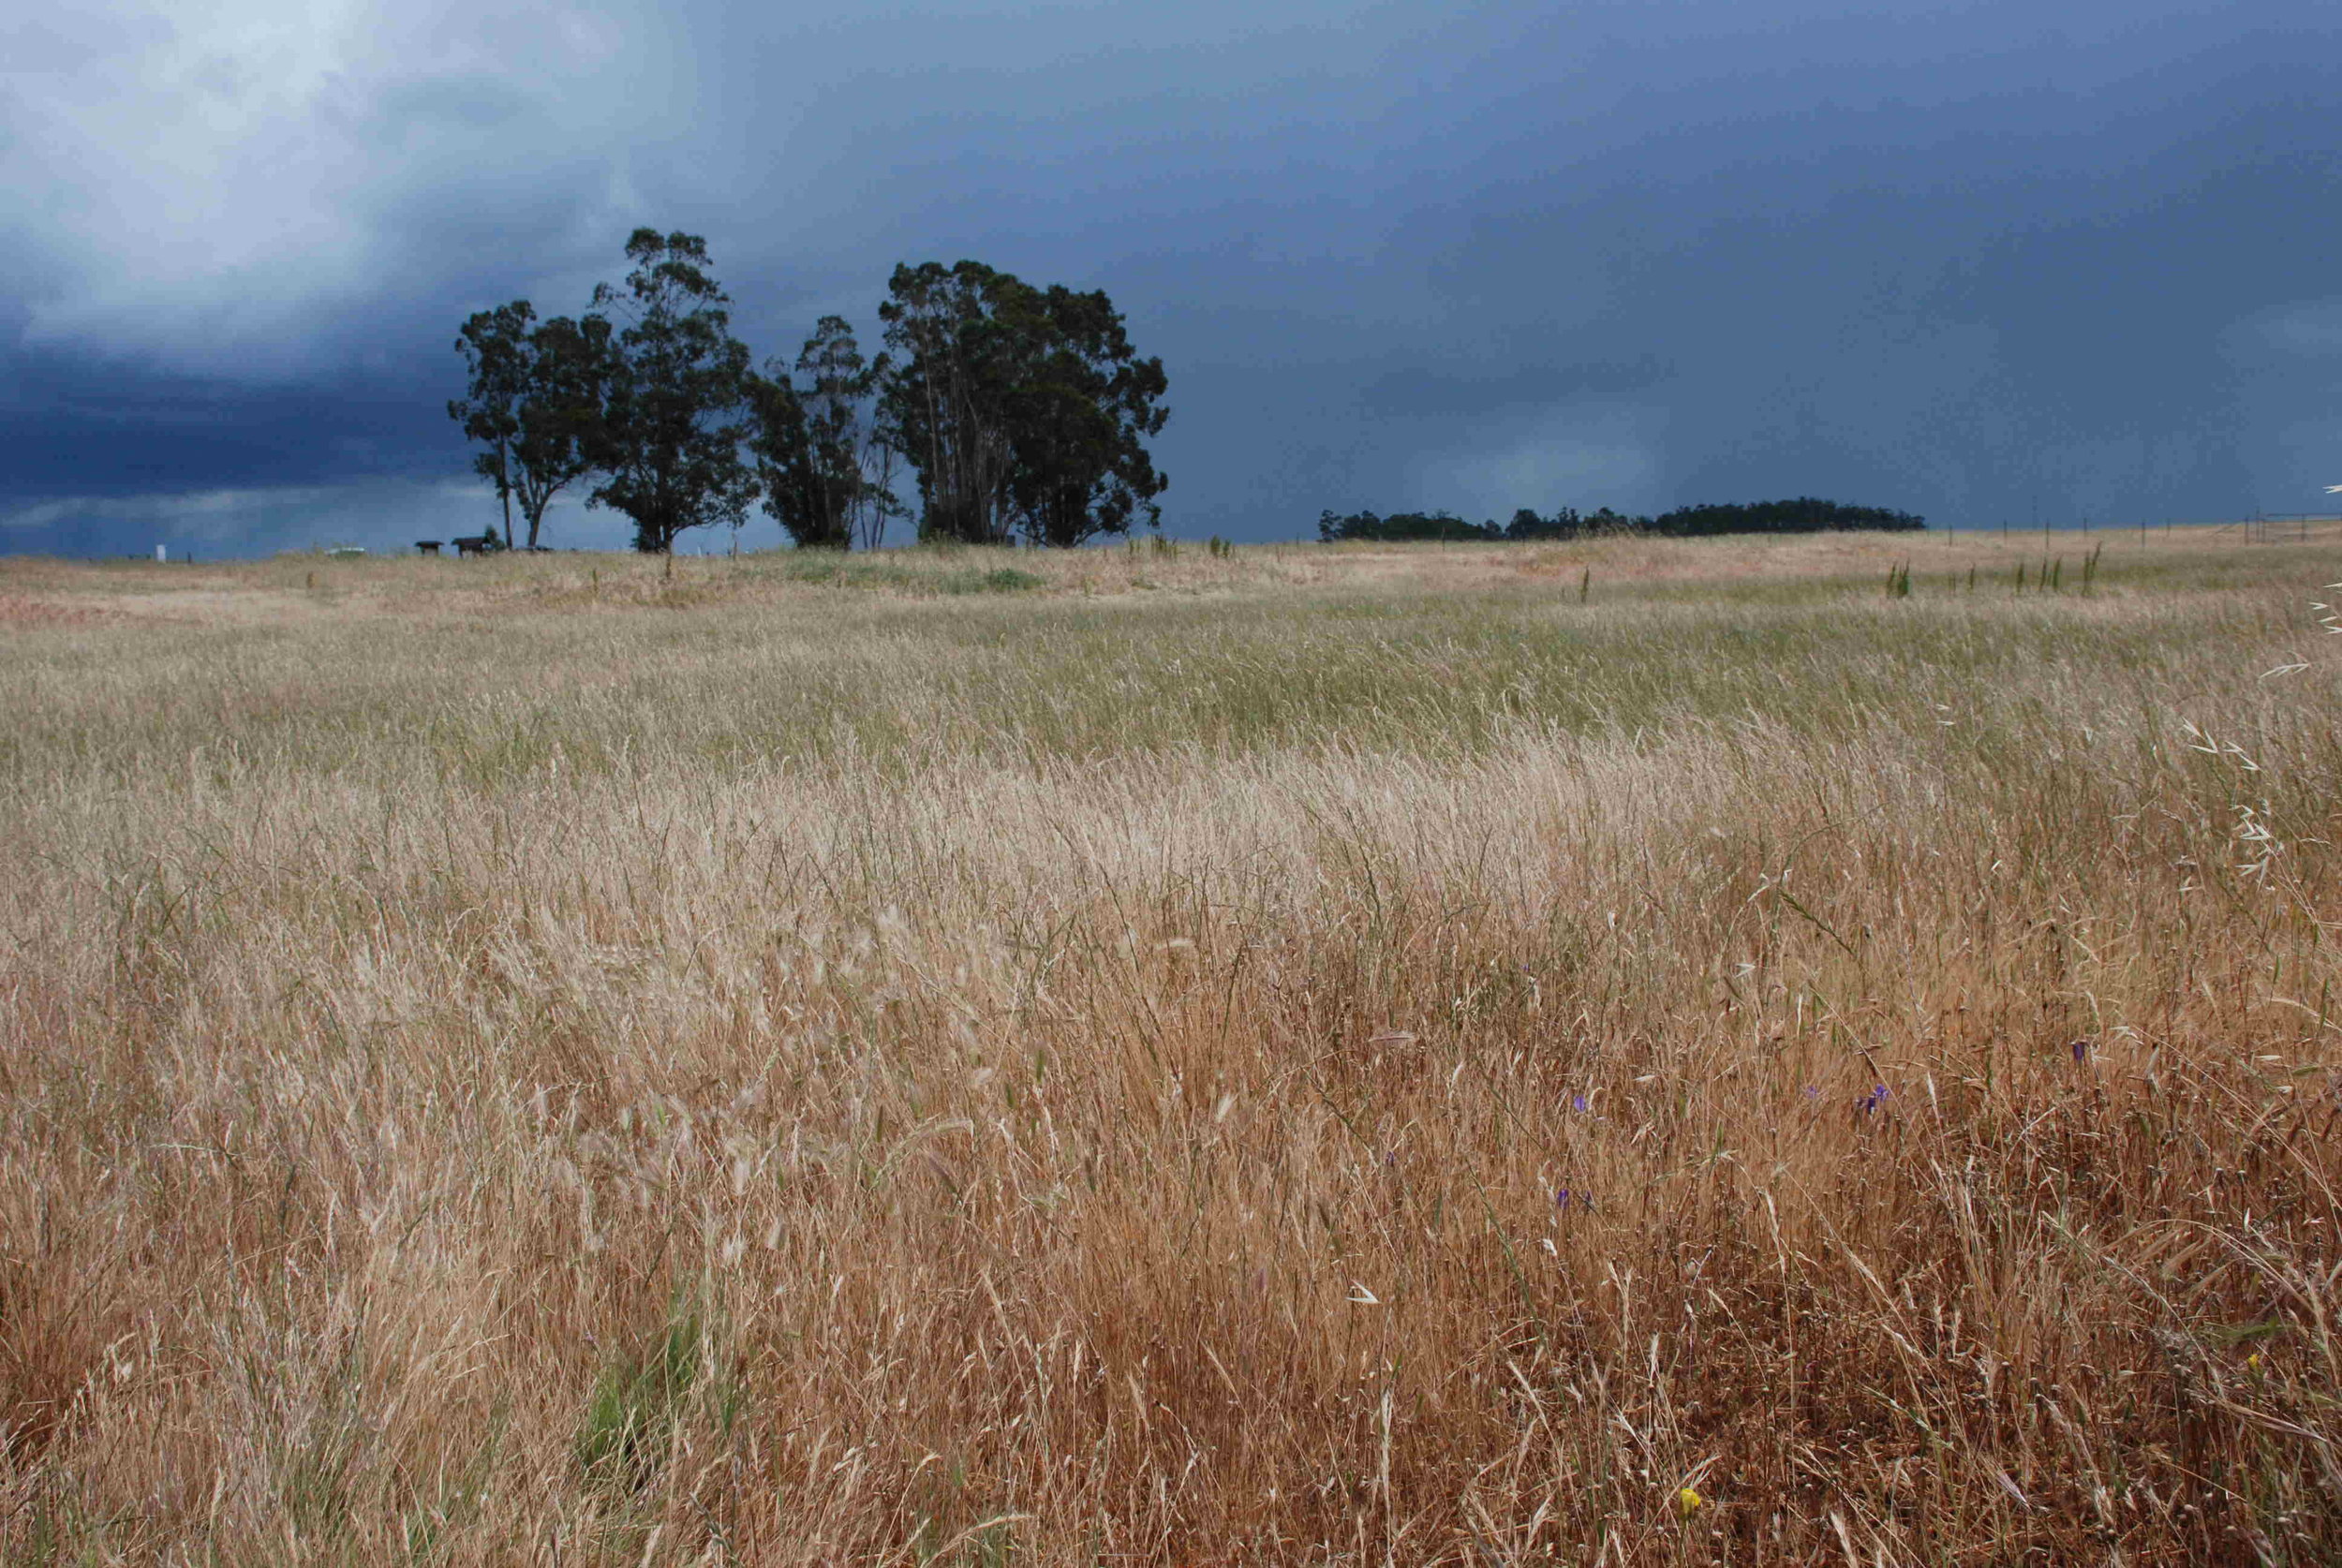
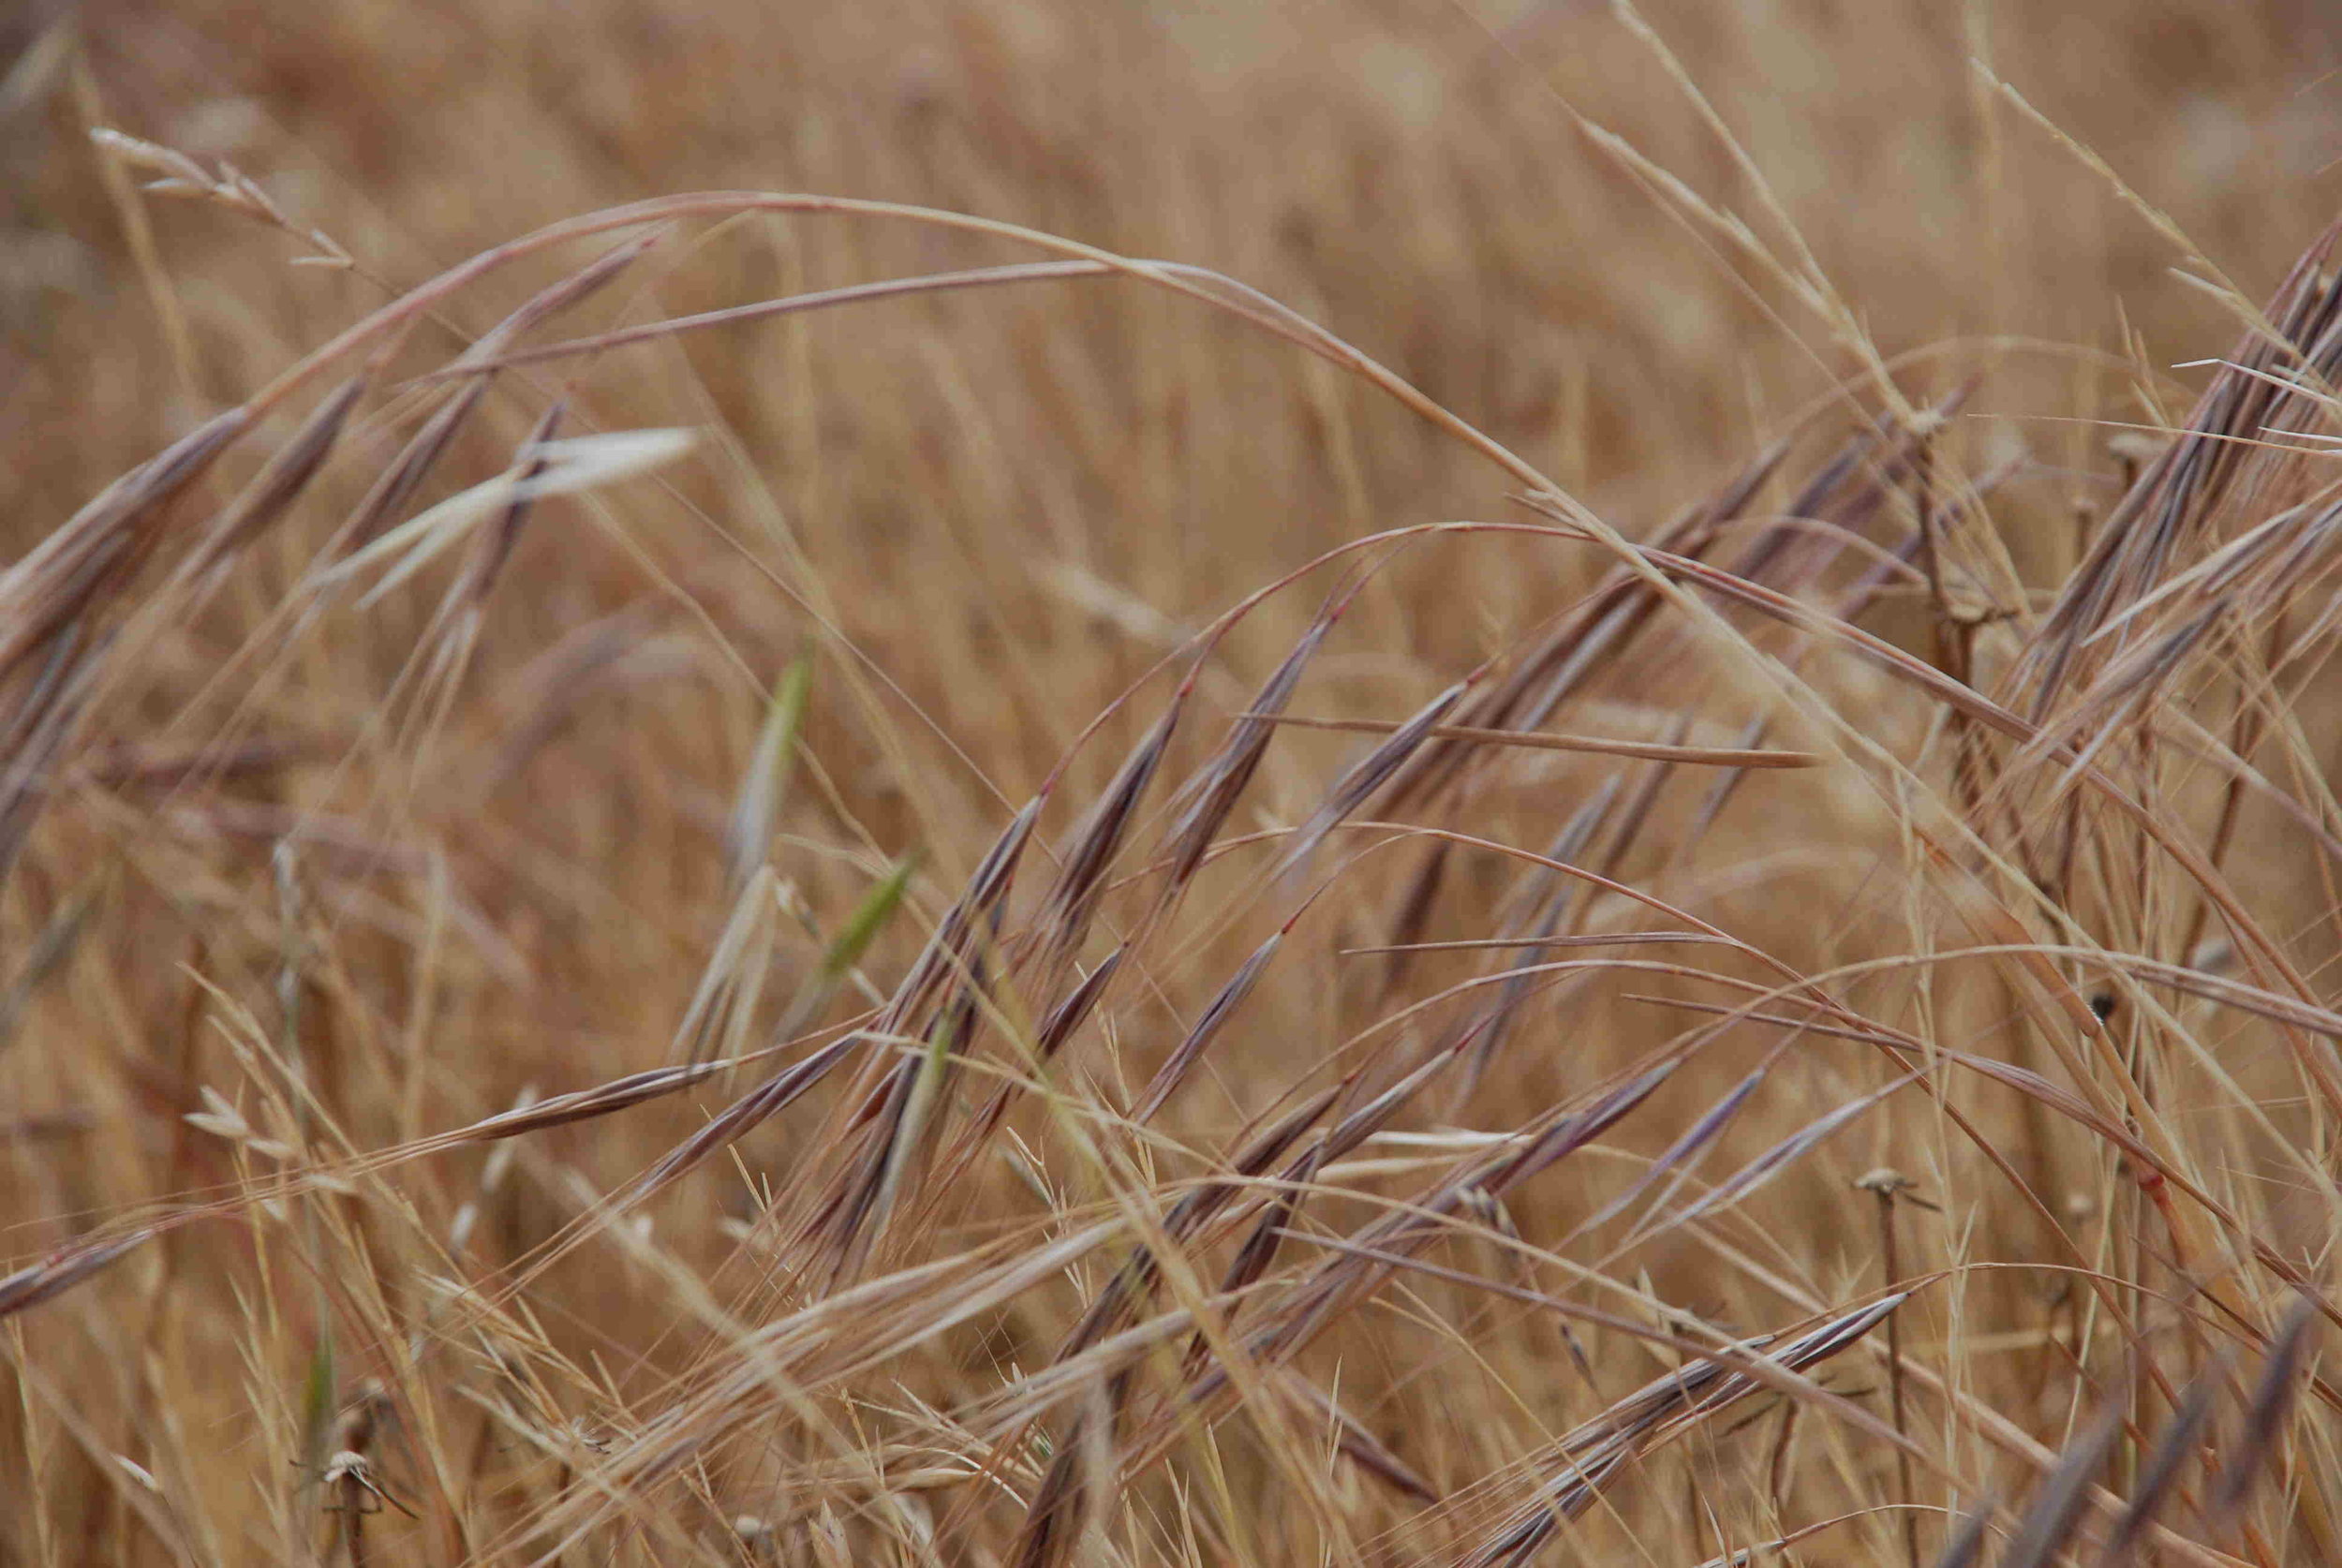
Even the dry grass is pretty since I'm not worrying about foxtails here.

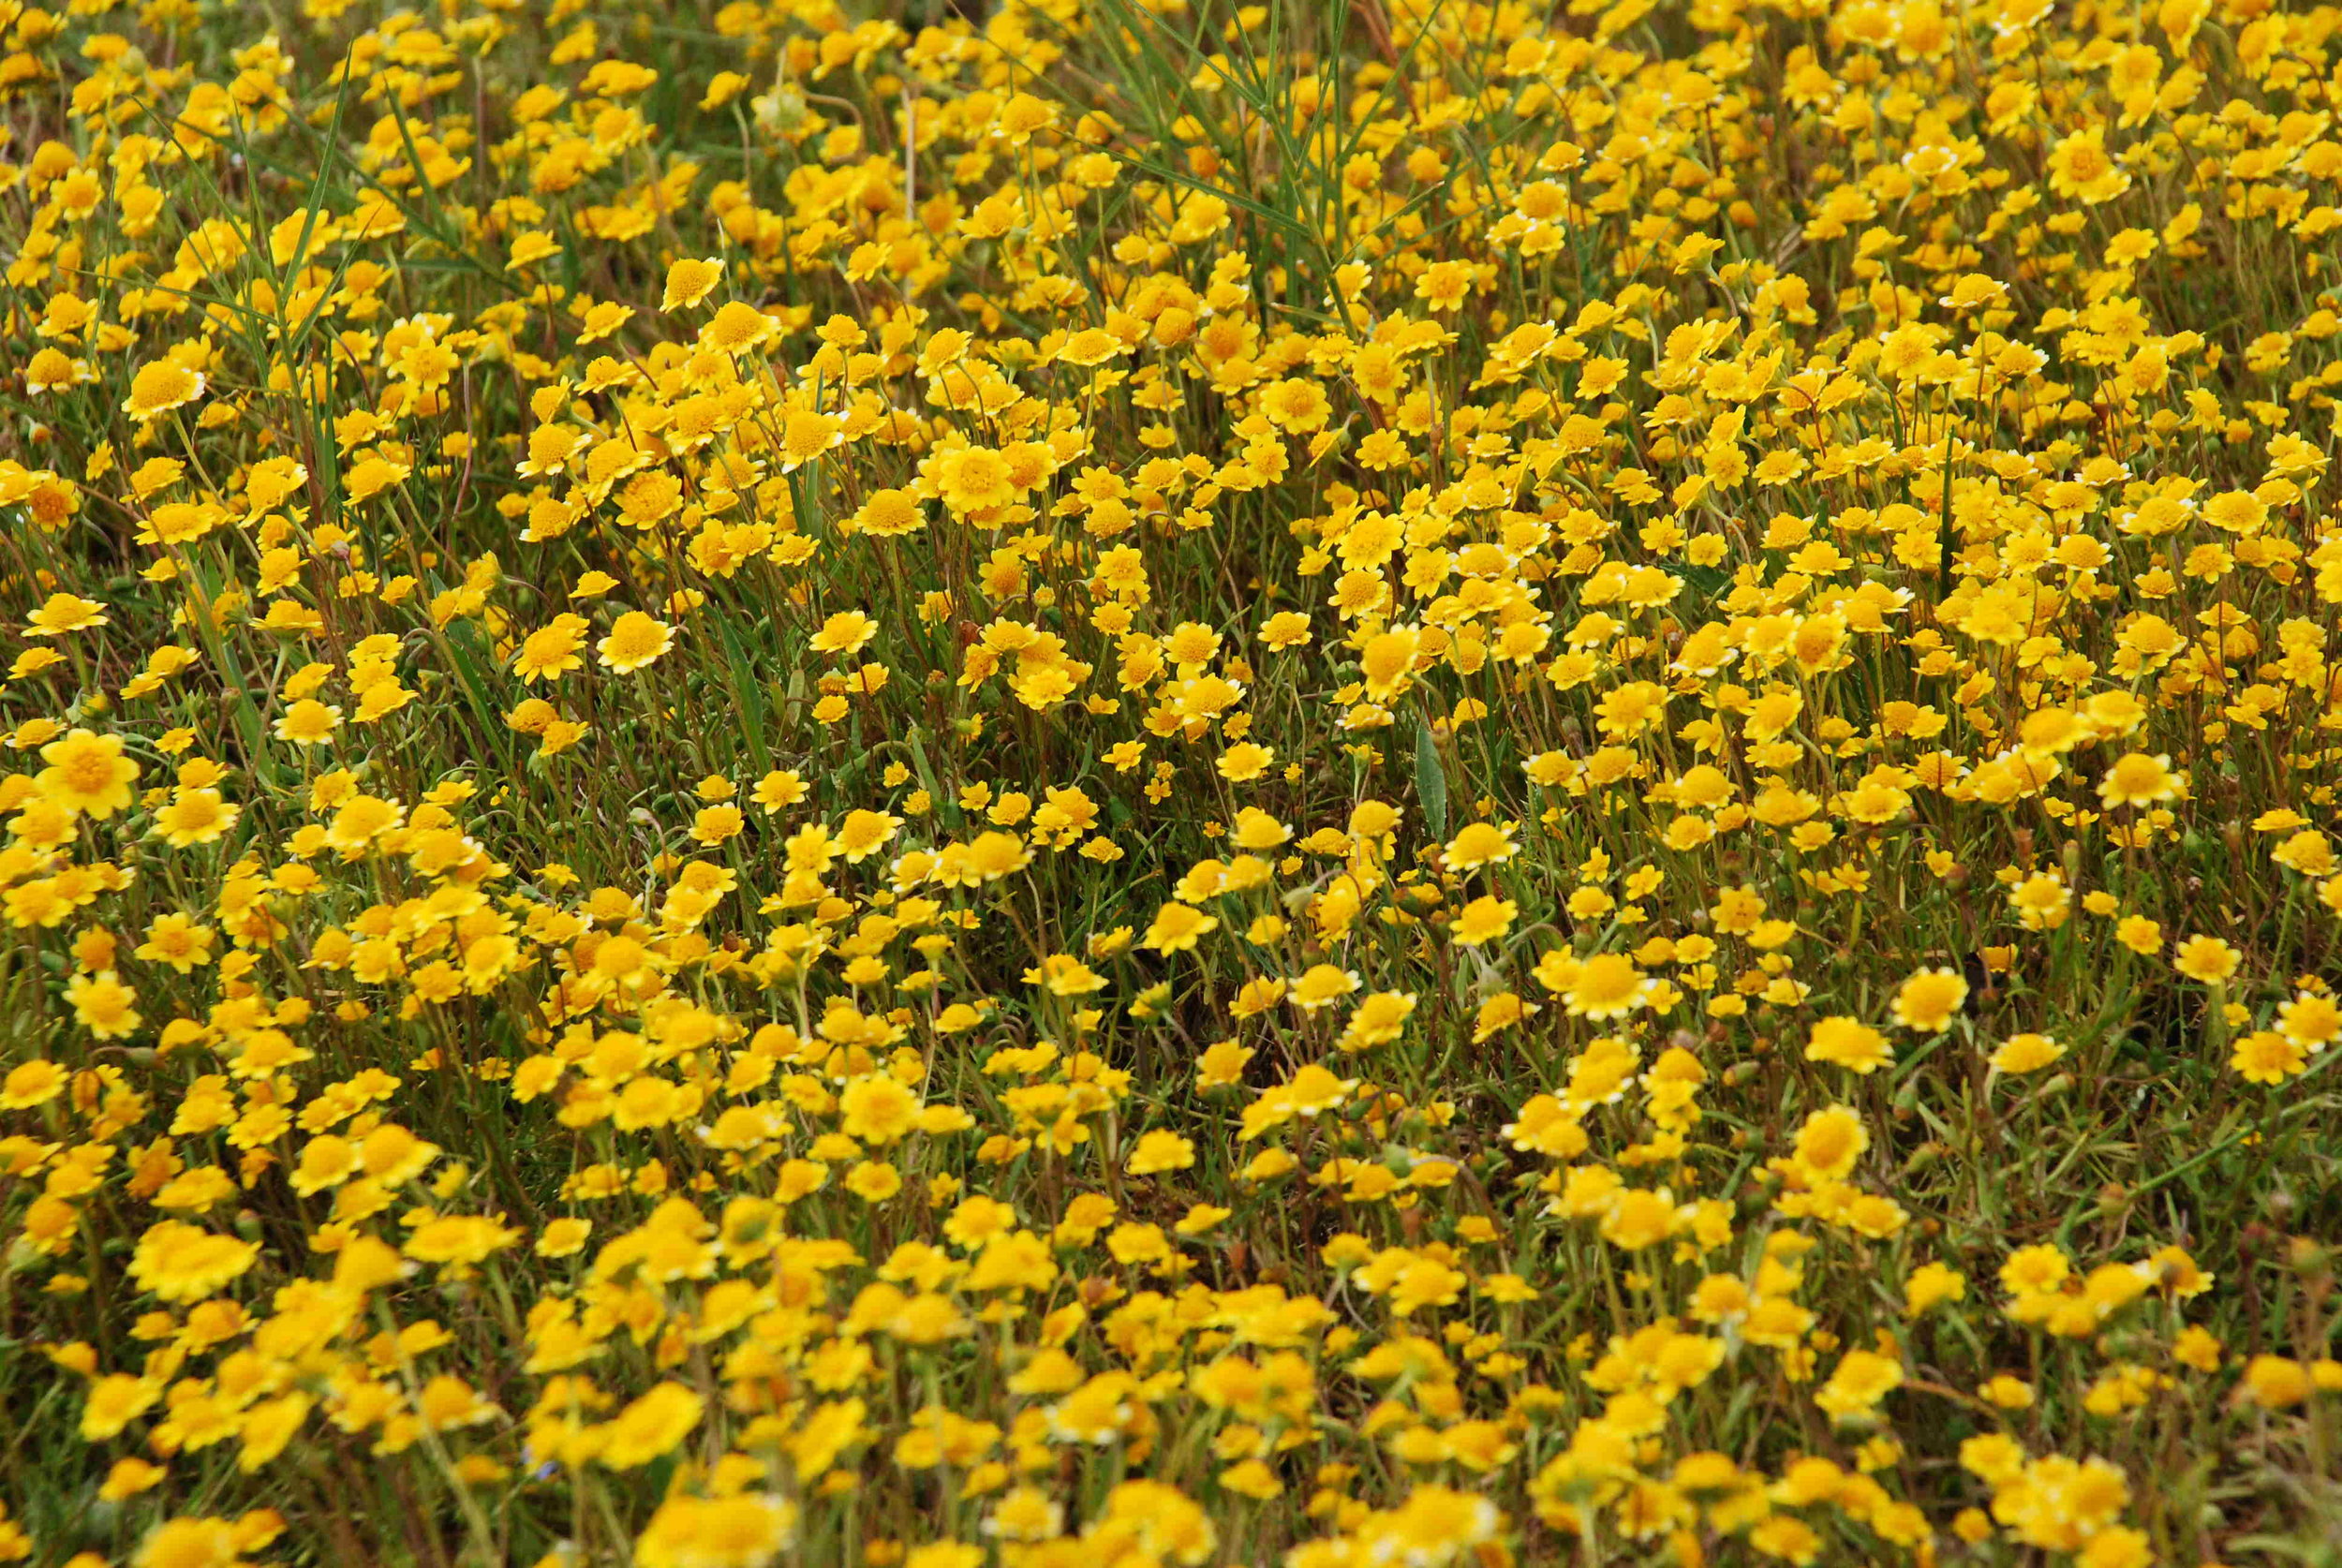
Here is the spectacular show. The rings of flowers around the lake change as the lake dries up later in the spring.

I think this is Gold Fields.

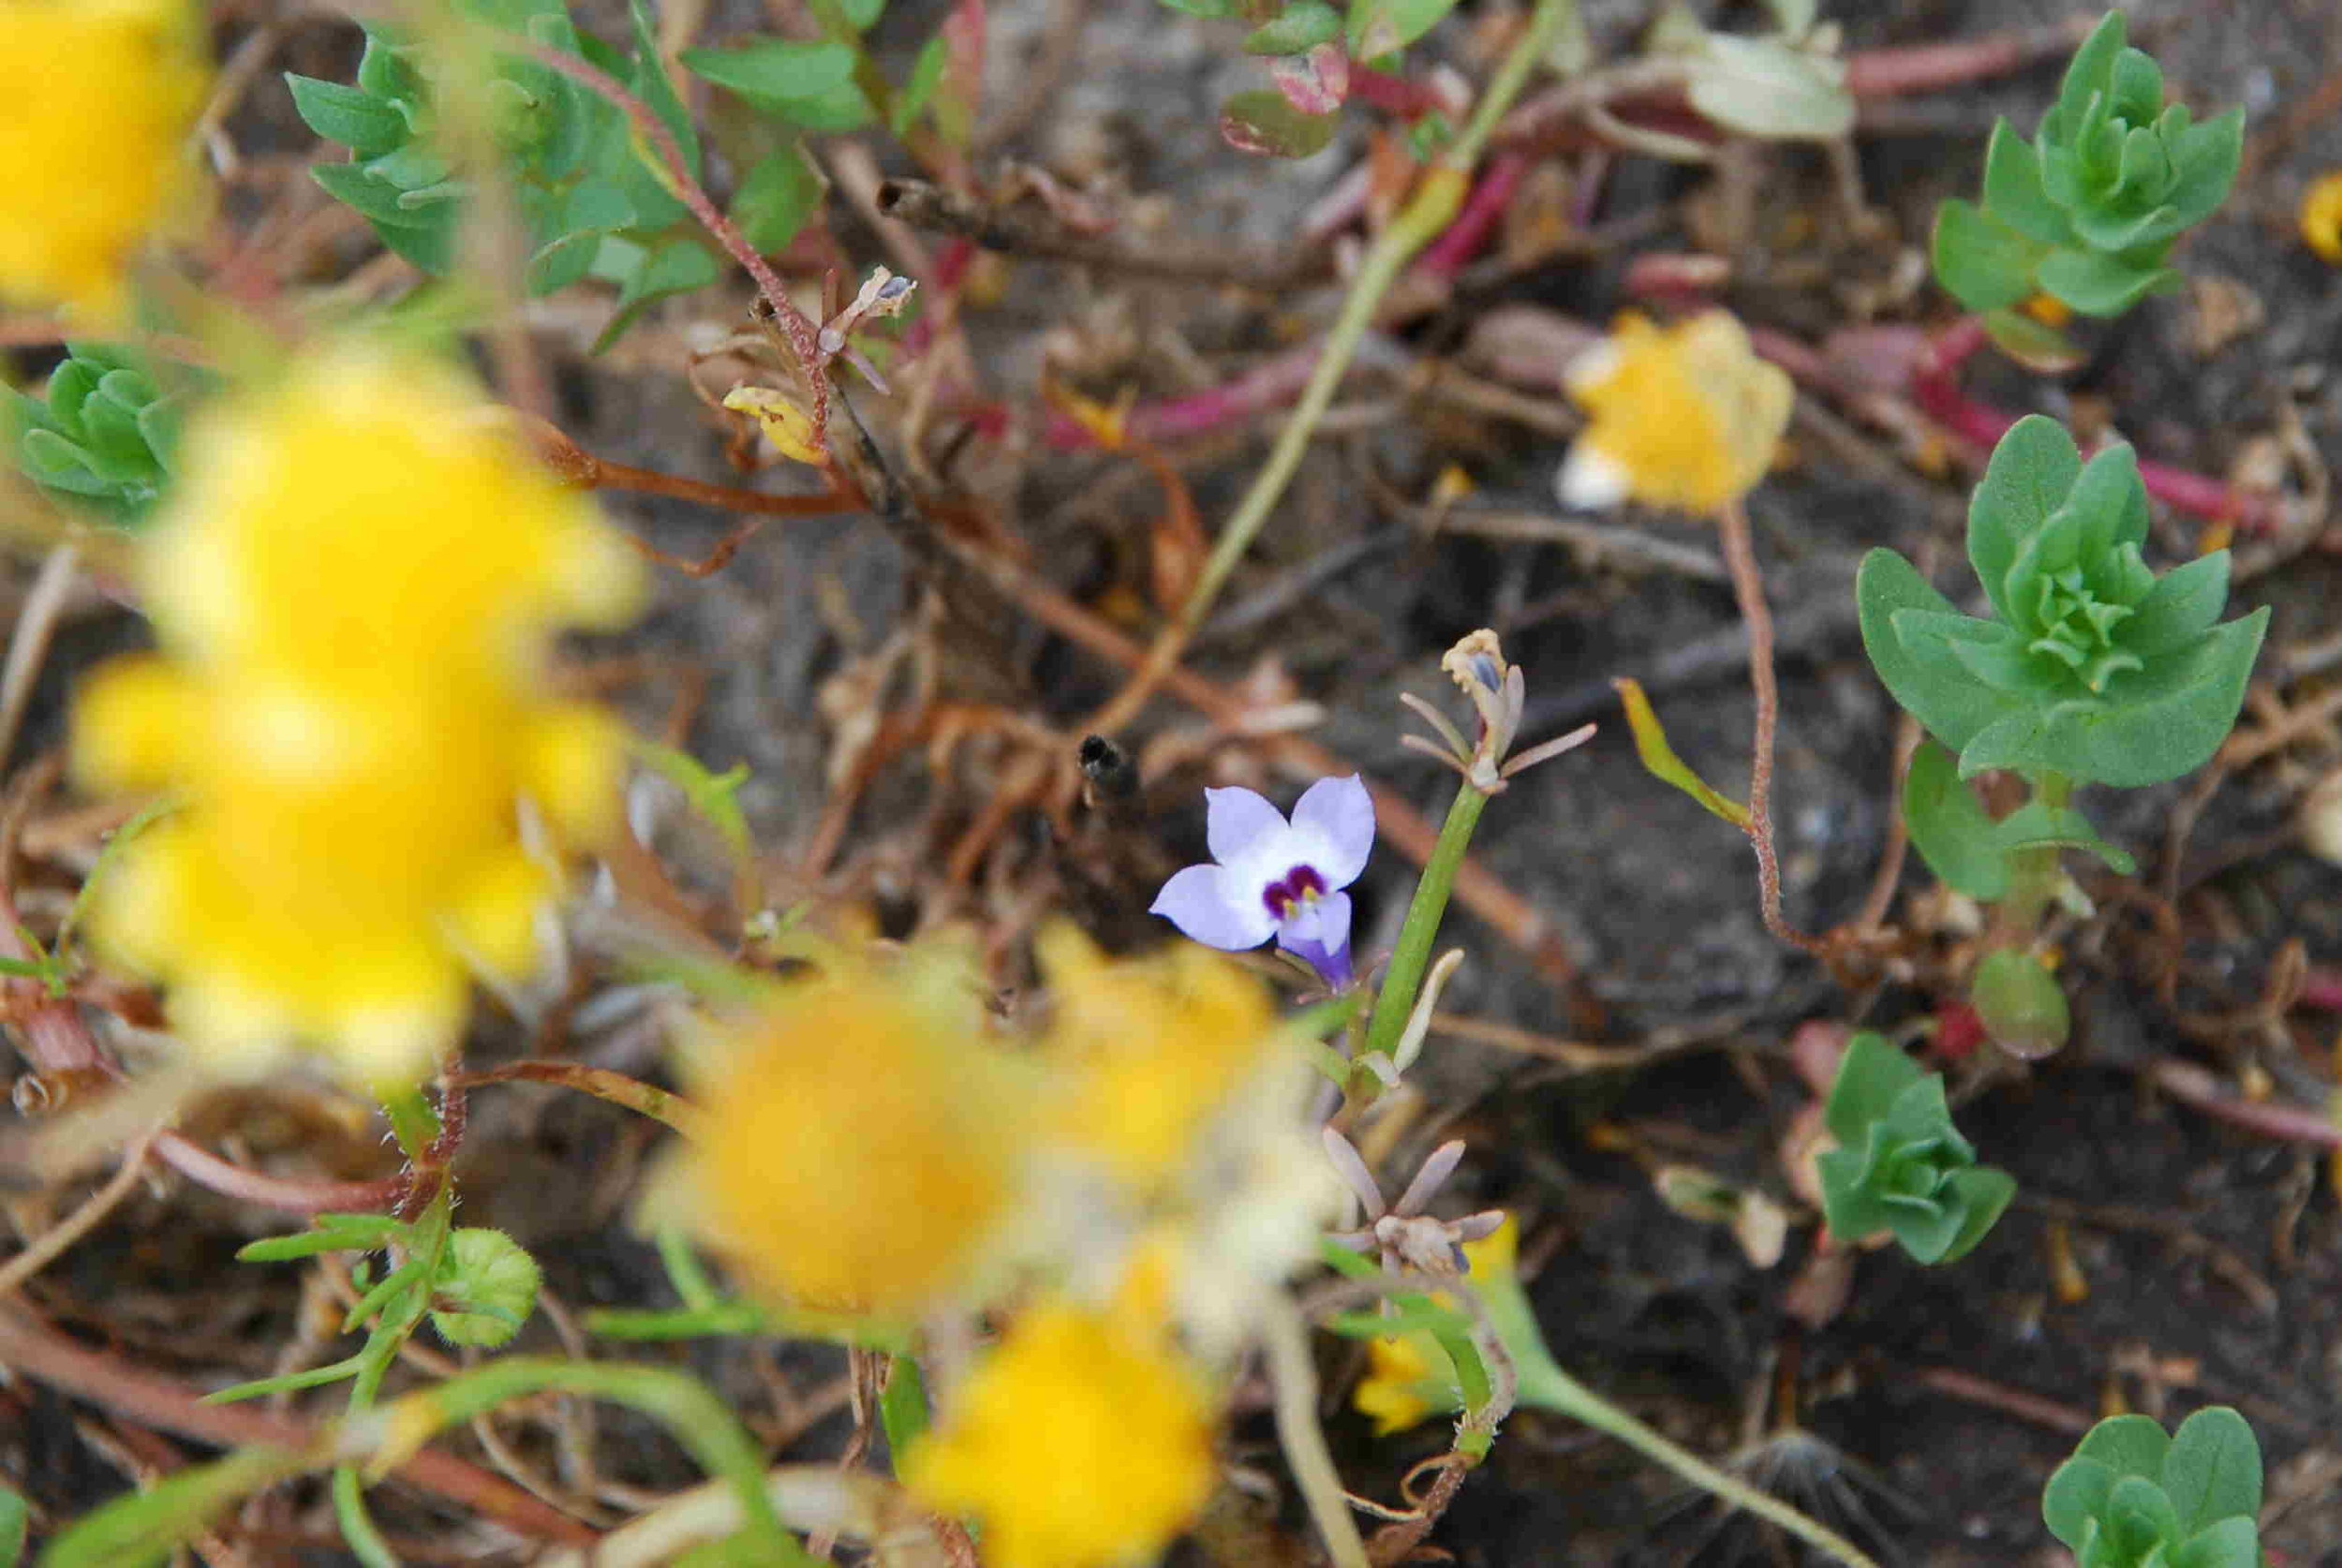
When you look closely you see another flower. Downingia comes from the recesses of my brain, but i don't know if that is right.

Farm Club Comes Through Again

I sent an e-mail Friday  to the Farm Club  in which I said I was going to vaccinate lambs today and did anyone want to help? Dona and Tina were already planning on being here for a spinning class in the morning so they said that they would stay. Jacki, Shelby, and Allison came too.  Wow! What great response with only 24 hours' notice. I bought a new tool. For years I have been vaccinating with single dose syringes. That means that you have to reload the syringe each time you give an injection.

I just never thought about doing it differently, but I was at Higby's Country Feed Store (my favorite store) and saw this syringe. There is a bit of a learning curve (remember to tighten needle, make sure you depress the handle part all the way, don't drop because the barrel is glass--OOPS!), but what a huge difference it will make after I replace the glass part that broke about a third of the way into the job.

I appreciate all the Farm Club members (who are now friends) who show up for projects like this. Shelby manned the camera, as well as caught lambs and played with the loose chicken.

Alison, Jackie, Tina, and Dona all helped catch and mark lambs and...

fill syringes (after the unfortunate incident with the new one).

Shelby took the following portraits.

After vaccinating I let all the sheep out but then needed to catch one more lamb.

So Rusty had a chance to get involved also.

Thanks to all of you for helping. Wait until you hear about the next unscheduled Farm Day. I think it's coming up soon.

Fun with Chenille

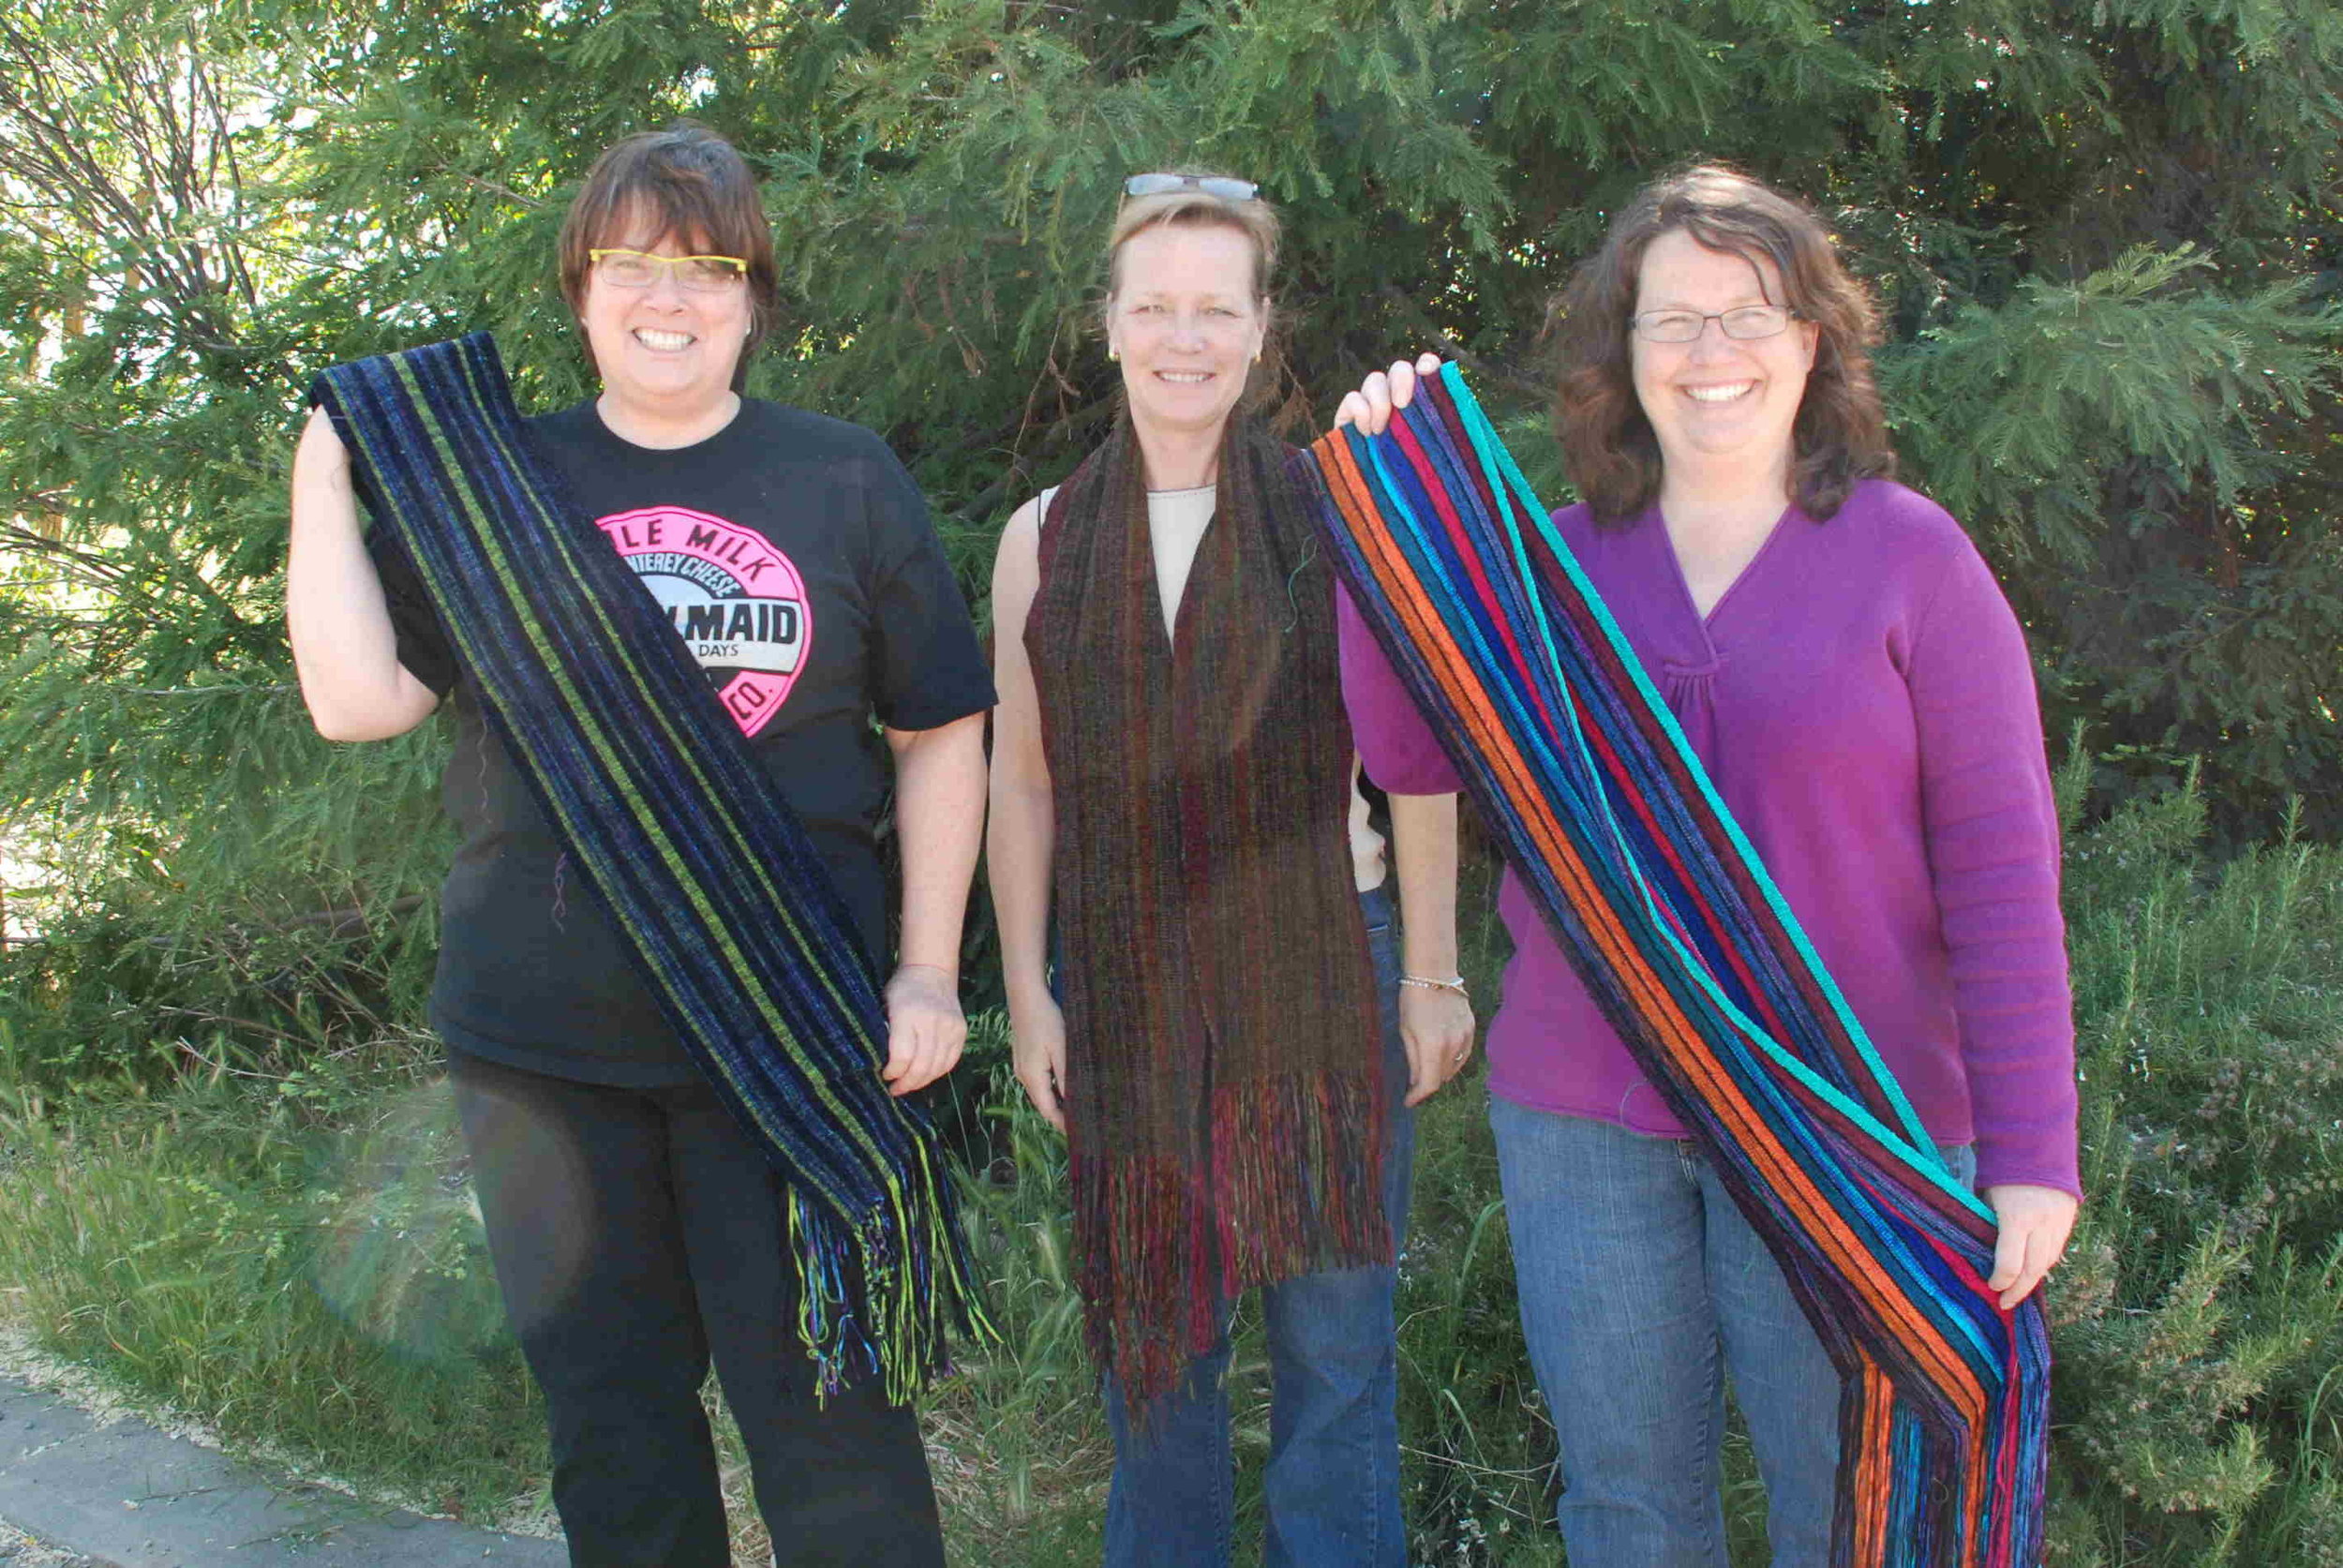
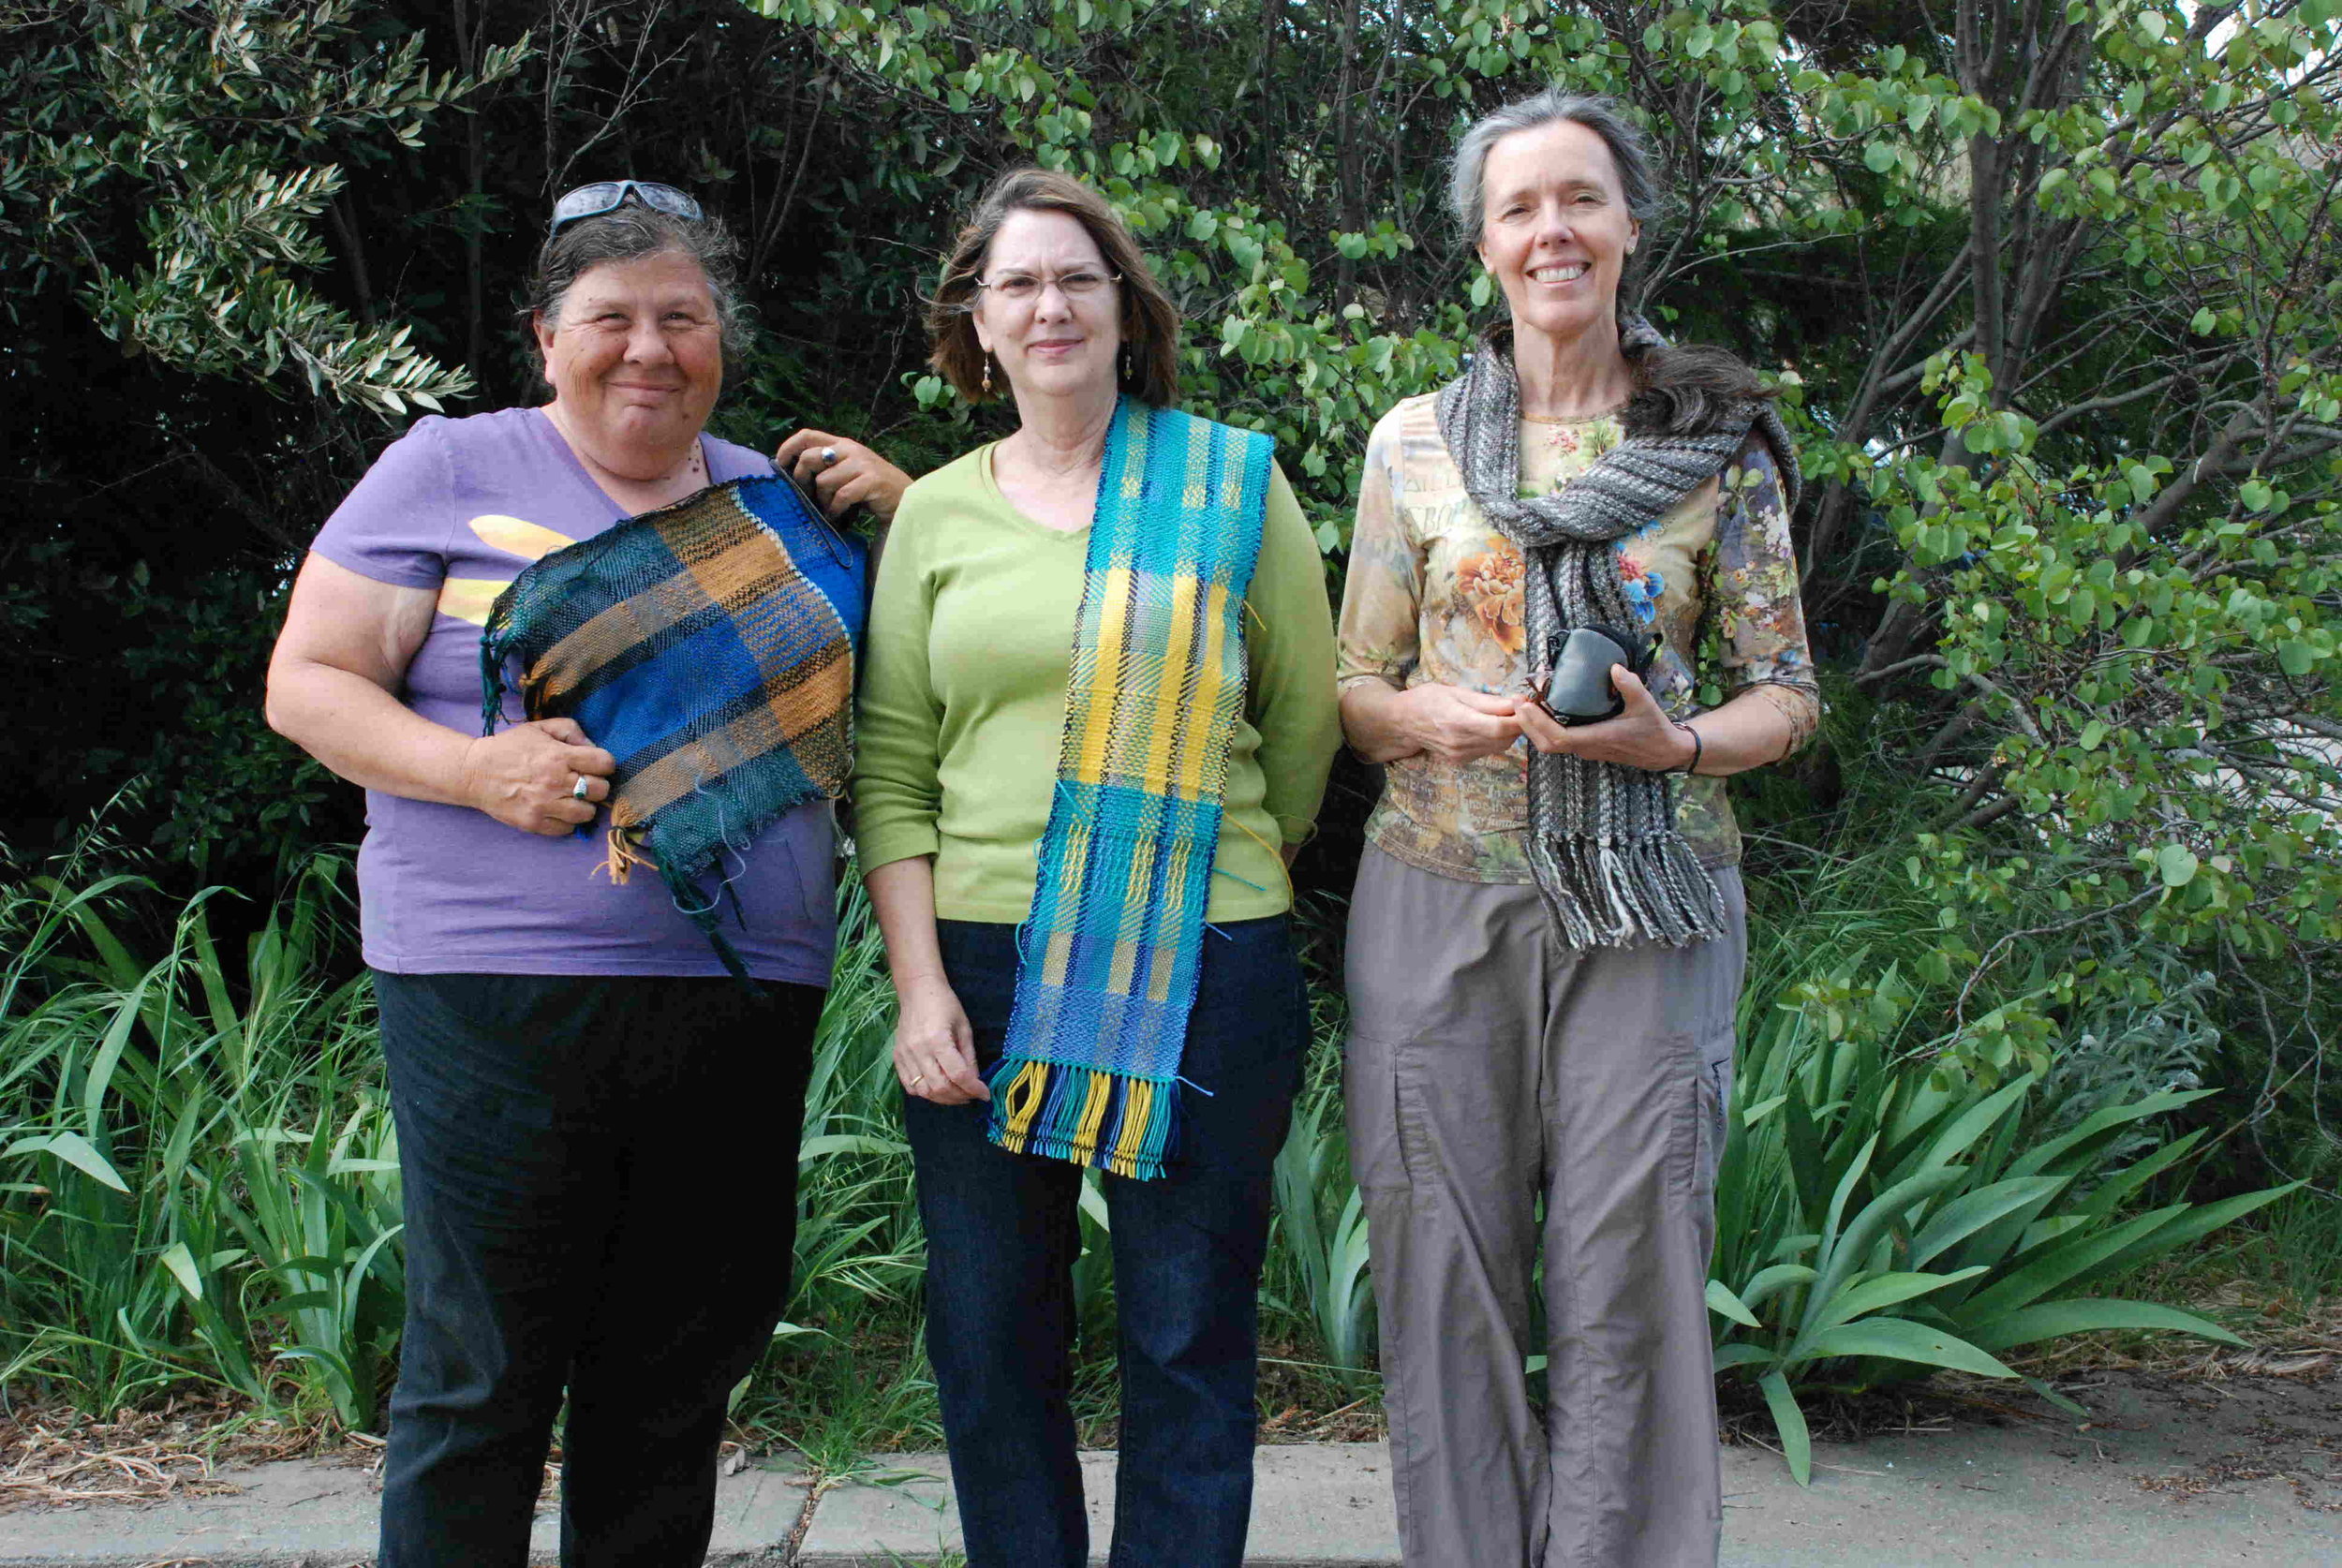
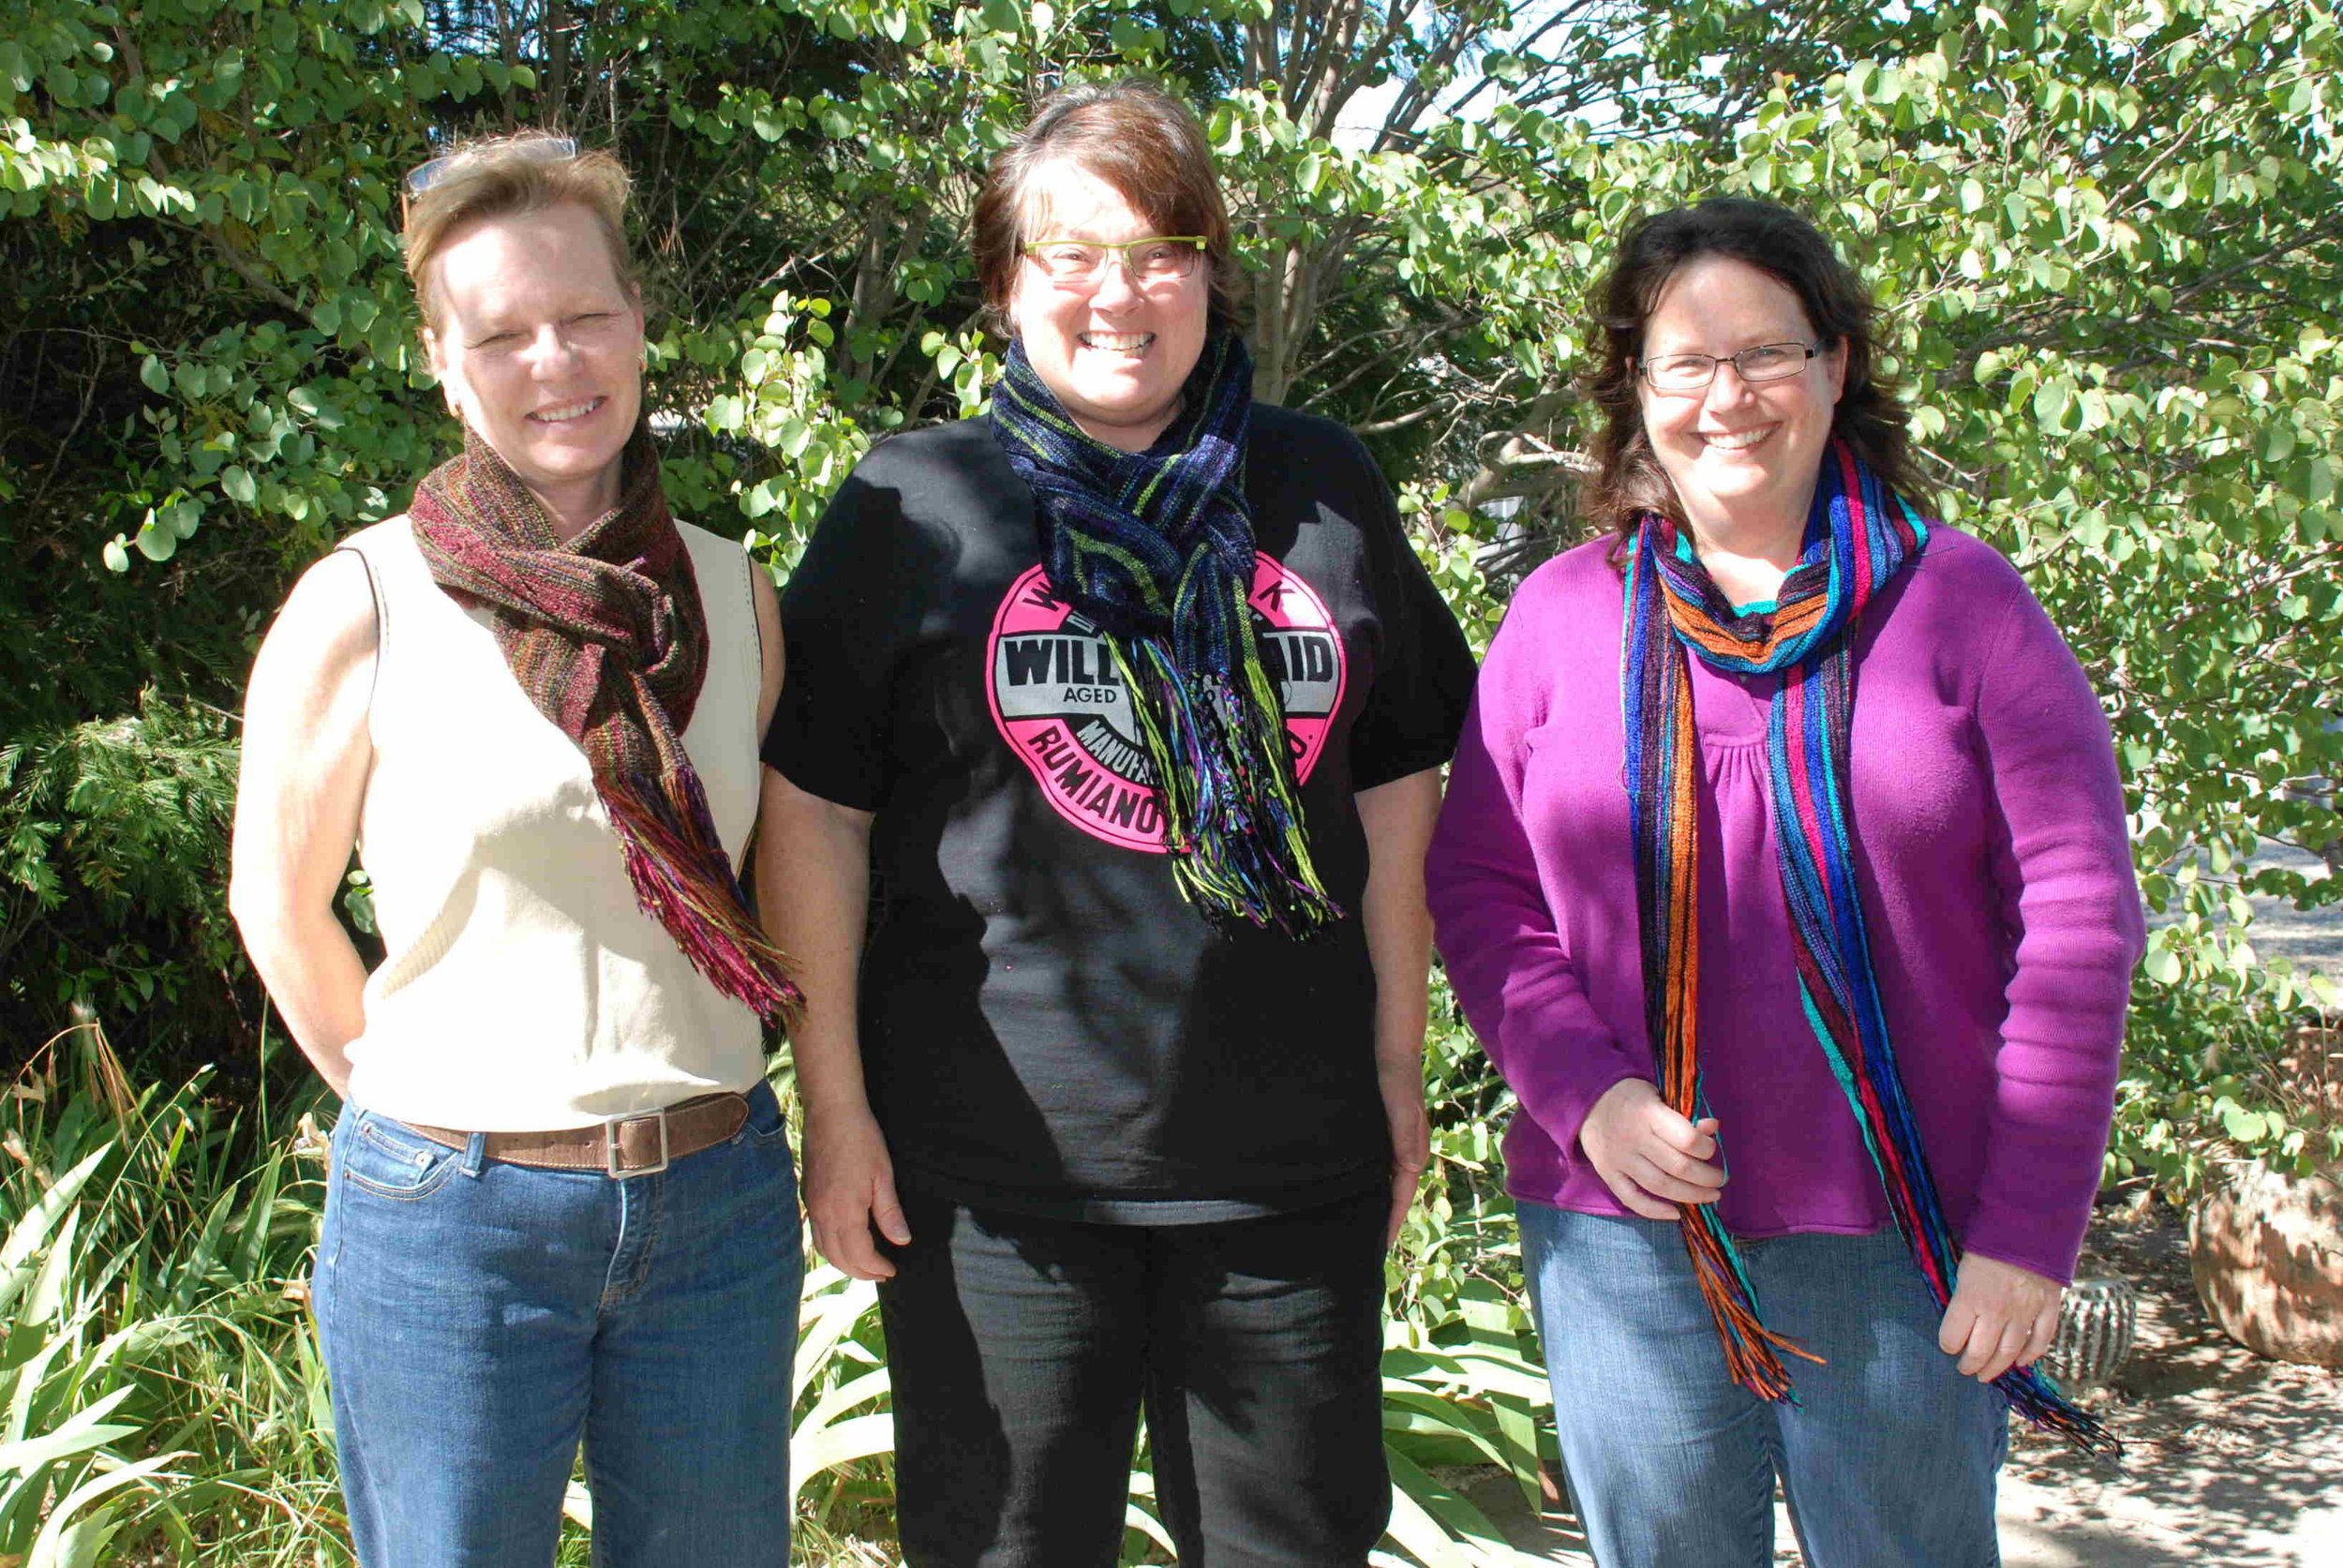
Lori and Kathi both came for a weaving class last month. They both had some prior weaving experience so warped the looms using twill and point twill threadings to weave samplers. This is a great way to experiment with weave structure and color.

Lori and Kathi came back for a chenille class and Mary joined them.

Great job, ladies! I posted this photo on the Meridian Jacobs Facebook page last night and you already have rave reviews!

Wedding Shawl Commission

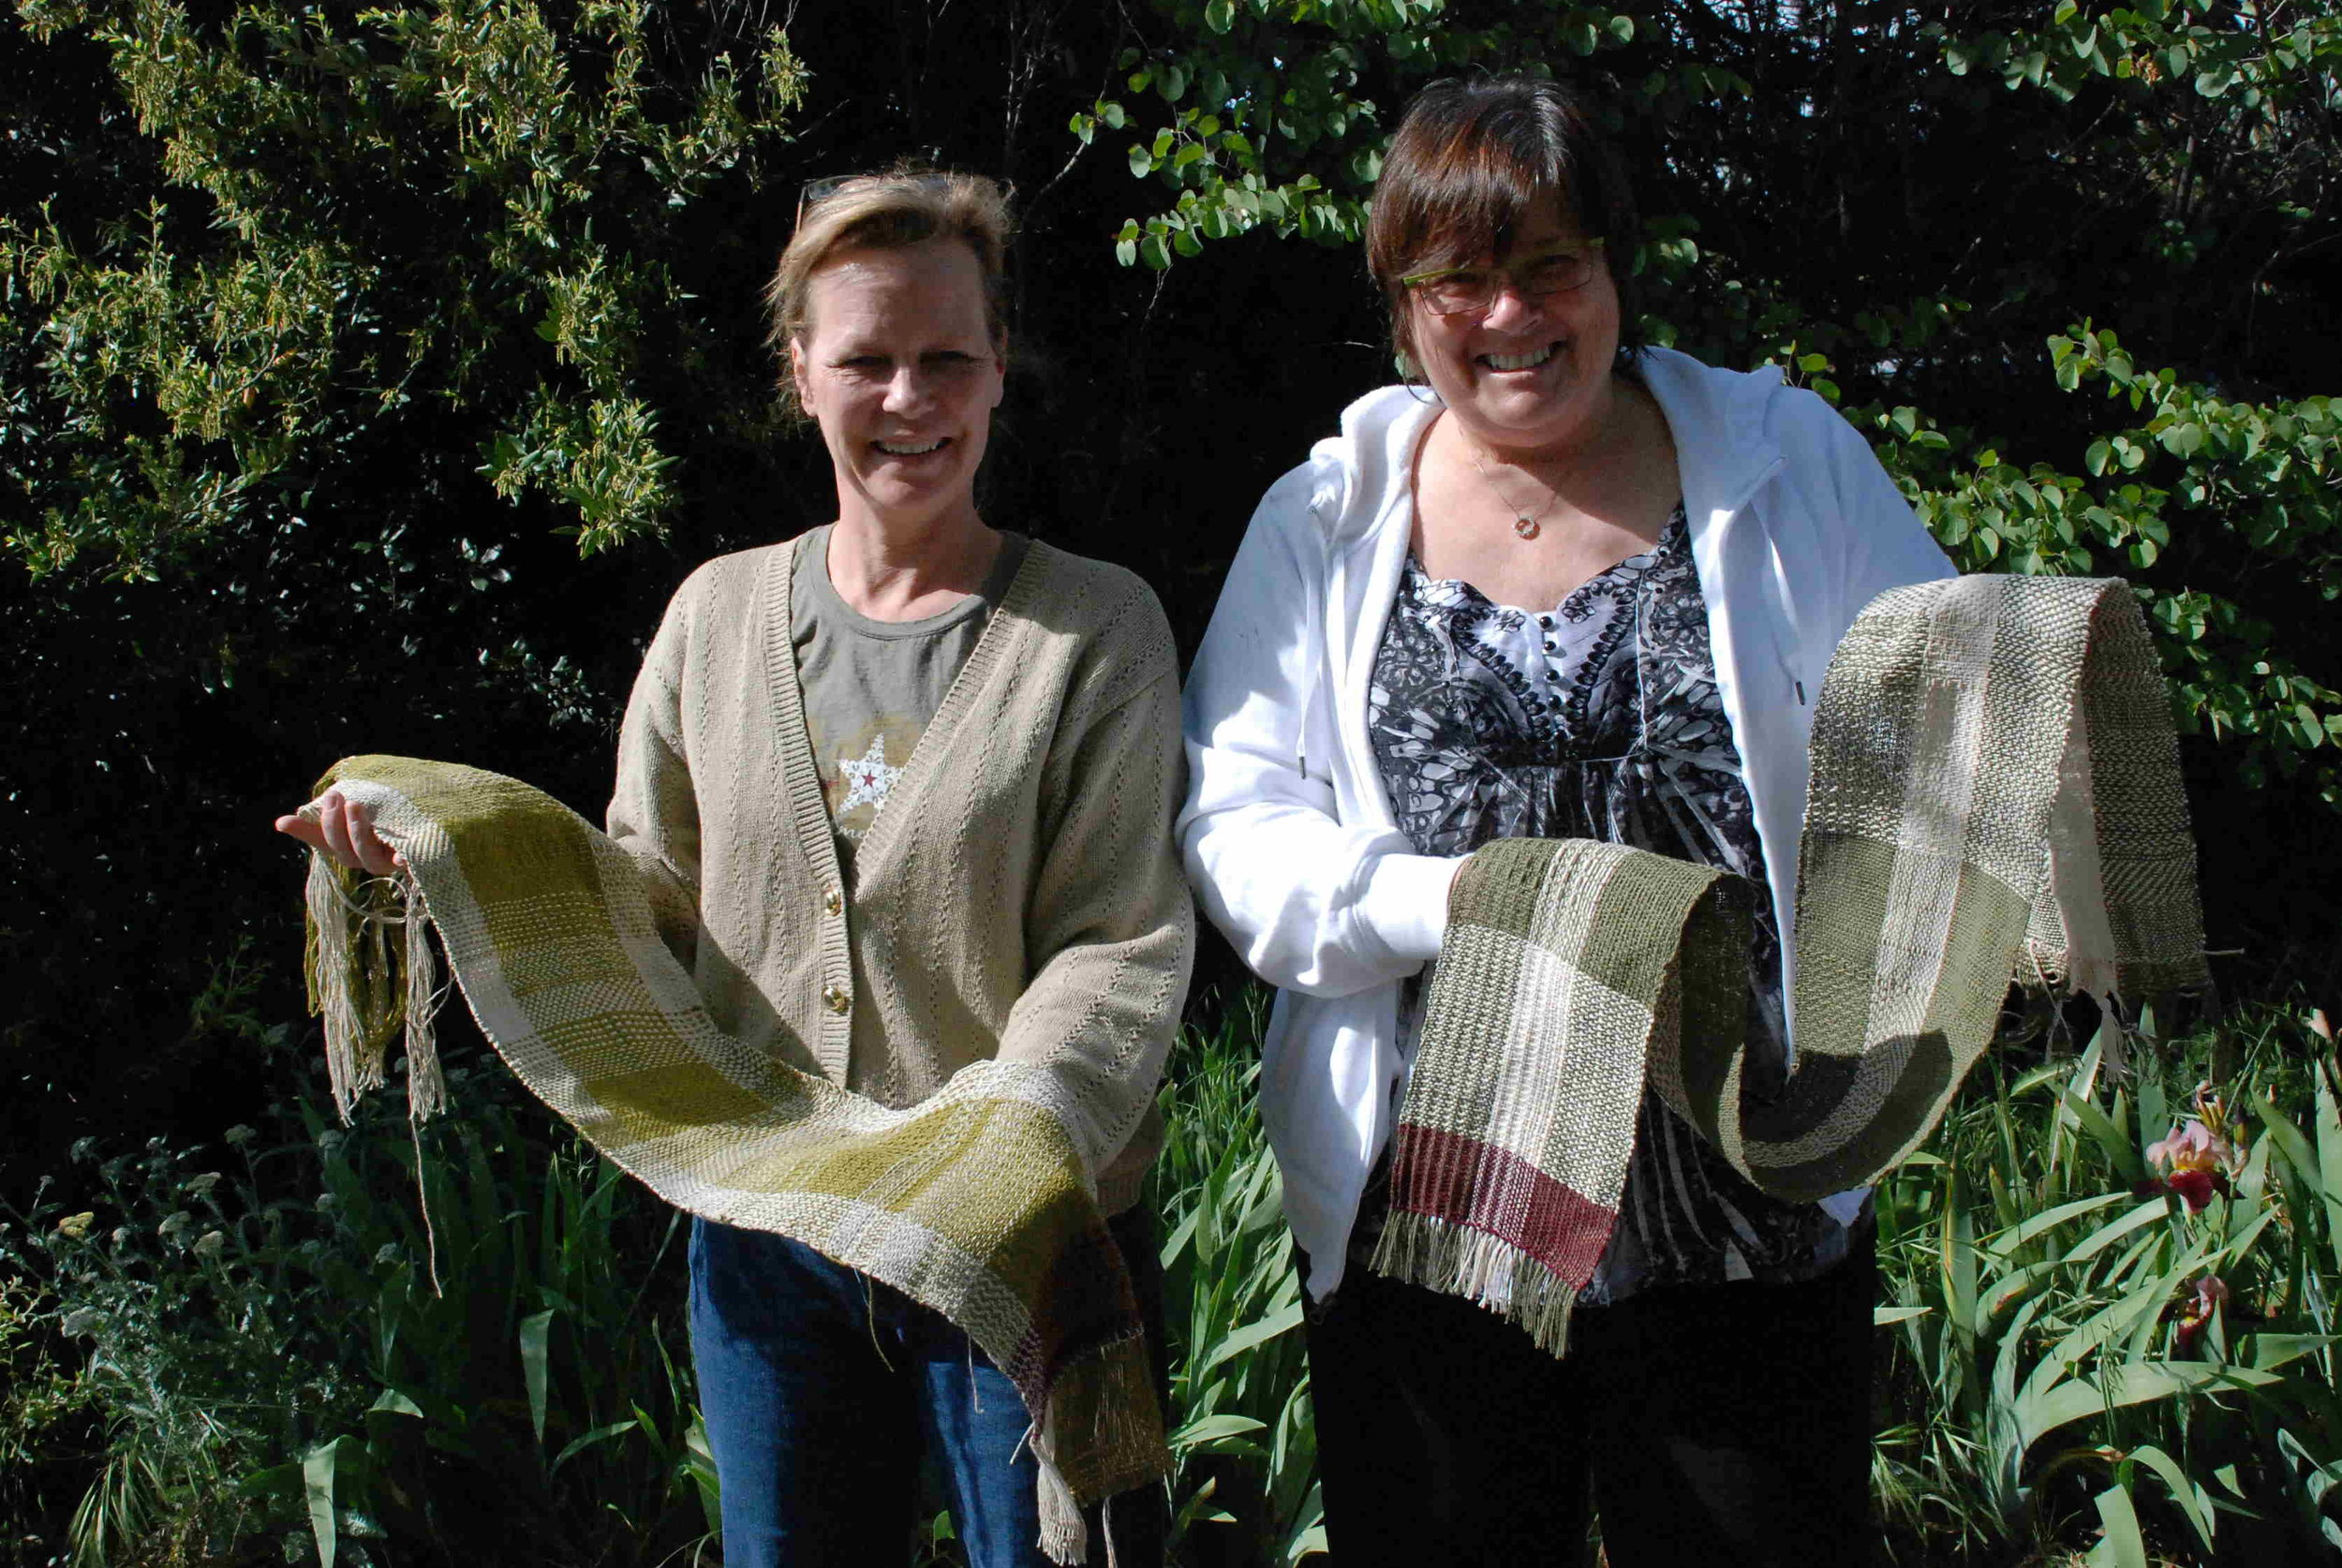
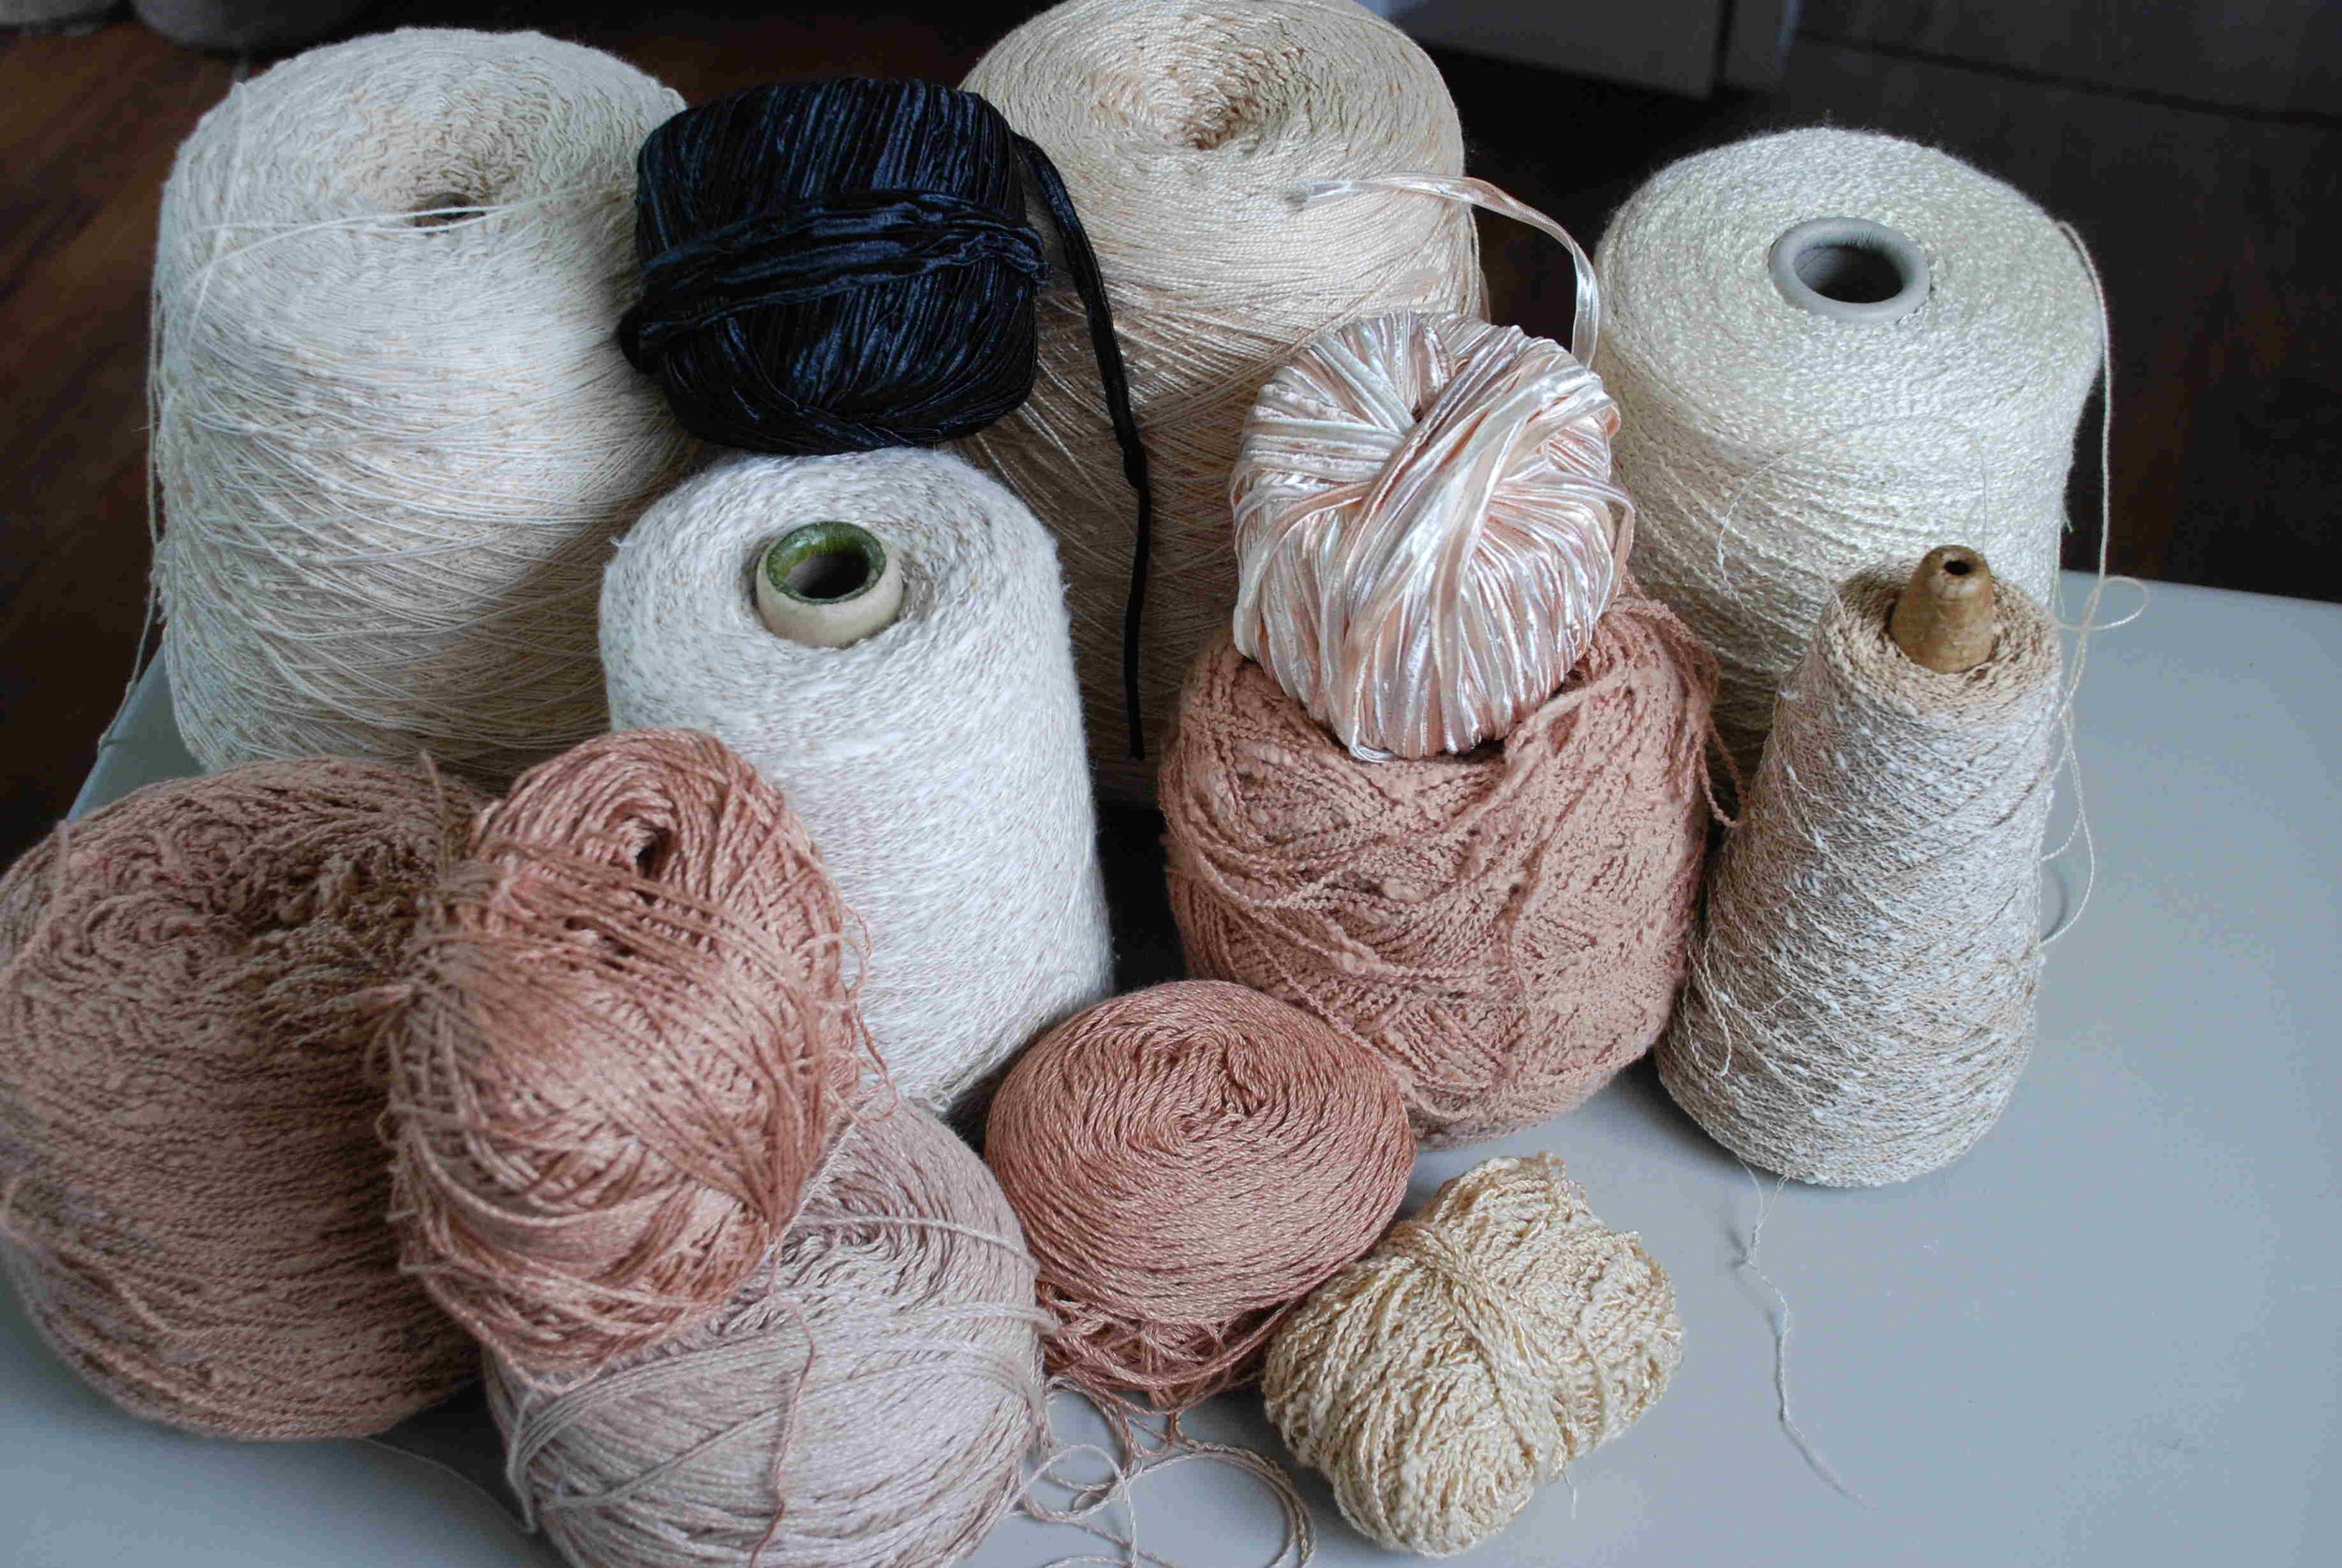
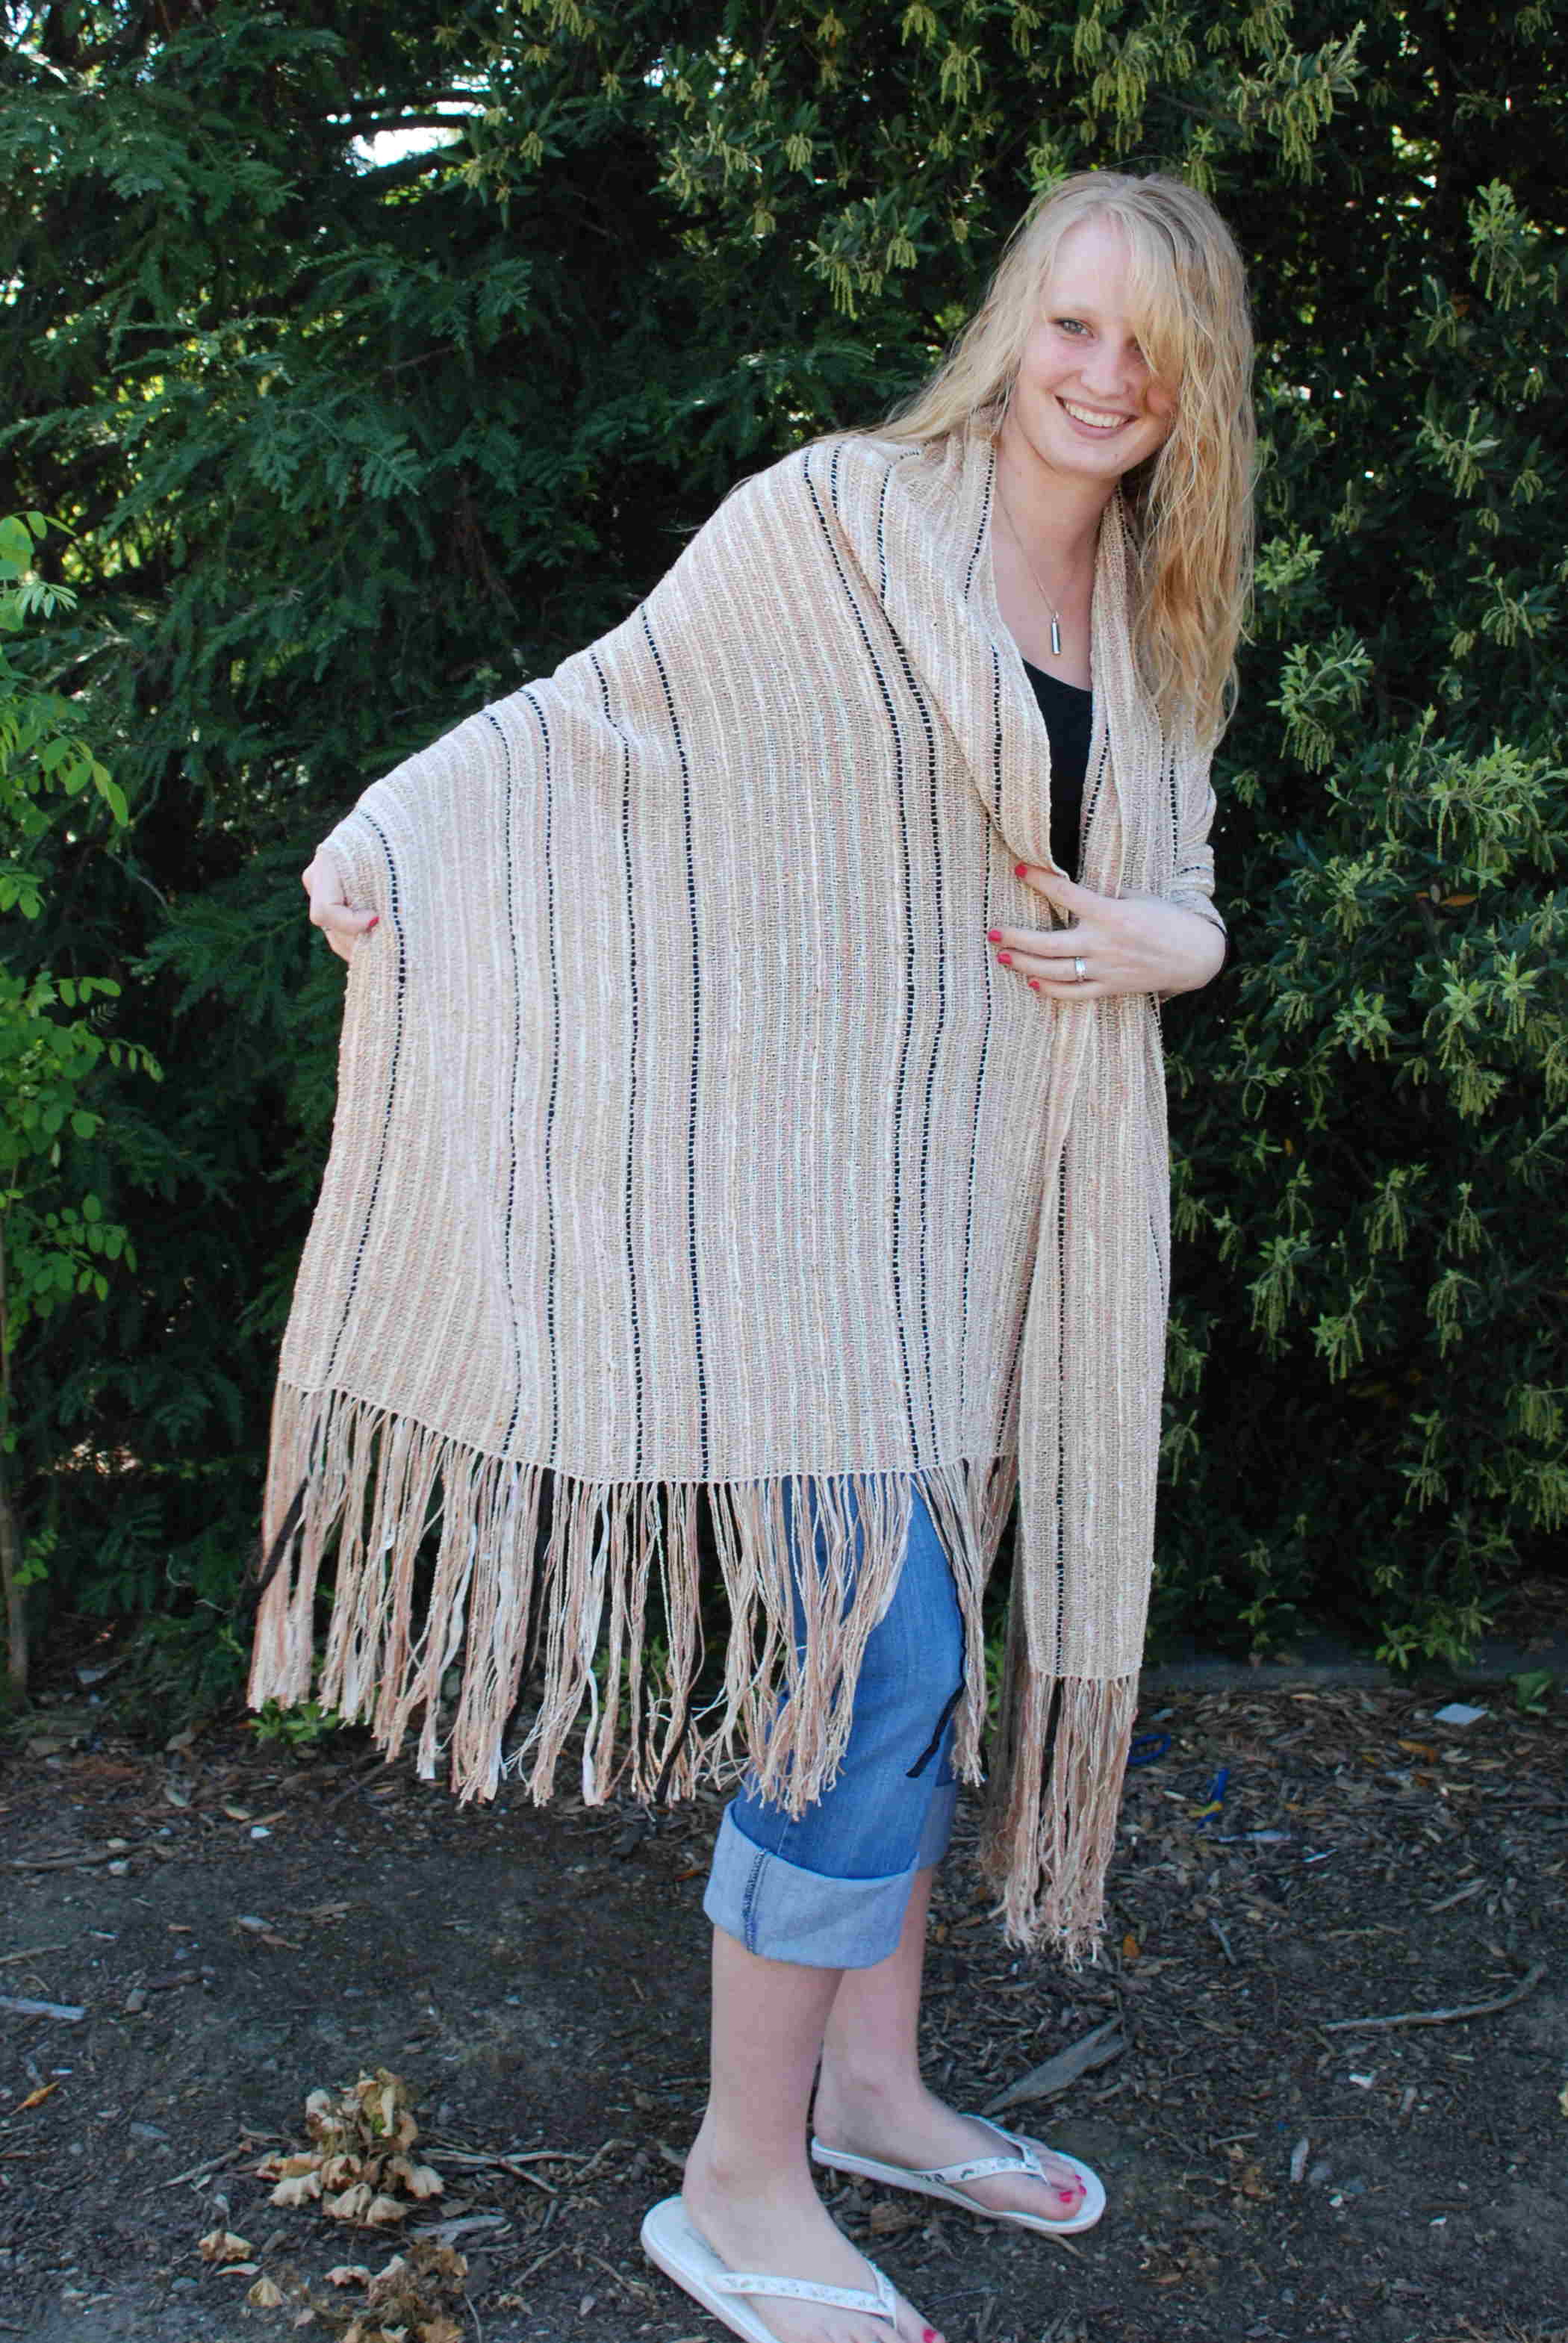
Last month I posted the following photo that shows the array of yarns that were chosen by a friend for her daughter's wedding shawl.

My friend originally planned to weave the shawl herself but then commissioned me to weave it.

This is the warp on the loom. I was concerned that the white weft was going make the shawl too white. No need to worry. It came out just right.

In this close-up you can see the variety of yarns used in the warp. The weft is relatively fine with a regular slub that helps keep the yarns in place even though the shawl is loosely woven.

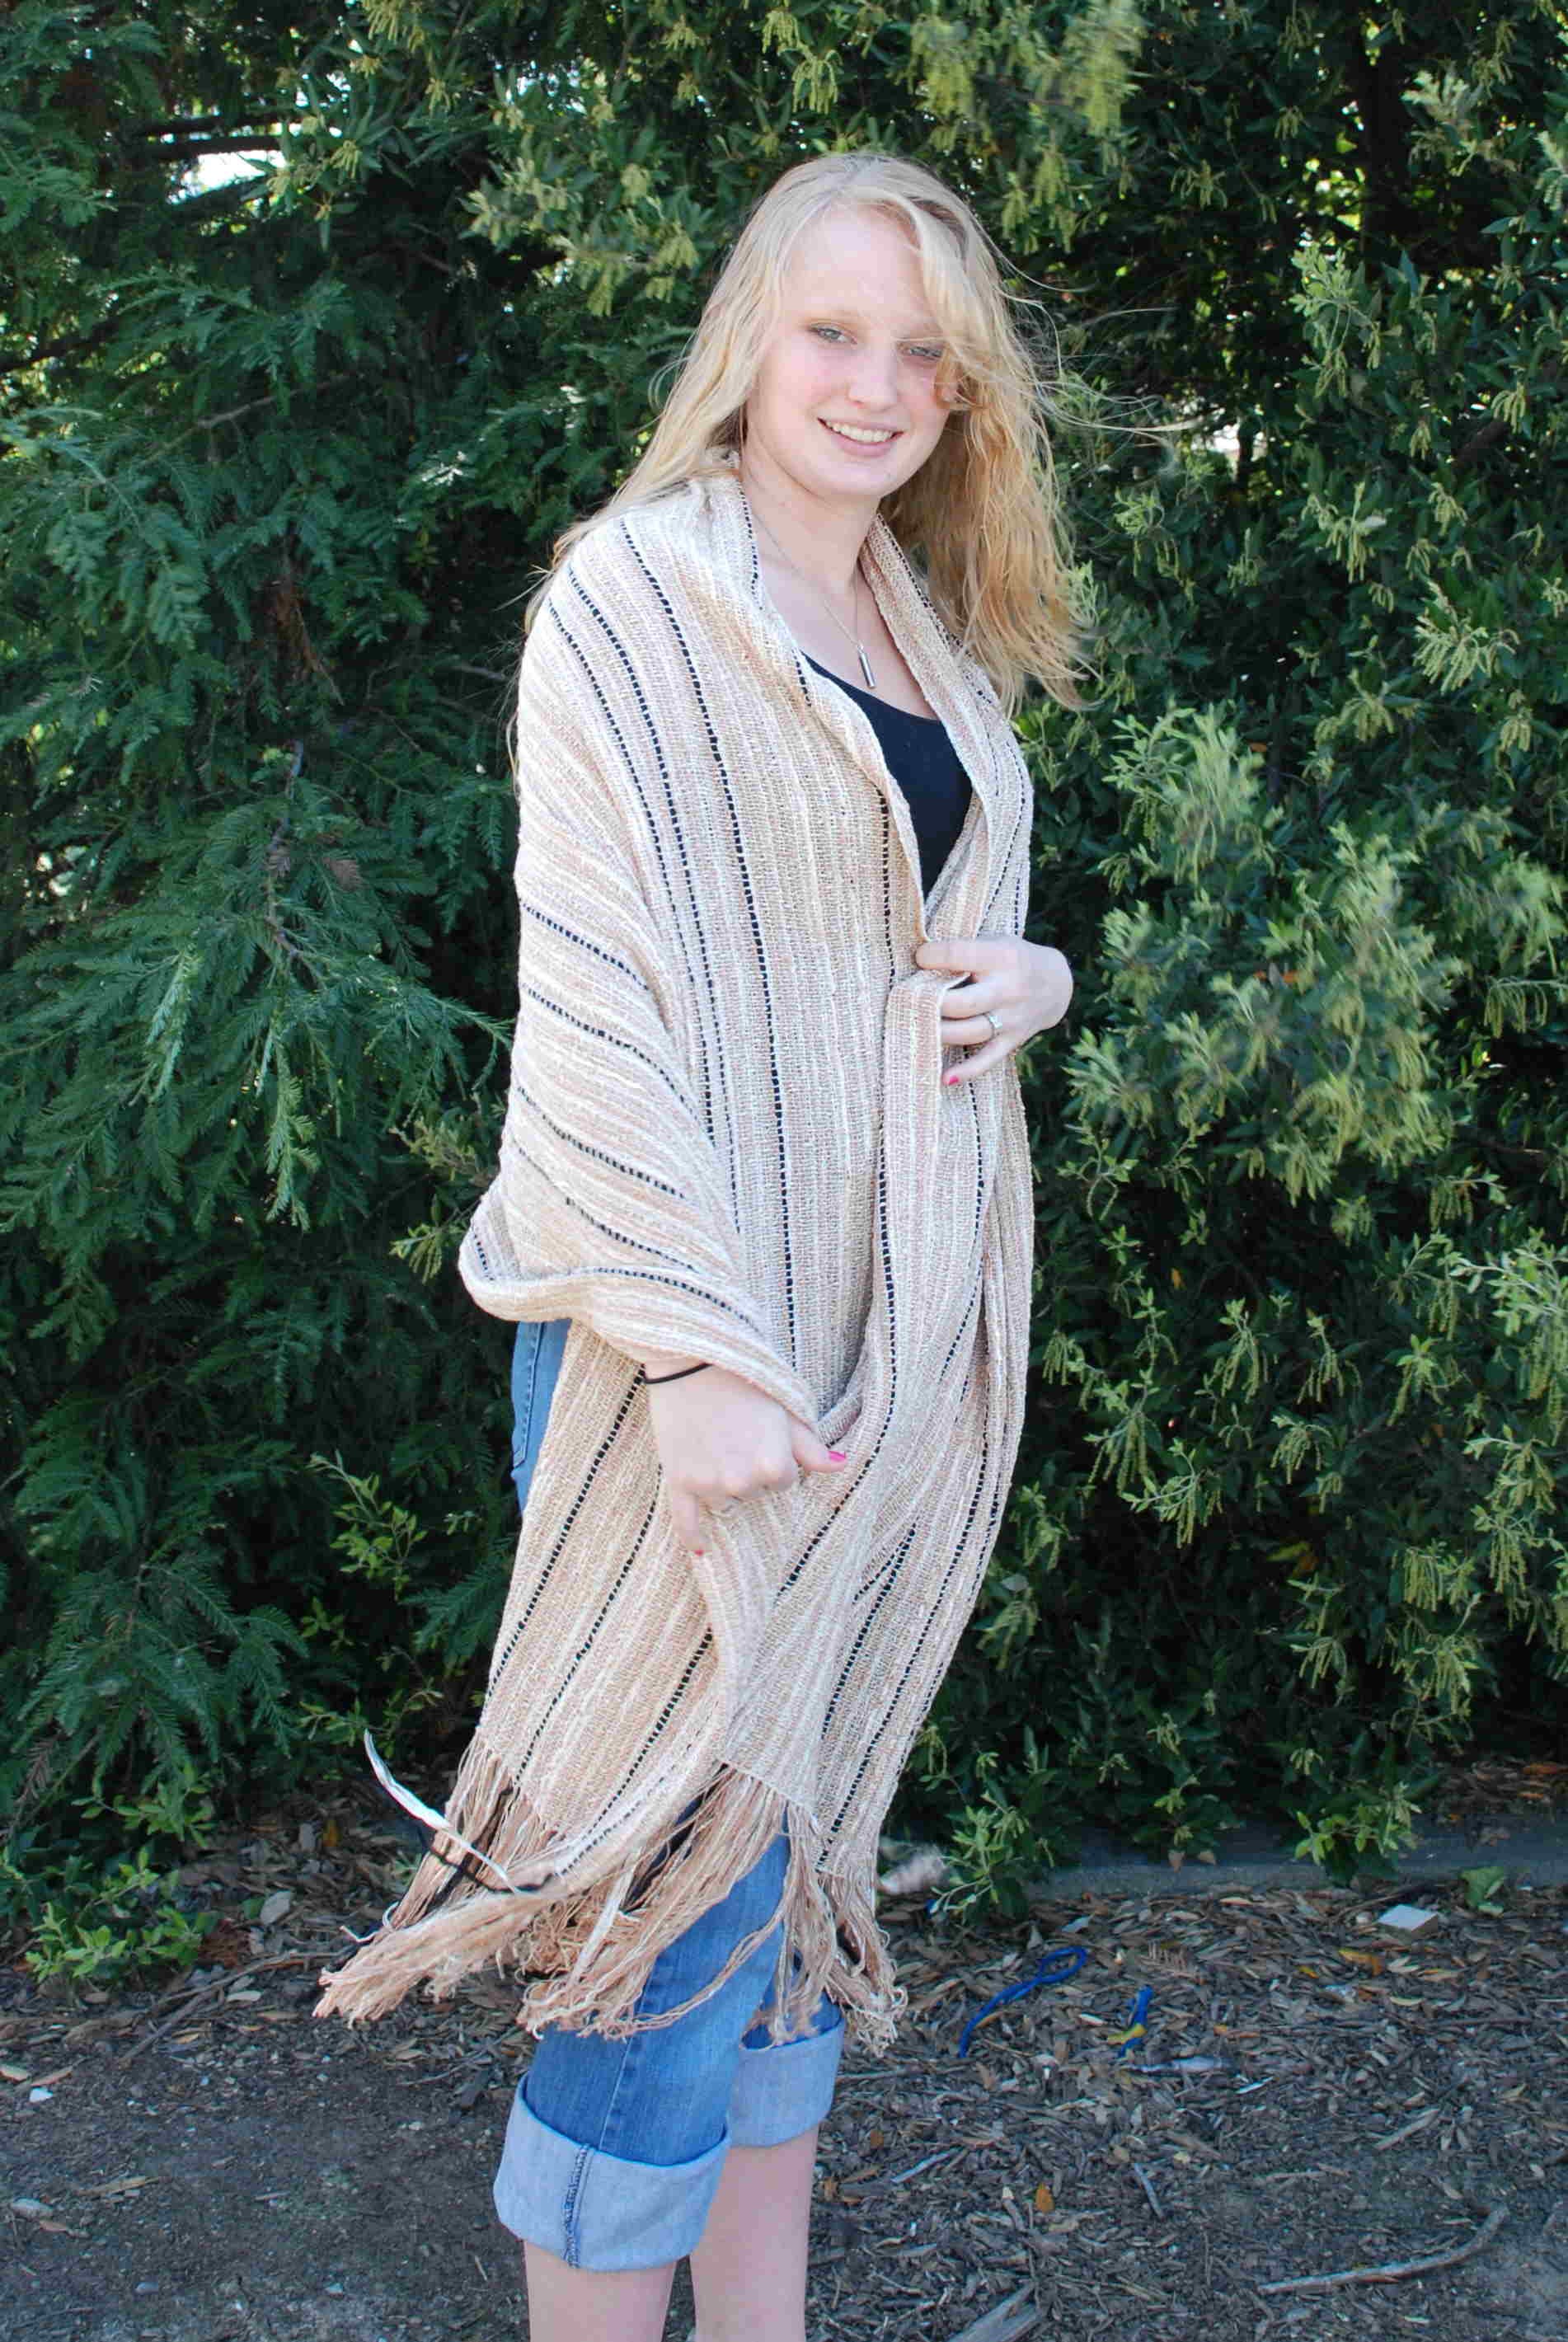
My favorite model just happened to be here before my friend was to pick up the shawl. (That's my daughter visiting from VT.)

I got the report back from my friend: "My daughter loves her wedding shawl!! She says it's the most beautiful shawl she has ever seen!!  That's a compliment from my very fussy and stylish daughter!"

Ram horn growth

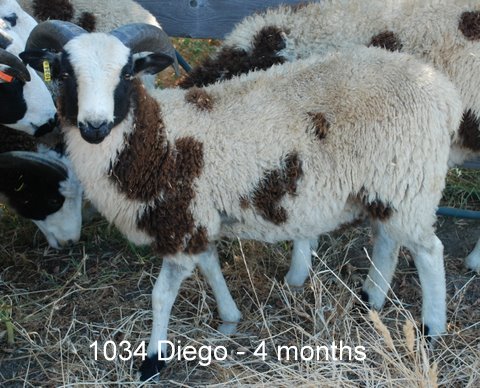
I have been talking to people who want to buy sheep. I explain that it's hard to predict at this age (2 months) how ram lambs will turn out when they are six months or a year old. I finally got around to finding photos of some of my rams as younger ages. I have posted several of these in the photo gallery on my website to illustrate how the horns can change as the rams mature.  Here are a few of the photos, but look for the rest on the website.

Look at that nice spread.

These horns are still OK although as they have grown they have moved closer to his jaw.

Diego's horns looked OK at 4 months.

At 6 months I had my doubts about his longevity.

Here I can barely get my finger between his right horn and his jaw. Diego became the entree for a crowd the other night and he will also provide a great pelt.

Community Cloth Celebration

I have posted before about Rebecca Burgess's Fibershed project. Rebecca made a personal commitment that for a year she would wear only clothes that originated within 150 miles of her front door. Think about it. That's not an easy task. This project is still ongoing, but yesterday there was a celebration of the project and of  Community Cloth , an effort to build the first farm-based cotton mill in the U.S. To have a viable "Fibershed" there must be a source of fine threads so that we can create cloth for t-shirts, jeans, and "regular" clothes, not just the kind of garments that most of us think of when we knit or weave. It is exciting that it is happening right here in northern California on Sally Fox's organic cotton farm. I drove over to Point Reyes Station with 3 friends. Here are some photos of our evening.

The event was held at Toby's Feed Barn, originally a feed store and still a feed store, but also an event center and gift shop. Chris and Diane and I wandered around town for a little while before the event officially started.

There was great music all evening.

I provided a blanket and a lambskin for the silent auction.

Diane, Chris, and Shelby enjoying before-dinner beverages.

When it was announced that those people wearing their own hand-made garments would be first in line at the food table we all put our outerwear back on.

Check out this bicycle-powered drum carder. The power-source for the new mill will be the sun, not bicycles!

The highlight of the evening was the fashion show. Models wore clothing created by local designers from local fibers for Rebecca's Fibershed project as well as many natural-colored cotton garments sewn from Sally's cotton fabric stash. This is the sweater knit from Meridian Jacobs 2-ply yarn. Note the straw-bale runway!

This model is wearing natural-colored cotton garments. The slide show in the background was going on throughout the event. Paige Greene is a fabulous photographer and she, being the daughter-in-law of a fiber grower, has documented the project from it's inception.

Those are my rams looking on as another model passes by.

Great event, great friends, and you know what is really great? There is so much enthusiasm, especially from people younger than me. I want to keep producing fiber, teaching about fiber, weaving, but not only do I not have time to adequately market my products, I don't have the energy  to think about it or the expertise to do it successfully.  There are people out there who appreciate what people like me are doing and want to help!

I am not a rug weaver.

A llama and alpaca owner  sent me his mill-spun yarn to weave blankets. The alpaca yarn was OK for blankets, but not the llama--way too much coarse fiber. I wove samples to send to him.

I used the alpaca yarn for the lower left sample. The other two are using llama yarn. I wove them weft-faced as you normally weave a rug. However I am not a rug weaver. There is a lot involved in weaving a firm, sturdy, even rug and, although I admire handwoven rugs greatly, I don't plan to be a rug weaver. I struggled with this project. I wove the first rug a few months ago and wasn't happy with it. I was determined to weave at least one rug in my life that was adequate.

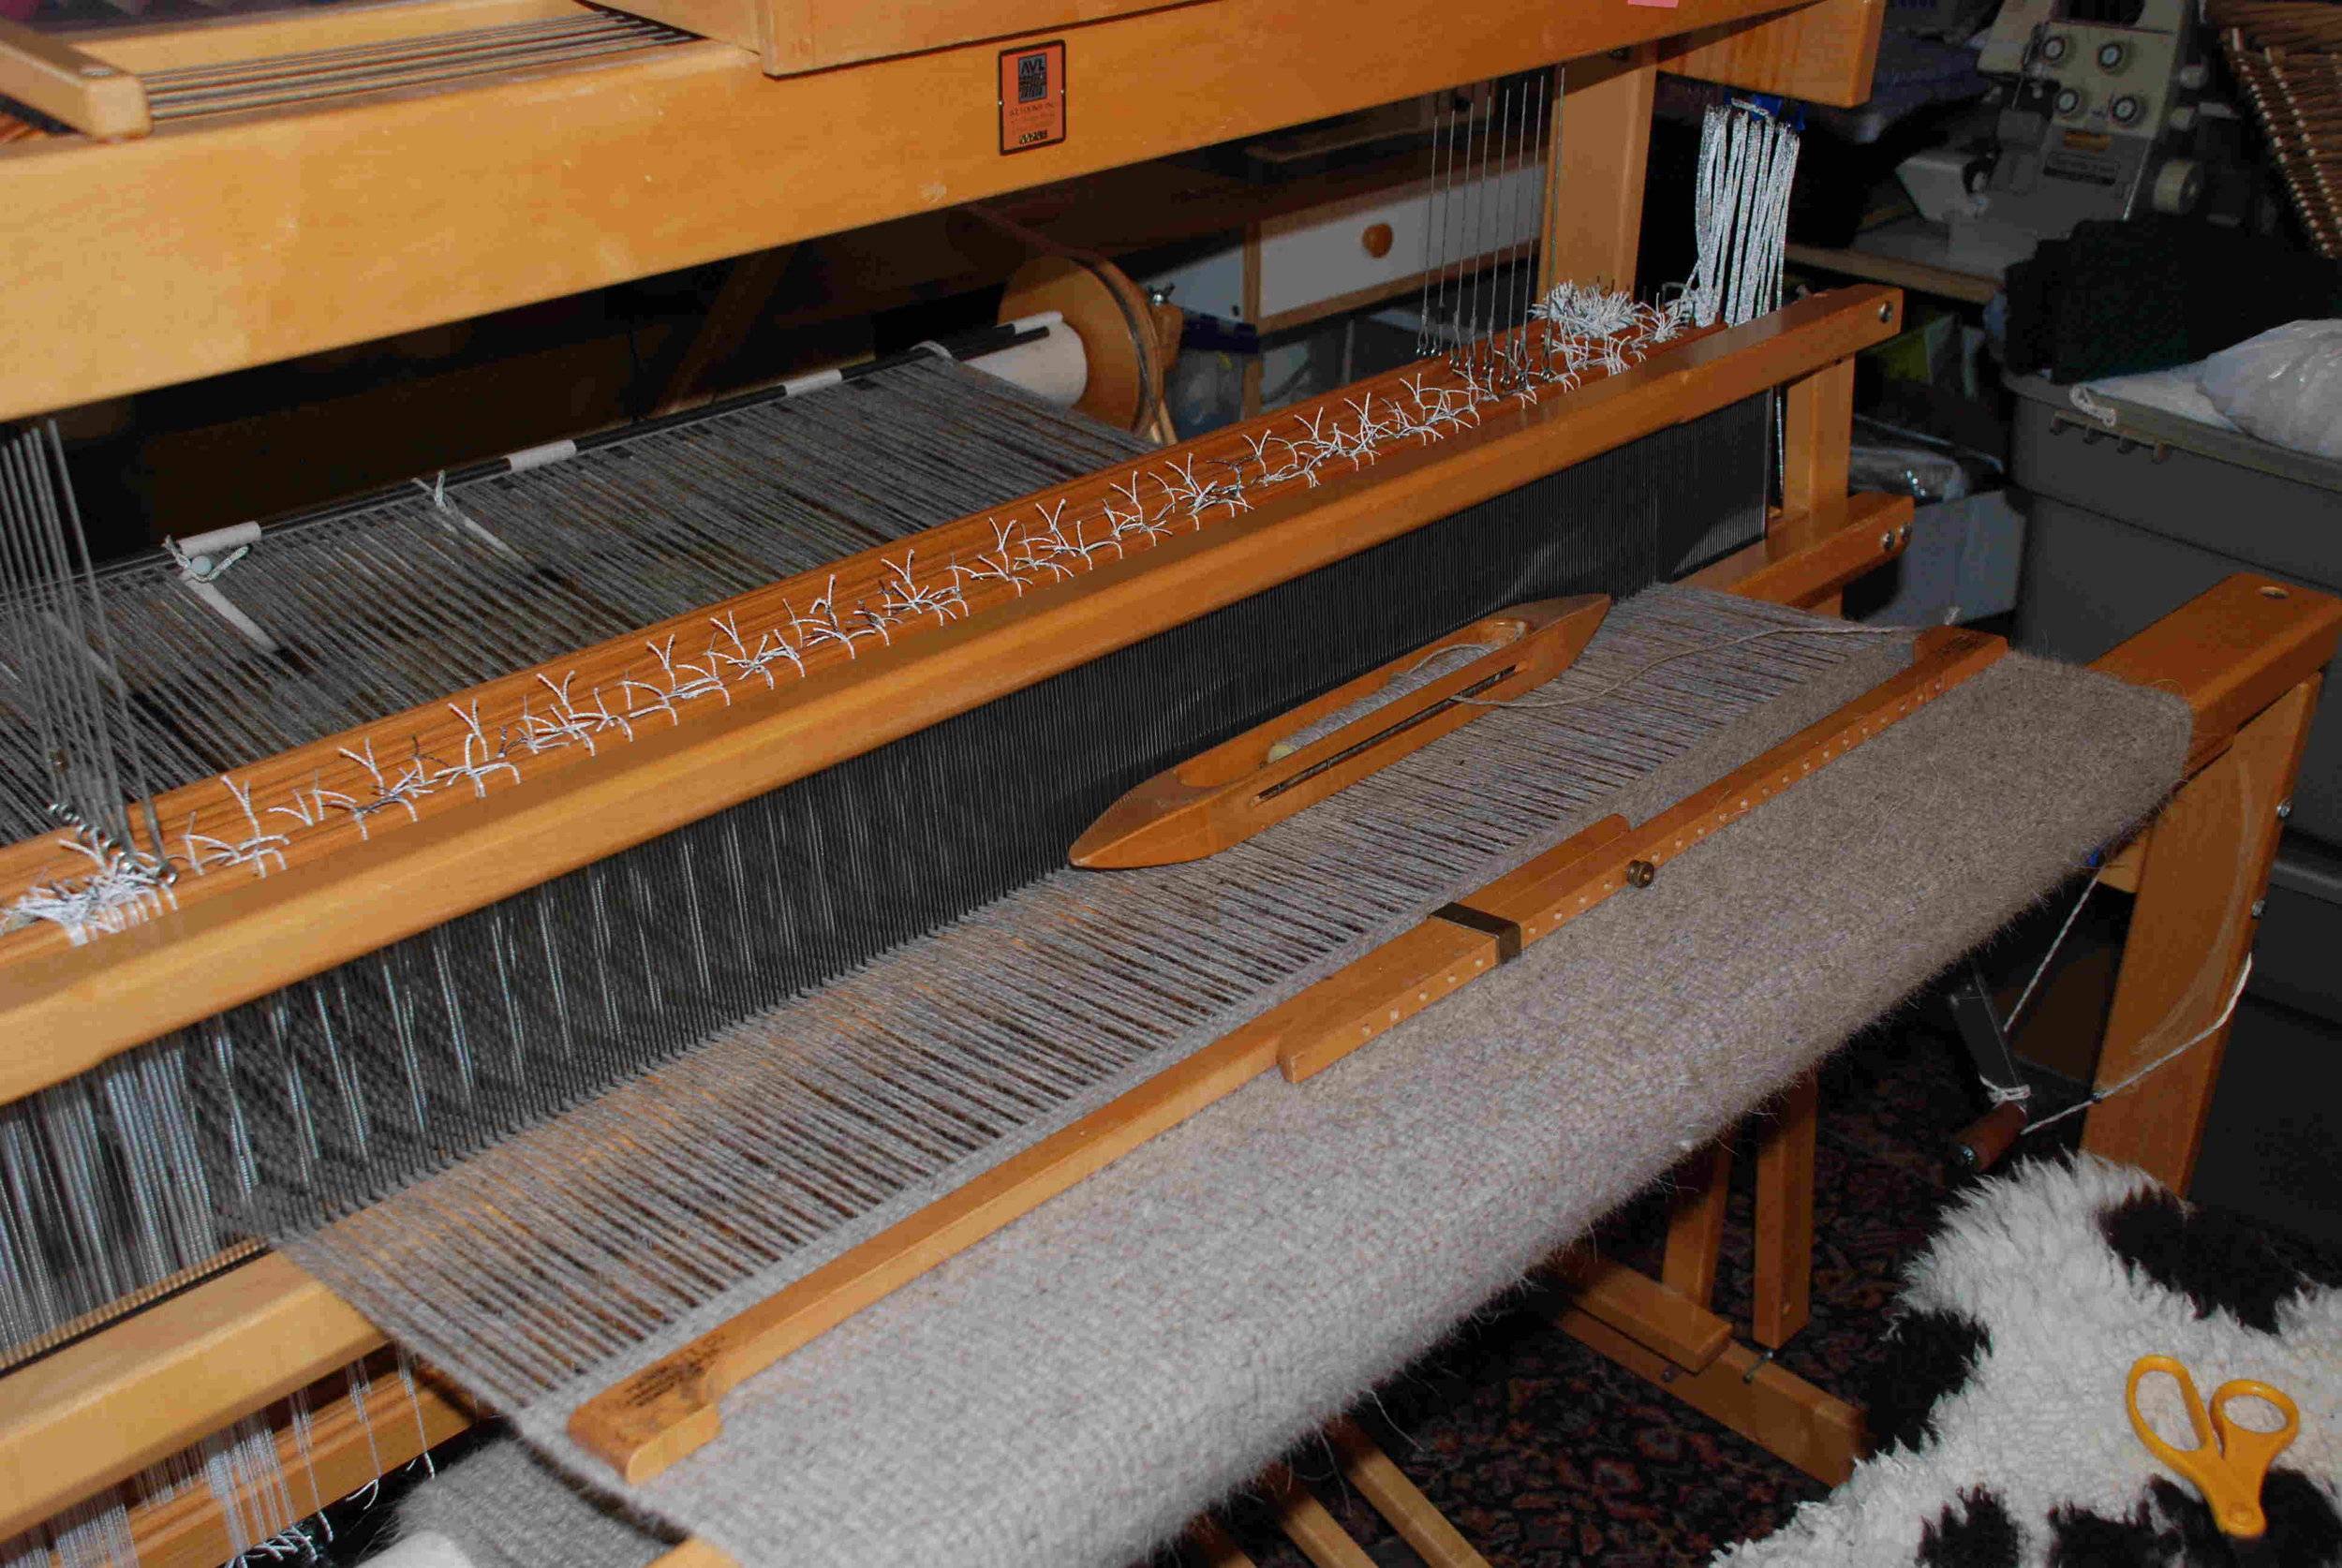
I have never used a temple  before but did for this project. The temple is that adjustable wooden bar. It has sharp teeth at the ends and you move it forward every inch or so to keep the weaving width the same throughout the piece. This is slow weaving in comparison to what I'm used to.

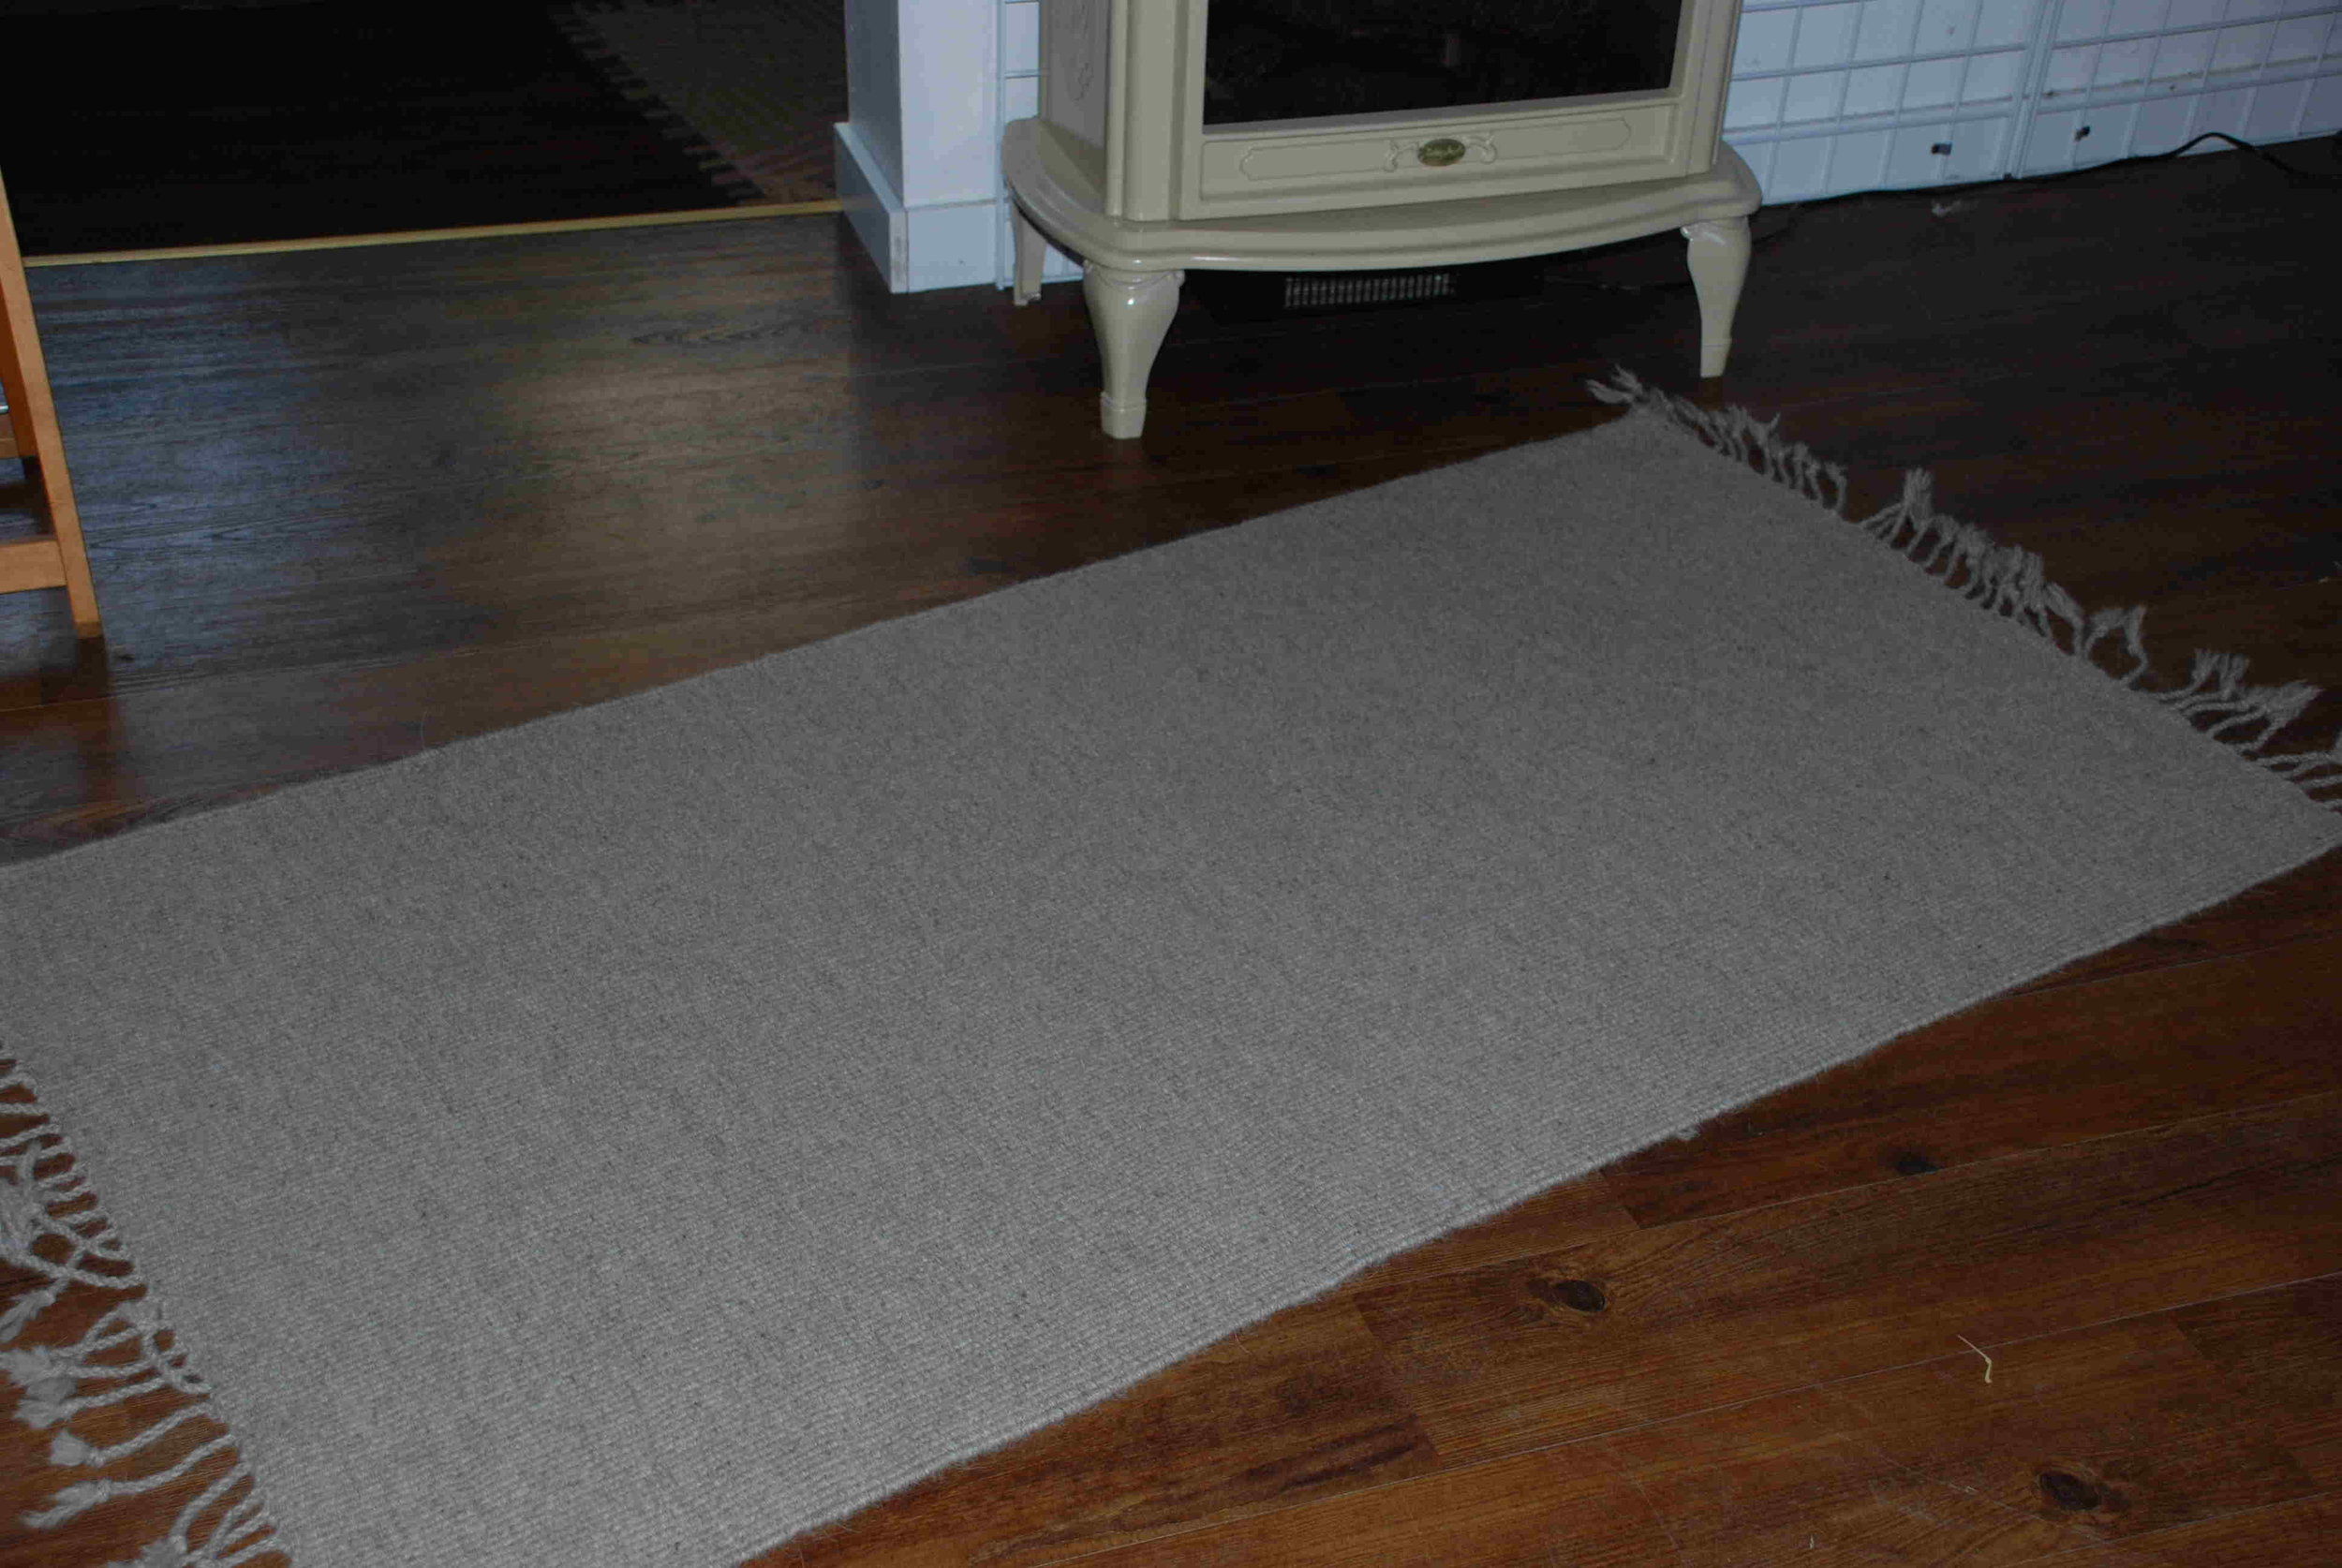
Here is the finished rug with a detail below.

Pasture management revisited

Regular blog readers may know that in the late summer and fall I start complaining about the unpalatable late summer grasses. I'm sorry, but I'm going to complain now even though it is only spring. I only graze about 7 acres so all of it seems precious. We dealt with some of the issues of the thick dallisgrass a couple of weeks ago by burning it. I hope something starts growing where all that heavy thatch was. Today's issue is the condition of the east paddock. Medusahead is a nasty, unpalatable grass that goes to seed in the summer, covering all the soil with thick dry thatch. The medusahead is starting to grow now and the only other thing growing with it is a perennial grass (Elymus--wild rye-- I think) that the sheep don't like either. The rest of the soil is covered with the dry residue from both of these. My goal in this paddock is to  graze it hard enough that they will at least trample and break up the dried up grasses from last year and hopefully eat some of the less palatable grass.

As I was uploading these photos I realized that they don't show what I've been talking about.

This is the view looking south. You can't tell, but it's the east side (left) of the east paddock that has the problem vegetation.  It took them only a day to clear off almost everything in the south part of this paddock (as opposed to 2 days in equal sized paddocks with better vegetation).

They are hungry and ready to move.

I took this photo as I opened the fence and stepped back so I wouldn't get trampled.

Arthritic Stephanie follows the running sheep.

Amaryllis brings up the rear. She will follow Stephanie anywhere.

This view is looking north, from the part of the paddock they just left. In this photo you can't really tell the difference in vegetation between the west (now on the left) and east sides of the paddock. It's much easier in person, but notice where the sheep are. There is no fence keeping them from the east side--it just doesn't have what they want to eat.

Compare this photo to the one where they are running into the new pasture. There is a blue cast to these plants--this is very sparse (although it may not look so in a photo from this angle) and it is so tall because the sheep avoided eating it the last time they were here.

Tomorrow I will start irrigating. I hope for some warm weather to follow so that the clover and trefoil will come in faster.

Custom weaving projects

Here's a look at what I am doing in the weaving studio.

These are the yarns for a wedding shawl for a friend's daughter. This will be a random mixed warp in a lacy light weight shawl.

My son's girlfriend chose these colors for her chenille scarf.

Llama rug that I finally got off the loom awhile ago. I think that most people don't usually wash rugs, but it still has a llama smell so I plan to wash it. I've been waiting for a hot day so it will dry outside.

This is the roll of 3 full-sized blankets woven in double width broken twill. I have cut them off the loom and now need to crochet edges on all of them.

My Spring Vacation--Part 1

My husband is a teacher so we can plan a vacation during his spring break and before my son goes off to work on the USFS hotshot fire crew.  Chris held down the fort here  (with 12 lambs born) while we were gone. Meet the Sheep was Saturday and I didn't have time to prepare for this trip until Sunday.  We packed Sunday morning and headed south. The only plan we had was to get to Hoover Dam for a tour on Monday.

Driving on I-15 east of Tehachapi. We got to Las Vegas at midnight and spent the night there. The next morning we drove to Hoover Dam.

This is a view of the new bridge just below the dam. All the cross-country traffic used to have to follow a winding, tourist-packed road that crossed the dam. That must have been a nightmare for truck-drivers and anyone else that just wanted to get to where they were going.

Here is the dam from the bridge. We took a tour inside the dam. Hopefully some of my videos will come out well, but I haven't even downloaded them to the computer yet.

After sleeping in the Explorer that night (note to self--get an air mattress. The 20 year old foam pad doesn't work anymore) we spent the day at the Grand Canyon. My photography  left something to be desired, but it was just not possible for me to capture the Grand part of the Grand Canyon.  We chose the Kaibab trail and hiked about 3.5 miles into the canyon.

Another few miles would have taken us to the bottom but had not planned an overnight trip and didn't think it would be smart to try it in a day.

If we had the help of mules we could have done it, although even the mules are making overnight stops in the bottom.

See that zig-zaggy trail going up the wall. That's the last leg of the hike back up.

Leaving the canyon late in the day and looking west toward the setting sun.

Stay tuned for Part 2.

Meet the Sheep a Success

After a very wet winter, we welcomed fabulous weather (and our first dry weekend) for Meet the Sheep, our annual Open House. Even with the great weather it would not have been such a success without all my friends helping.

Julie set up a dying and drum carding demo area and also brought...

her cute Pygora goats.

Colleen skipped Saturday at he Farmer's Market to bring her Fiber Confections booth here.

Jackie had her booth here and helped people learn to needle-felt.

I don't have photos of everyone but I am grateful to Farm Club members for helping as well as to my friend Chris who worked in the shop.

There were a lot of visitors.

This is Marissa who modeled her first sweater made of handspun yarn, from Jacob wool of course.

New weavers enjoyed the weather, their wine, and a new weaving book.

At the end of an exhausting day Laura finally decided it was time to lamb. Most of the Farm Club members were here watching.

There was relief after Laura delivered a healthy set of twins.

A Rainy Farm Day

Farm Club members braved stormy weather to make the March Farm Day a fun and productive day. As usual I had more tasks on the list than we could hope to accomplish in the morning but we made good progress.

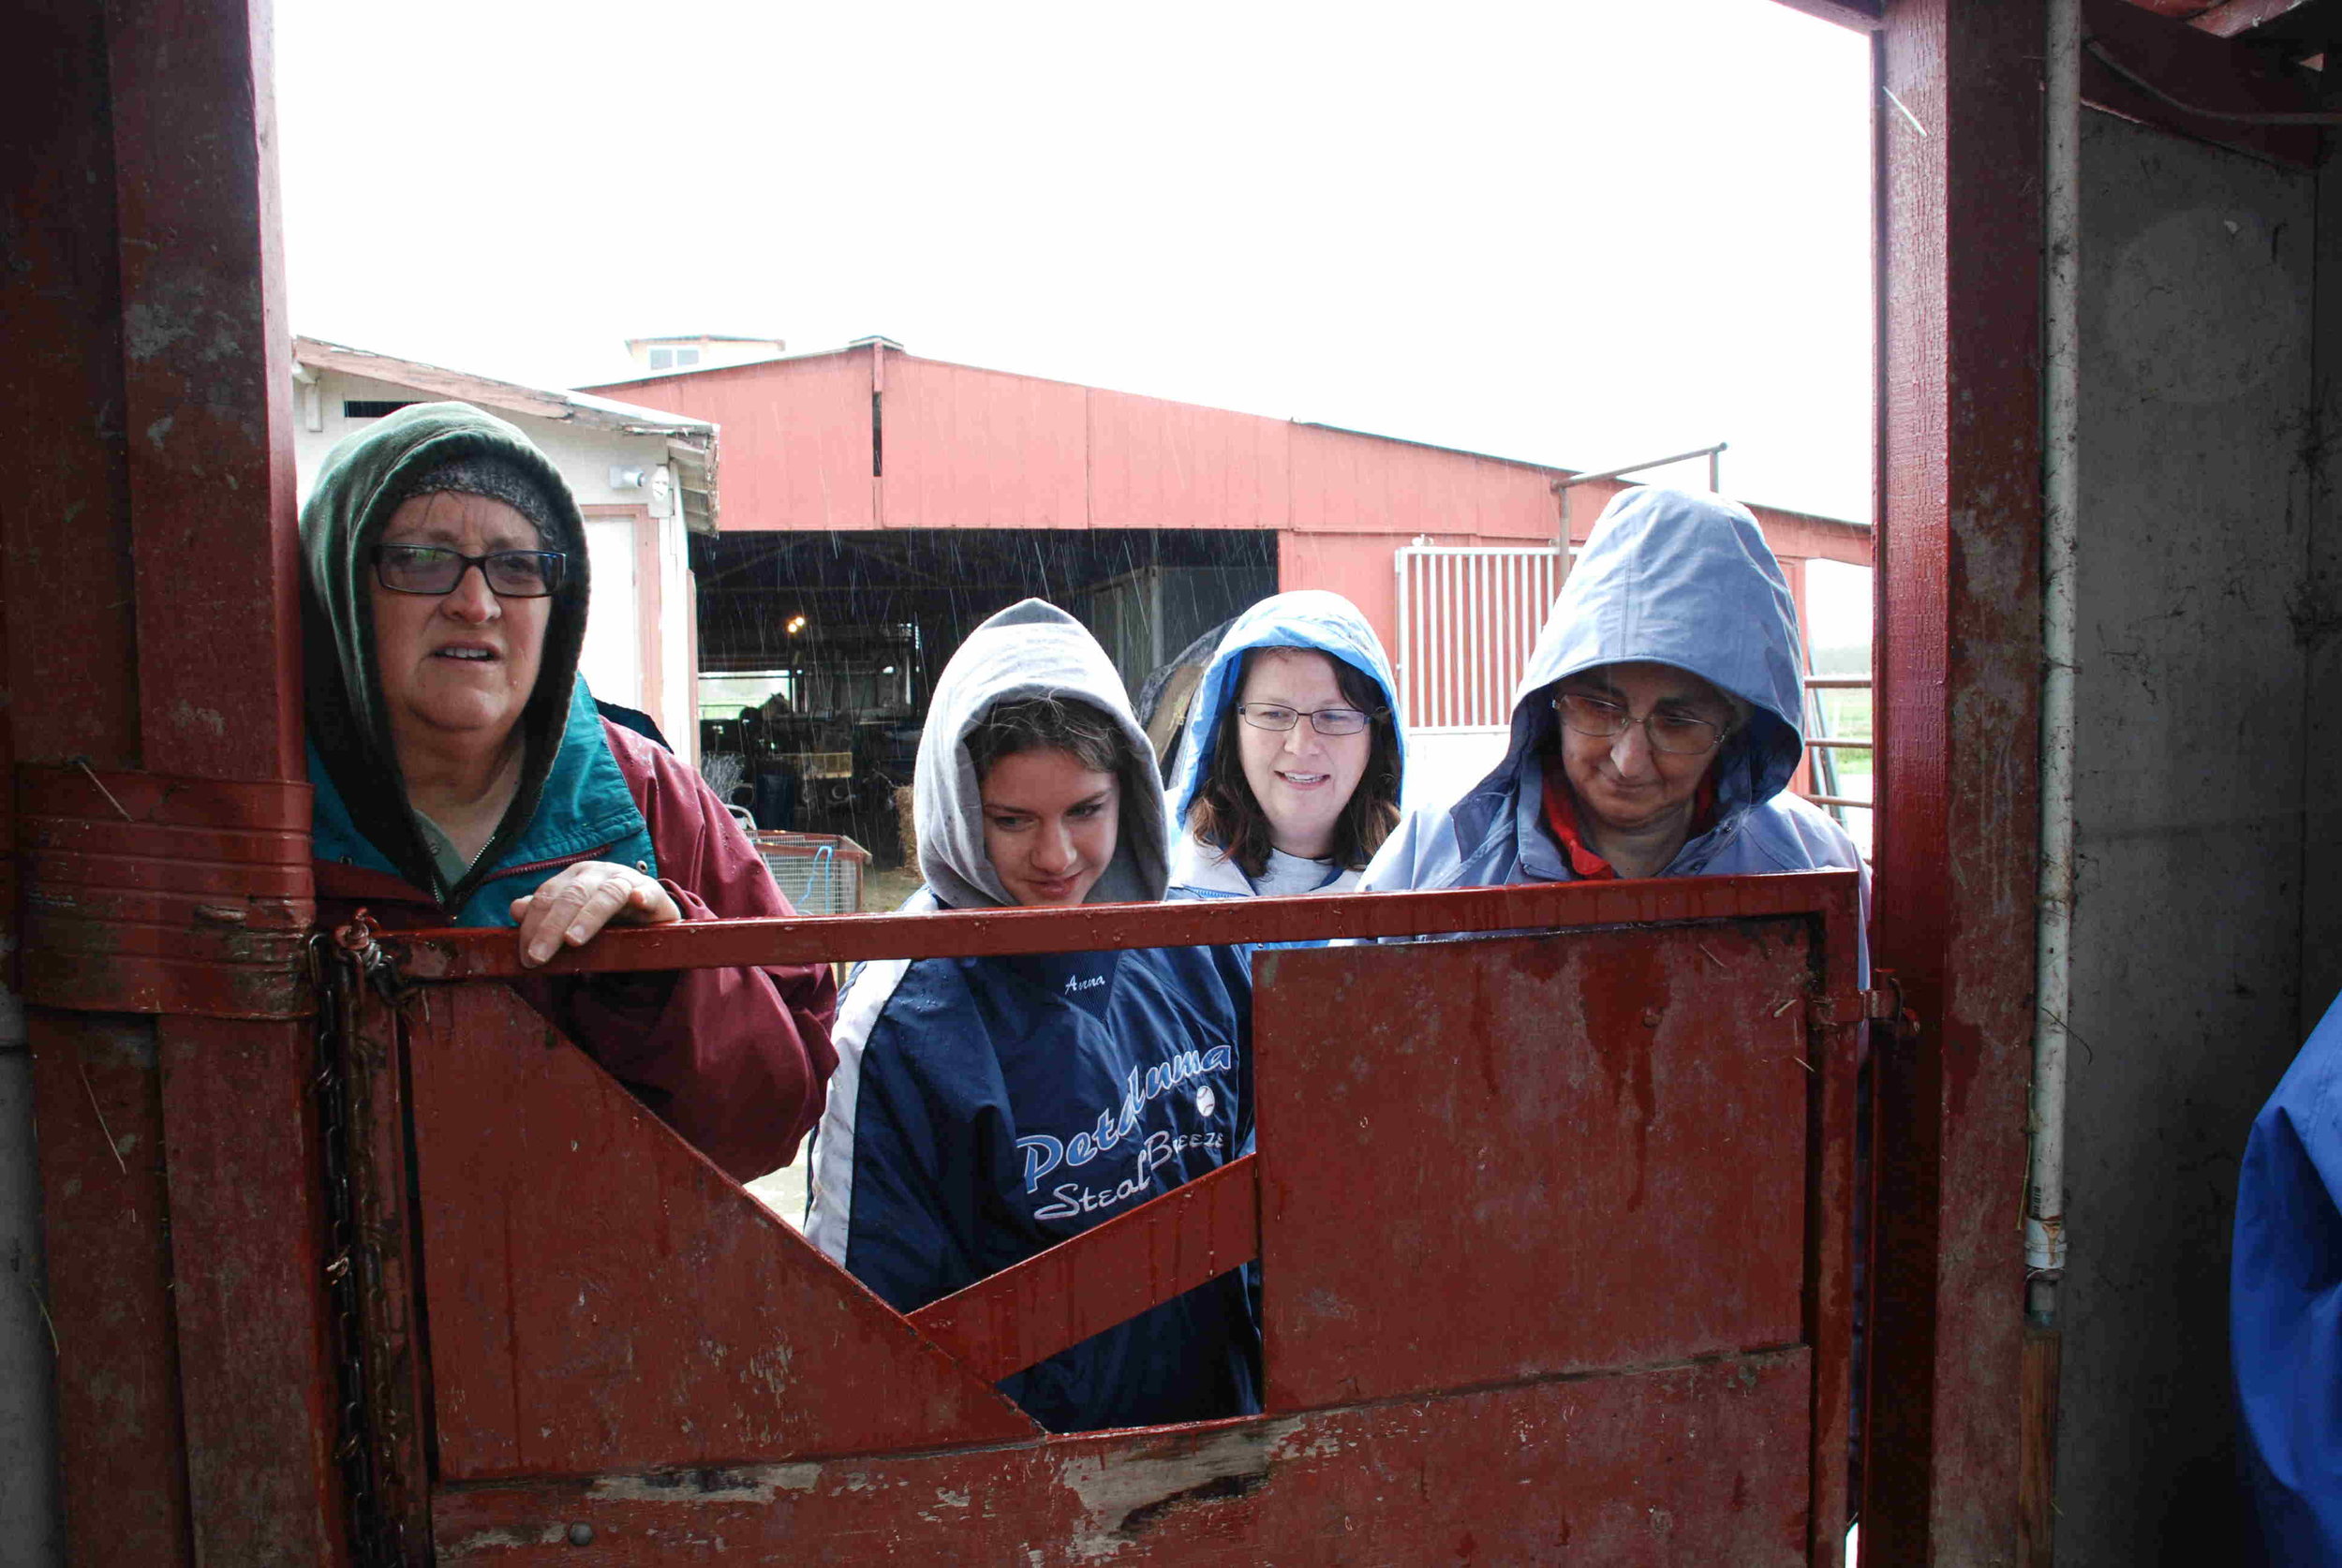
First on the list was a lesson on using a halter and tying a rope, using a knot that can be easily released. I didn't mean that the people had to wear halters, but Shelby is always ready for anything.

Everyone helped catch lambs and record the number of horns and whether or not there were any eyelid defects.  (Split eyelids are not uncommon in 4-horn sheep.)

Next task:  Empty this wagon that has been accumulating electric fence parts and who-knows-what-else for a could of years and sort it.

Good job, ladies! Now the trick is to throw out the true garbage and keep everything else sorted.

Tina, Shelby, and Lily cleaned lambing jugs.

Shelby volunteered to brave the lake and dump the loads.

Can you see the rain coming down in the background?

Shelby holding Shelby, the sheep's, lamb.

Tina's turn.

Dona holding her favorite.

Here is the crew ready to have lunch and spend the afternoon in visiting in the warm, dry shop.

Thanks to all of you for your help and cheerful attitude!


Learning a new Rigid Heddle Technique

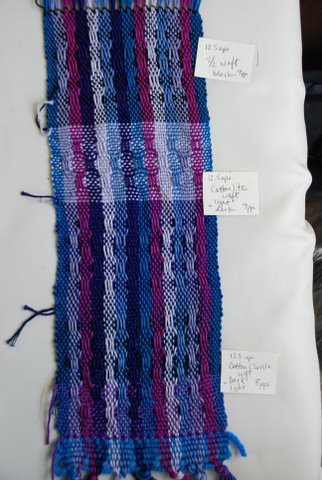
My friend and business mentor, Irene of Cotton Clouds asked me to weave a scarf as a sample for the Coloring Contest for Weavers that is on her website. Usually I can whip up a scarf in a few hours, but with an "irene project", as I fondly refer to our endeavors, there is always something that slows me down. This scarf was to be on the rigid heddle loom AND using a pick-up technique. I have been planning to teach myself those techniques, but have never quite got around to it. Well, now was the time. Irene sent me several colors of Cotton Classic and Cotton Classic Lite yarn and I started to play around with color order.  I chose a warp float pattern out of The Weaver's Idea Book by Jane Patrick. The pattern unit is six threads so I wanted to make the color changes in 6 thread increments. I arranged the colors randomly with the exception of using the same color at each edge. Here is the sample I wove. I used the heavier Cotton Classic first (bottom of sample) in purple and navy, then the lighter Cotton Classic Lite in navy and then lavender, and then black 5/2 cotton.

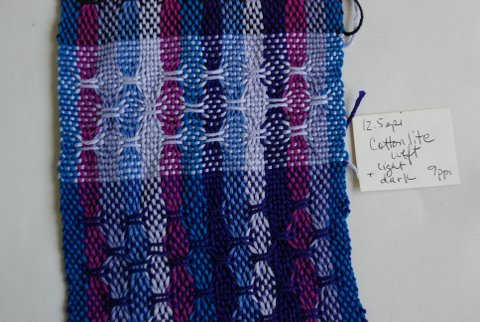
This is a detail of the middle part of the sampler. Notice the huge difference there is depending on the value of the yarn you use.  These two sections are the same pattern but the lighter yarn shows the pattern as circles. The darker weft accents the warp floats.

This is the back of the sample. Warp floats on one side mean weft floats on the other.

I like both effects but decided to use the darker yarn for the final scarf. I made other changes as well. When you look at the top photo what does your eye see? I first notice the light value stripes. I decided that was too distracting.  I also decided to vary the size of the stripes.  However I didn't have enough yarn to wind another warp. So I removed the lightest value yarns from the warp and rearranged the other yarns in the rigid heddle, adding a few more warp ends as needed. Then I wove with purple. The result is below. Unfortunately the color of the photo below shows up differently than the photos above even though these are the same yarns. (But the trials and tribulations of photographing weaving are another story.)
Another bonus of this project--I love this pick-up technique. it's not hard at all once you get used to the pattern. I can see more of these in my future.